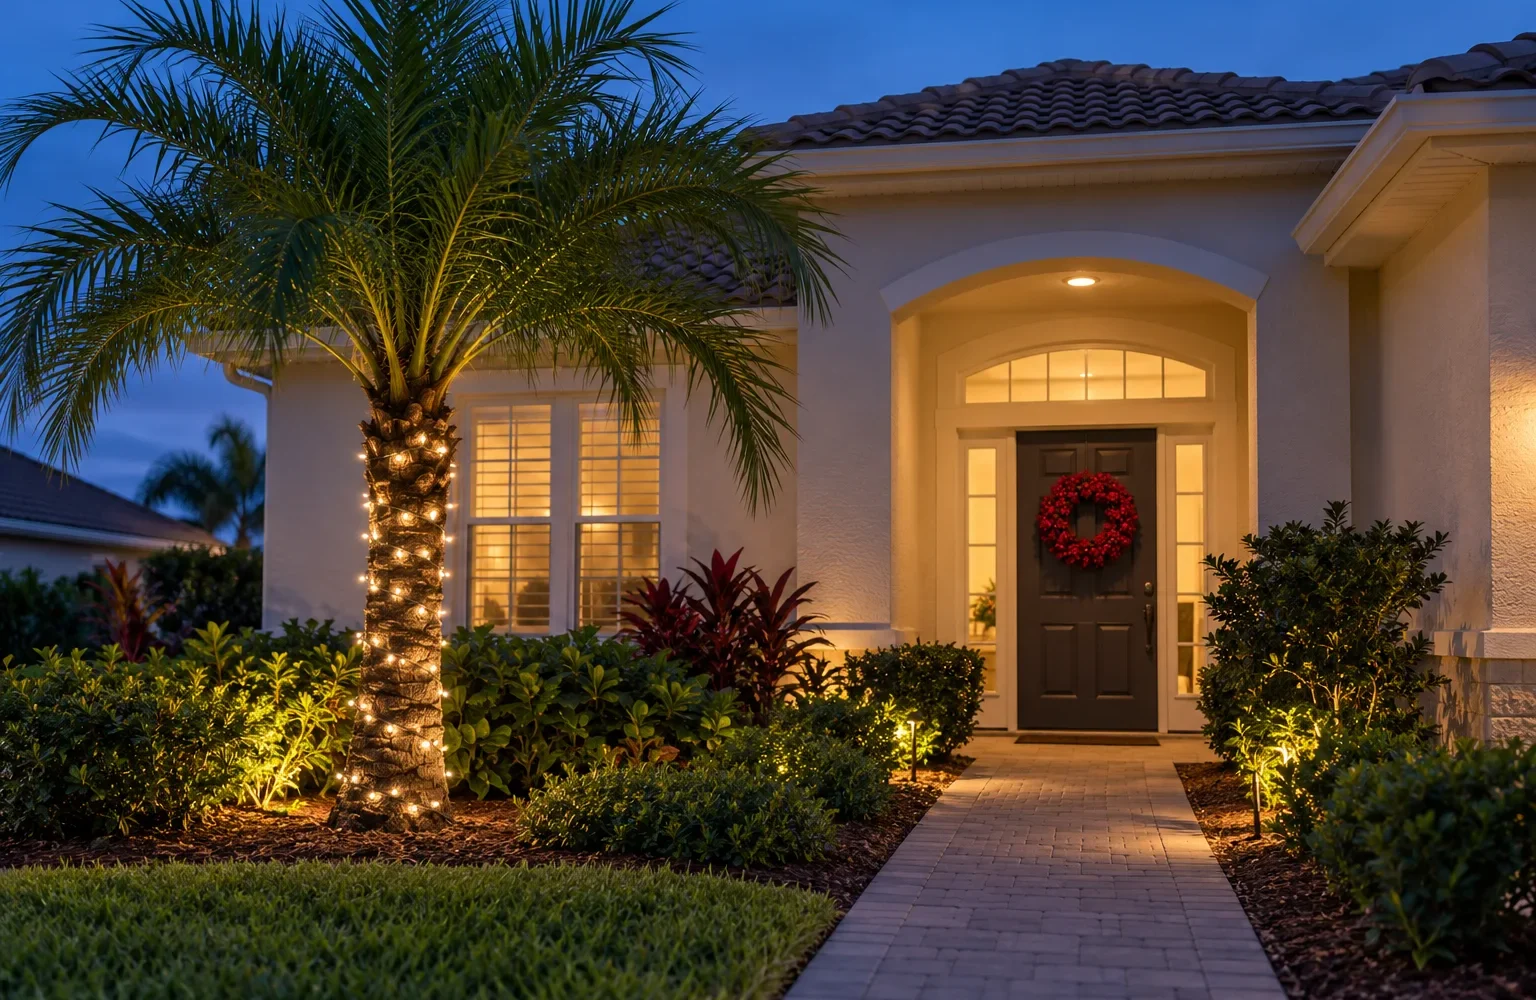
To decorate a palm tree for Christmas, start with a loose spiral of lights around the accessible part of the trunk, then repeat one accent color in nearby pots or your front-door decor. Leave the fronds natural for a simple display. If the crown is out of reach, choose a suitable ground uplight or hire an installer rather than trying to carry the lights to the top.
The goal is to work with the palm’s tall trunk and airy canopy. You do not need to cover it in ornaments or make it look like a conventional Christmas tree. Here is how to plan the lighting, estimate the length you need, and finish the setting without crowding the plant.
Choose a display that fits your palm
Look at the tree from the place where people will actually see it: the sidewalk, driveway, or patio seating area. Decide which part should glow and where the lighting can stop neatly. A short, deliberate wrap often looks more balanced than a light string that ends halfway through a turn because it ran out.
| Your setting | A practical starting point | Finishing touch |
|---|---|---|
| Short outdoor palm with a reachable trunk | Loose, evenly spaced warm-white trunk wrap | Repeat red or gold on the door or adjacent planter |
| Tall palm with an inaccessible crown | Ground uplighting, or a professionally installed display | Keep nearby decorations low so the canopy remains the focal point |
| Several palms along a path | Use the same light color and a consistent visual stopping line | Keep the route between them clear |
| Indoor potted palm | Decorate the container and space around it first | Ribbon, a few gifts, and lightweight accents on the pot |
If you are unsure what kind of plant you have, our guide to different types of palm trees can help with the basic distinctions. Do not assume every palm has a sturdy bare trunk: clustered stems, spines, and delicate foliage can make a trunk wrap impractical.
Gather lights and plan the power route
For an outdoor palm, choose outdoor-rated light strings and any extension cords, timers, and connection protection required for the conditions. Look for the mark of an independent testing laboratory. Brown wire can blend into a brown trunk; green wire may suit foliage nearby. Choose a steady light setting if you want a calm entryway rather than an animated display.
Before installation, inspect the strings and test them according to their instructions. Set aside damaged products. The Consumer Product Safety Commission’s holiday decoration guidance covers inspection and recommends switching decorative lights off before bed or leaving home.
Plan the route from a suitable outdoor outlet before choosing the first wrap. CPSC also recommends GFCI protection for outdoor lights. Keep cords out of walking routes, doors, and places where garden tools could catch them. Follow the product instructions for weather exposure and connection covers; a plastic bag is not a substitute for a suitable outdoor connection system.
Check the actual label for the maximum number of connected strings and the permitted electrical load. There is no single string count that applies to every LED product. If the available outlet or power arrangement is unsuitable, have an electrician resolve that before decorating.
Estimate how much light string the trunk needs
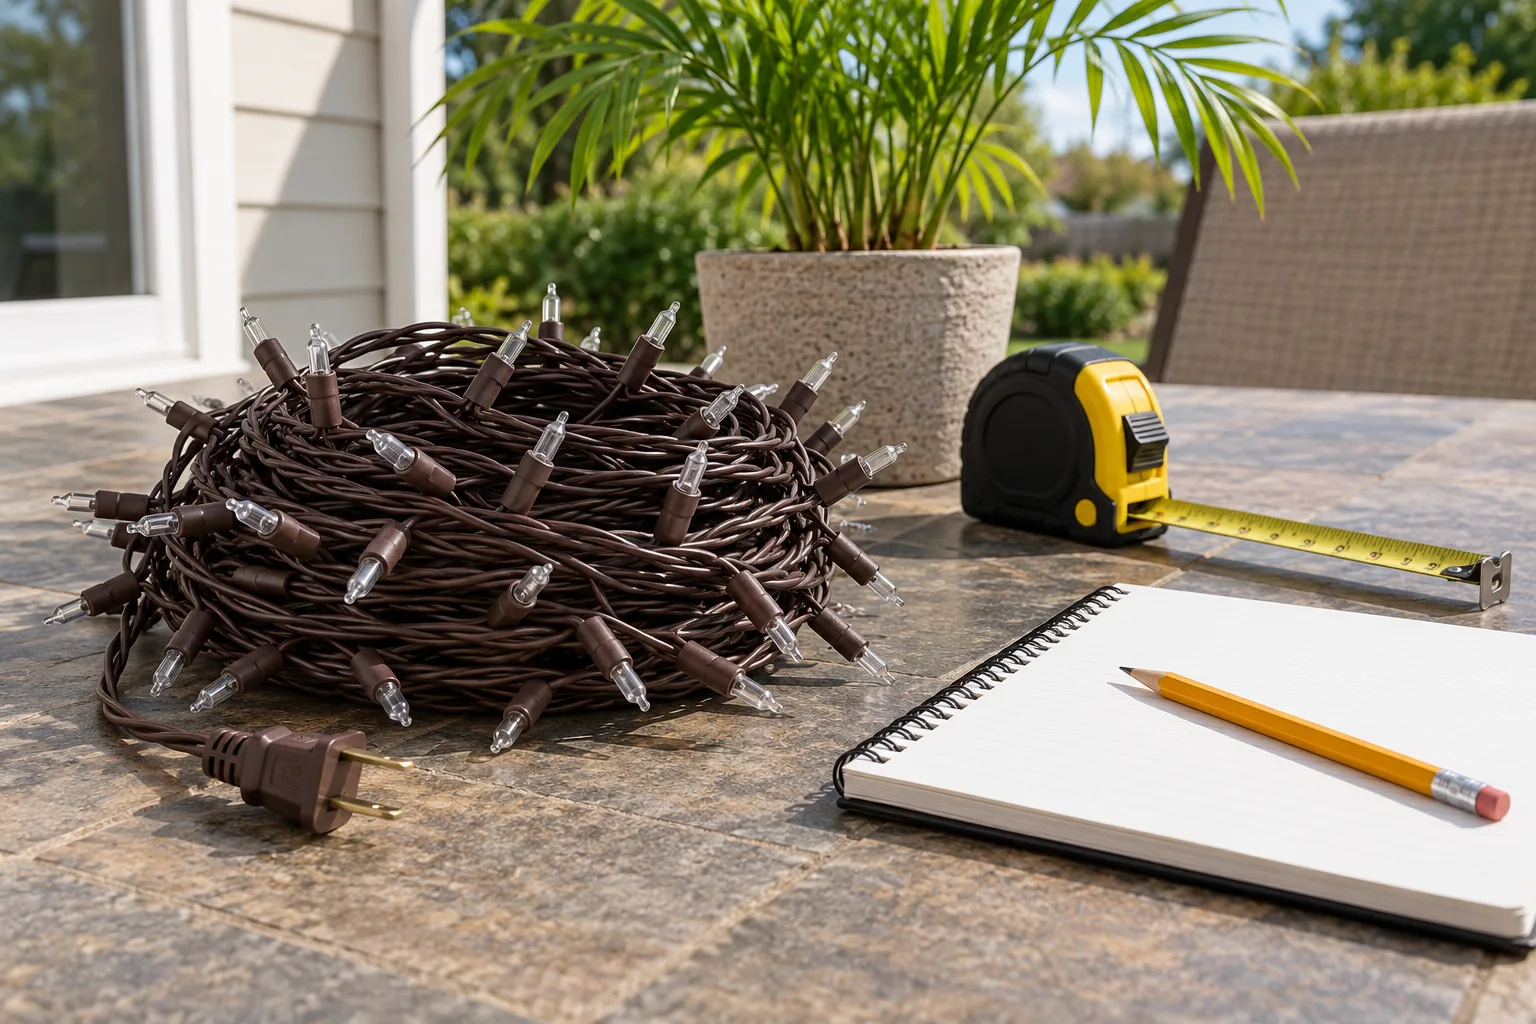
Measure the height you intend to wrap, the trunk circumference, and the vertical gap between turns. Keep all three measurements in the same unit. For a rough estimate:
Number of turns = wrapped height ÷ vertical spacing.
Illuminated length ≈ number of turns × trunk circumference.
For example, a 4-foot-high section of trunk with a 2-foot circumference and a 4-inch gap needs about 12 turns. That is roughly 24 feet of illuminated string. The slightly longer spiral path makes the geometric length about 24.3 feet on a straight, uniform trunk. This is an illustration, not a universal shopping quantity: taper, uneven bark, the starting position, and extra routing change the result.
Read the package carefully. “Total length” may include an unlit lead; the illuminated length determines how far the wrap can go. Add the measured route to the power source and allow for the intended connection arrangement. Never stretch the cord to make a too-short set reach.
Try a wider gap if you prefer a subtle glow, or a closer gap for a denser effect. Test a small accessible section first and view it from your main viewpoint before committing to the whole trunk.
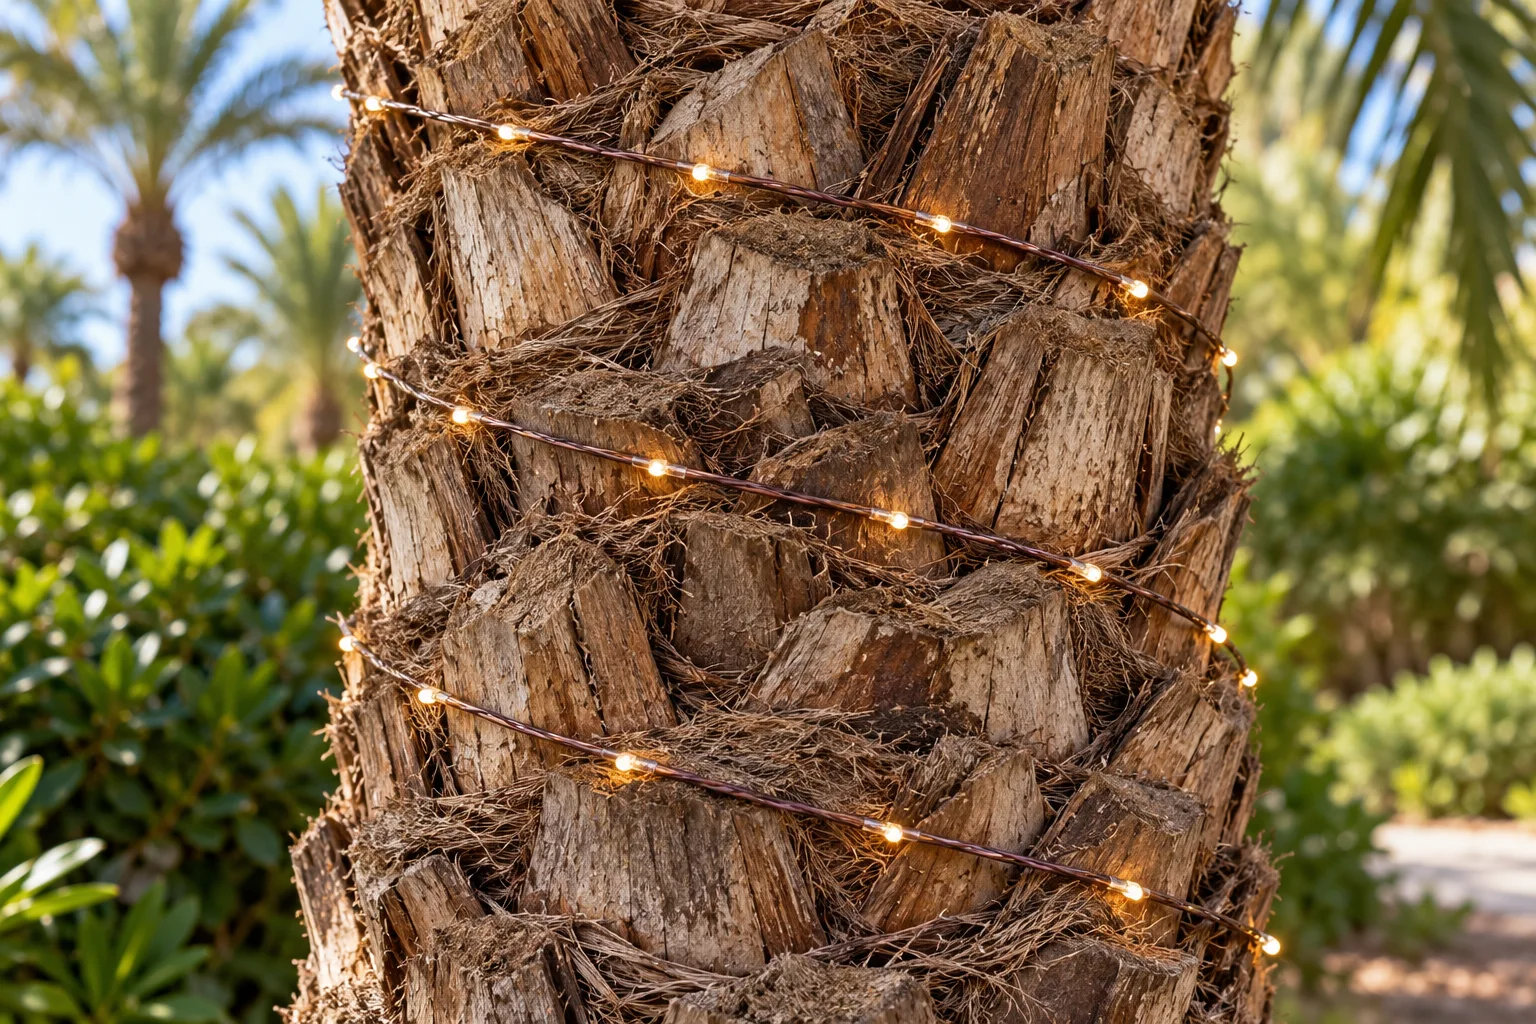
Wrap the accessible trunk in an even spiral
- Choose the stopping point first. Keep DIY work to a section you can comfortably reach from firm ground. Do not climb the palm, stand on a planter, or lean into spiny leaf bases. Have a qualified installer handle elevated work.
- Start near the base with the string unplugged. Leave the lead where the planned power connection belongs. Keep the coil manageable so it feeds out without knots.
- Work upward with consistent spacing. Lay the wire gently against the trunk, leaving it relaxed rather than pulling it tight into the bark. Follow the trunk’s shape; do not force identical spacing over every irregularity.
- Use only suitable non-puncturing support. Follow the lighting manufacturer’s attachment instructions. Do not use nails, screws, staples, or wire cinched around the trunk. If the string will not stay in position without damaging attachments, change the layout or choose uplighting.
- Check the display from a distance. Once the installation and connections are complete, switch it on and inspect it from the intended viewpoint. Unplug it again before adjusting the wraps.
Protecting the trunk matters. University of Florida IFAS Extension’s palm maintenance guidance advises against driving nails directly into palm trunks. Skip puncturing fasteners even if another decorating tutorial suggests them.
For multiple palms, repeat the same spacing and light color. Matching the visible height of each wrapped section can look more intentional than using the same number of strings on trunks of different sizes. Do not run unsupported light strings between trees; that is a separate installation with different support needs. Our guide to hanging outdoor string lights across a patio explains planning spans and supports.
Decide whether the canopy needs lighting
A lit trunk beneath natural fronds is already a complete look. It is also easier to remove later. Resist the temptation to bridge the remaining distance to the crown with a tight cord or to hang heavy decorations from leaf tips.
For an illuminated canopy, consider a landscape uplight rated for its location. Position it according to the manufacturer’s instructions in a planting bed where it will not create a trip hazard or interfere with maintenance. Aim it at the foliage, then check the view from neighboring windows and the street so it does not create unwanted glare.
If you want strings tracing the fronds, ask an experienced installer to assess access, attachment, weather exposure, and removal. That is especially useful for tall palms. A trunk-only display or uplight is a sensible finished choice when the canopy cannot be reached safely.
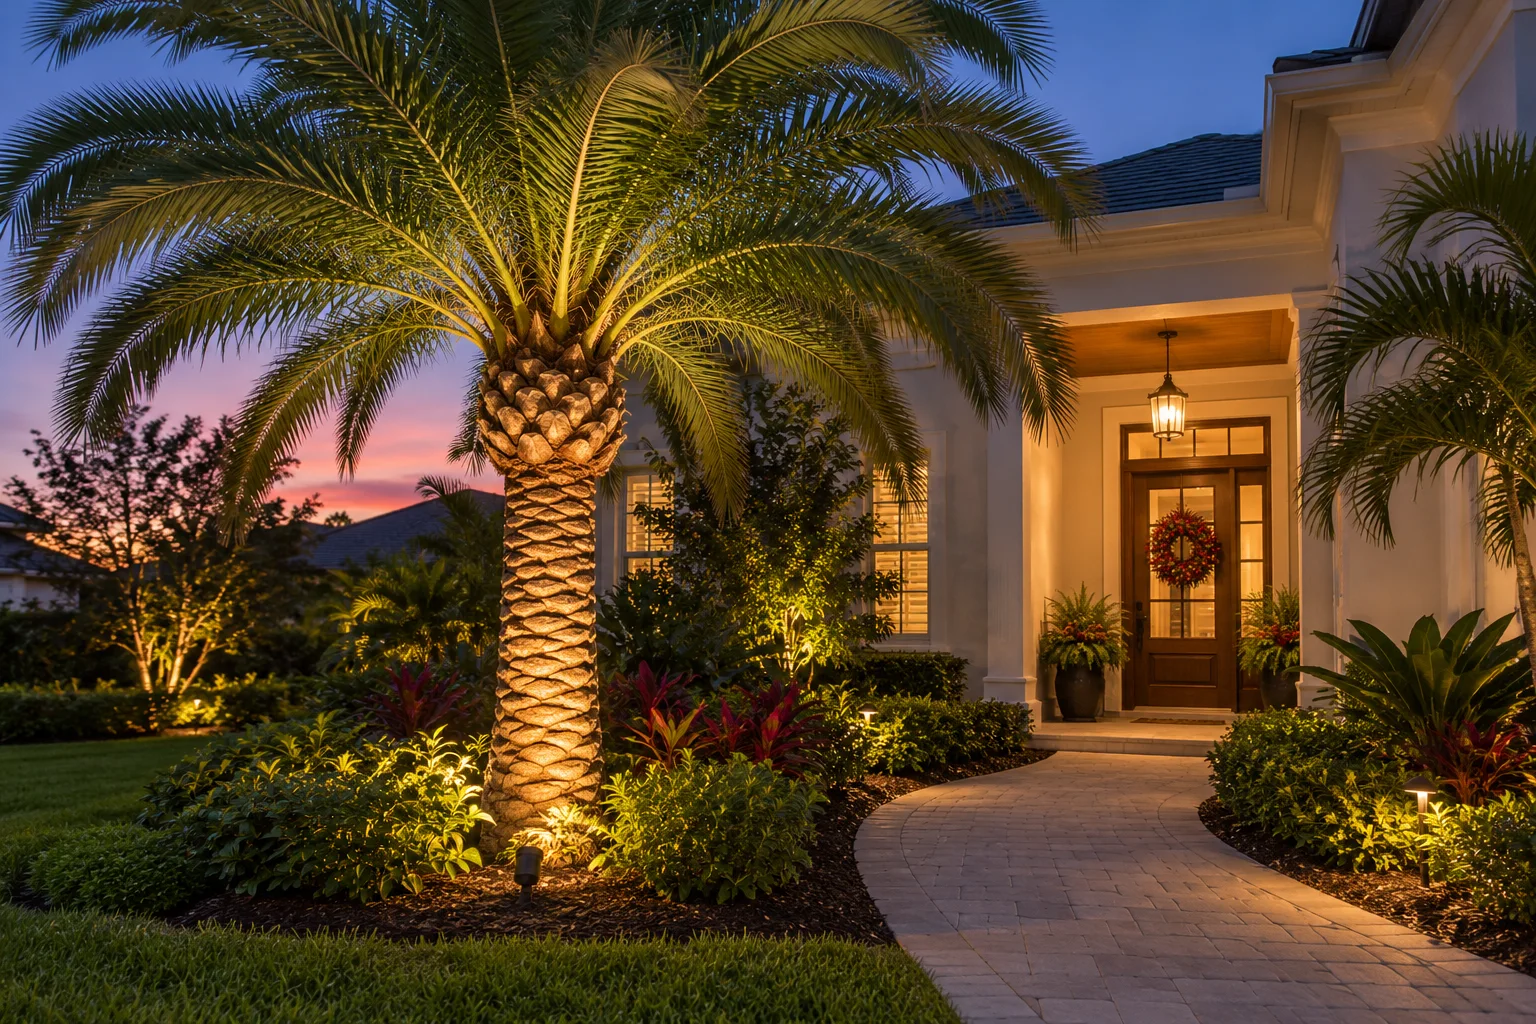
Make the Christmas colors feel connected
Pick one light color and one or two accents. Repeat the accents at ground level or on the house rather than filling every frond. These combinations create different moods:
- Warm white, red, and natural greenery: use warm-white trunk lights with a red door wreath or a bow on a nearby container. This is an easy bridge between tropical landscaping and traditional Christmas decor.
- Warm white, champagne, and sand: pair the lights with neutral planters and restrained metallic details under shelter. It suits a softer coastal setting without needing seashell ornaments on the tree.
- Multicolor lights with one repeated accent: let the bulbs supply the variety and use a single ribbon color elsewhere. Keep other illuminated decorations simple so the palm remains legible from a distance.
These are styling suggestions, not rules. If the porch or roofline is already lit, match its white-light tone where possible. A cool-white palm beside a warm-white porch can look accidental unless the contrast is part of the plan. For more combinations, see our Christmas color scheme guide.
Use outdoor-suitable accents where exposed. Secure them to suitable containers or separate decor supports, keep drainage clear, and leave the palm’s growing point and foliage uncrowded. Avoid wrapping the base in fabric that hides irrigation, drainage, or light connections.
Decorate an indoor potted palm without weighing down the leaves
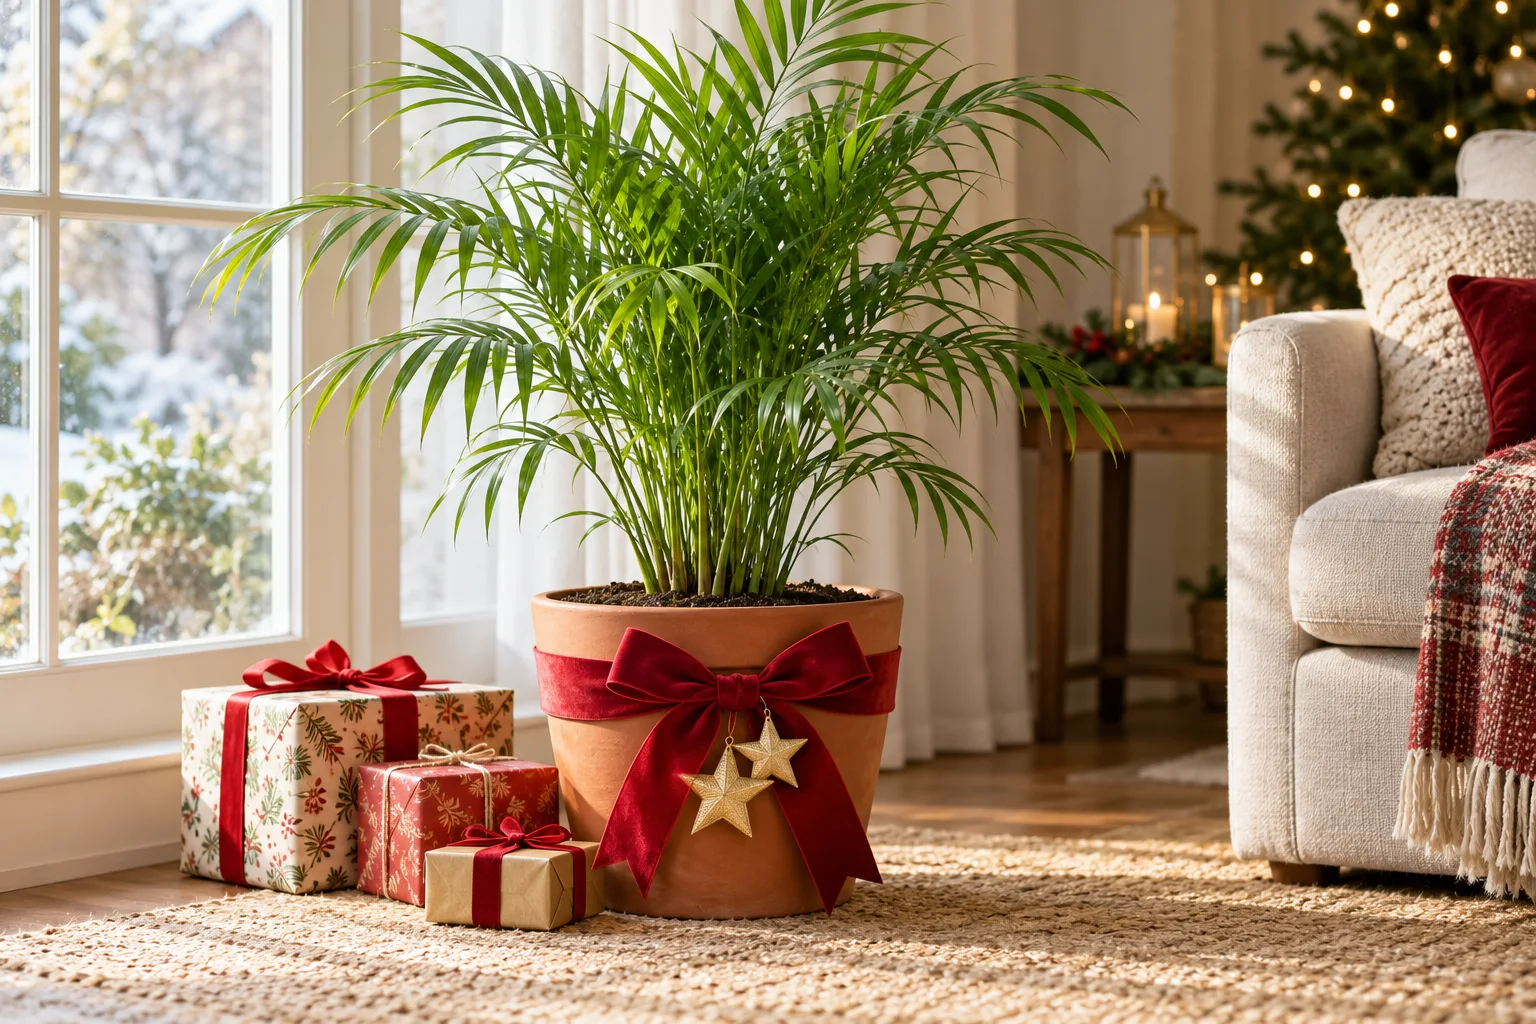
Start with the pot: tie a broad ribbon around the outside, add a small bow, and arrange a few gifts beside it. Attach lightweight decorative stars to the ribbon rather than to the plant. Keep the soil accessible for watering and leave the drainage arrangement working.
A potted palm does not need to carry the same ornament load as a Christmas tree. Leave delicate leaflets and the central new growth free. If you use lights nearby, choose a product suitable for its location and keep electrical parts away from watering. Check the plant and light manufacturer’s guidance before placing a string directly on it. Container decoration alone can provide the Christmas effect.
Keep the palm in an appropriate position for its light and temperature needs instead of moving it beside a fireplace for the photograph. Keep exits and everyday walking routes open.
Check the display during the season and remove it carefully
After windy or wet weather, switch the display off and check for slipped strings, damaged cords, and displaced decorations before using it again. Stop using any damaged set. Do not work on wet energized equipment. Follow the product instructions and get professional help if an outlet trips repeatedly or the electrical arrangement is uncertain.
At the end of the season, unplug the lights and unwind each turn gently. Do not pull the entire string down through the fronds or leave tight wraps in place for next year. Remove any attachments, inspect the cord, and store the labeled strings where they can dry and remain protected.
Common questions about Christmas palm decorations
Do you have to decorate the fronds?
No. A neat trunk wrap, a softly illuminated canopy, or decorated pots around the base can each carry the display. Choose the option that suits your access and the view from the house.
Can you use a net light around the trunk?
Only if the product is intended for that use and fits without being stretched or cinched tightly. Measure the trunk and check the product dimensions and attachment instructions. A mismatched net can bunch up or pull against the palm; a loose string wrap may be easier to control.
What if the light string runs out before the stopping point?
Unplug it, then adjust the spacing or use an appropriate compatible string within the manufacturer’s connection limits. Do not stretch the wire, improvise electrical joins, or leave a loose strand hanging down the walking side of the tree.
Is this the same as decorating a “Christmas palm”?
The decorating method concerns an existing palm used for a holiday display. “Christmas palm” is also a plant name; it does not mean the plant needs festive ornaments. Identify your plant and consider its size and structure before adding decorations.
A good place to stop is when the trunk or canopy reads clearly from your main viewpoint and the entry still feels easy to use. Repeat a color on the door or pot, keep the foliage free, and let the palm’s own shape do the rest.

Ethan Miller
Ethan Miller writes about home improvement, interior design, cleaning, and everyday living at Home & Living Daily. He shares practical tips and simple ideas to help readers create more comfortable and functional homes.