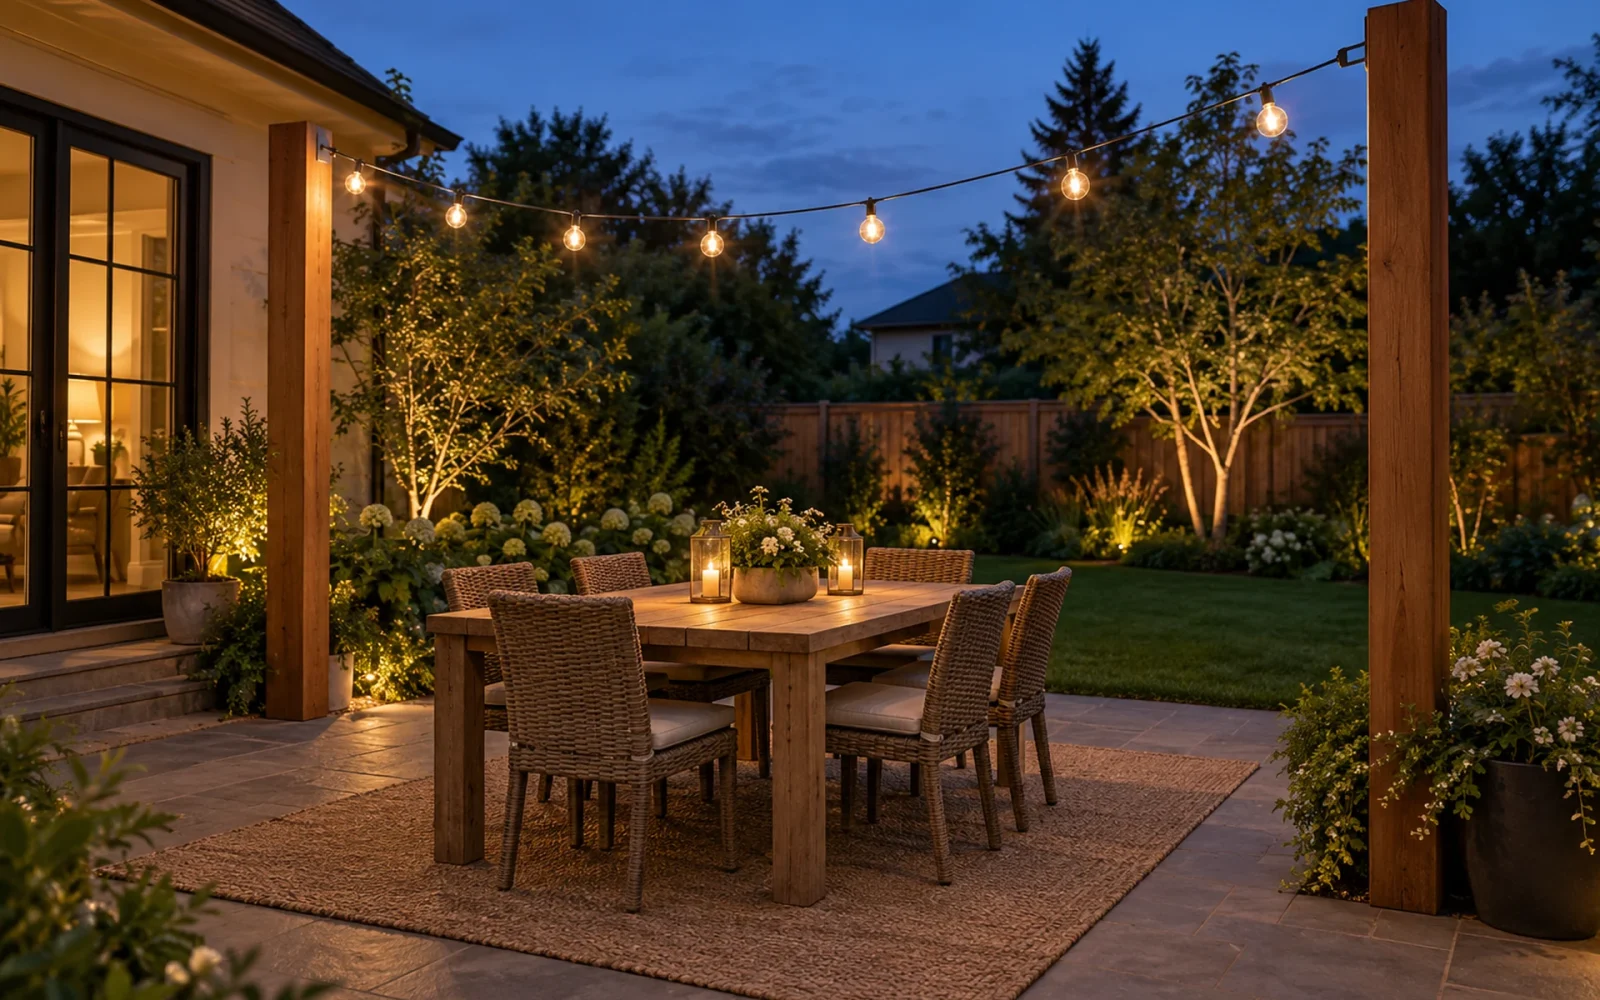
Hang outdoor string lights by planning the route from a suitable outdoor power source, choosing sound mounting points, and supporting the lights with the hardware specified for the product. For many suspended installations, a separate support cable carries the load while the light string hangs from its designed loops or clips. The electrical cord should not be pulled tight between posts or left carrying tension through a plug connection.
This guide covers hanging a plug-in light set, not installing an outlet or altering fixed wiring. New circuits, damaged receptacles, uncertain structural fixings, and installations near pools need the appropriate qualified help before the lights go up.
Plan from the outlet toward the seating area
Locate a working, appropriately protected outdoor receptacle first. Draw the power route and the overhead pattern separately. The distance from the outlet to the first lit section can use up a surprising amount of cable, and the lead cord may be shorter than the advertised overall string length.
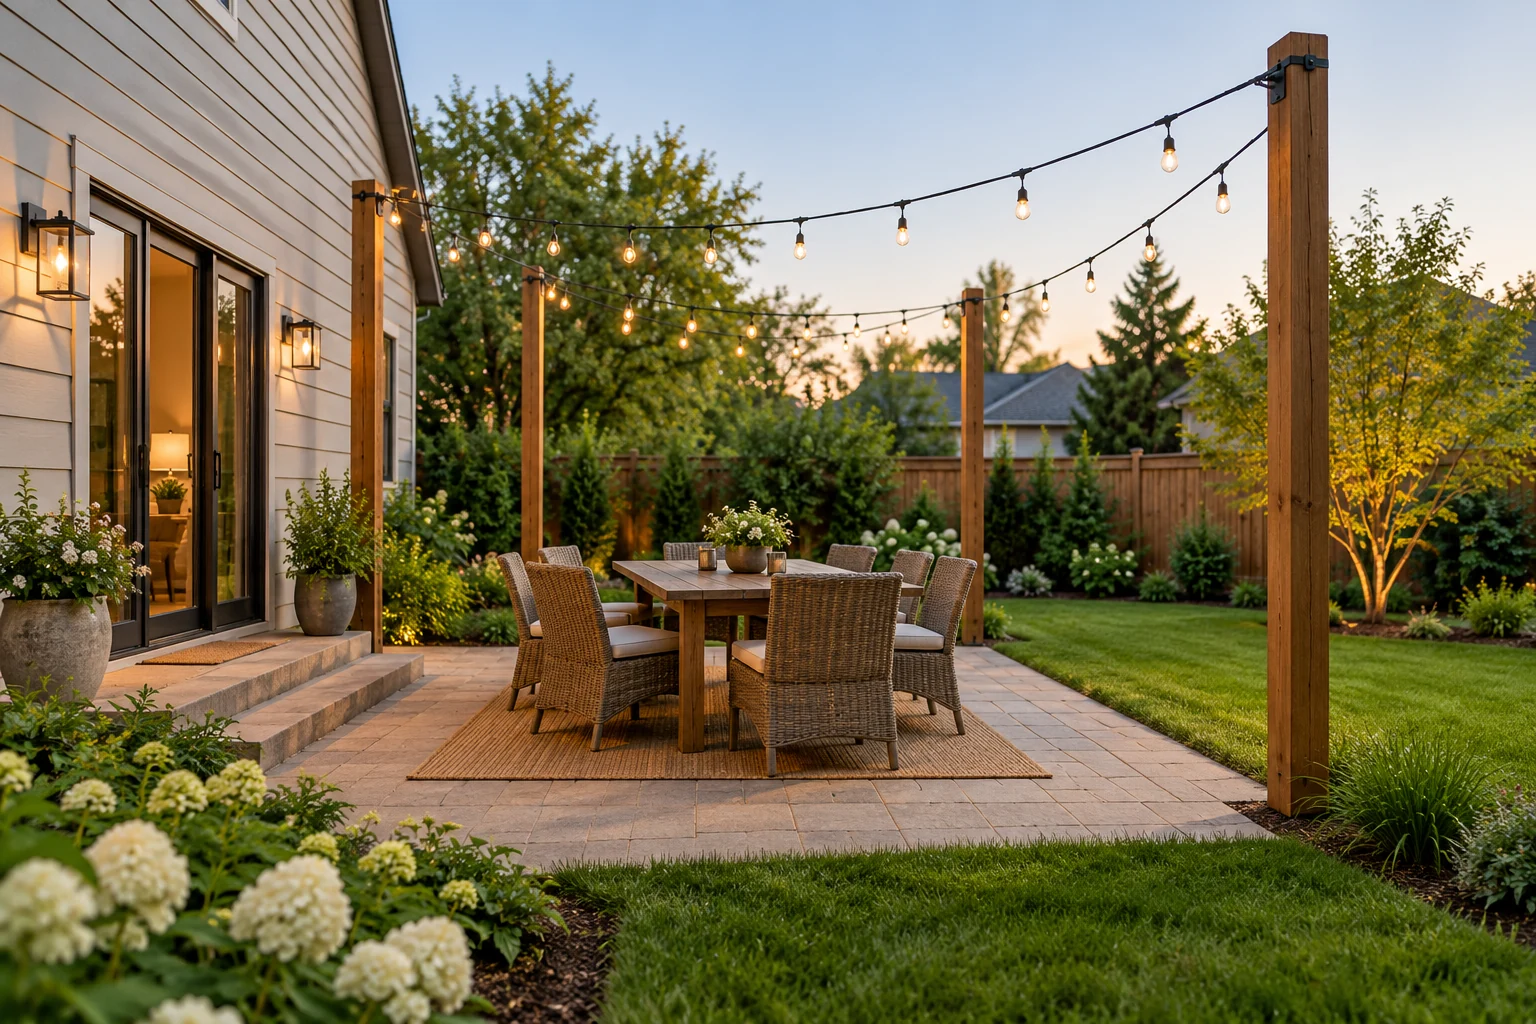
Choose the simplest pattern that lights the area you use. A perimeter or one crossing span may be enough over a small table. Additional zigzags create more attachment points, more cable, and more load on the supports. They can also place bright bulbs directly in the view from a chair or window.
Measure along the intended route, including turns and the planned drape. Do not buy exactly the straight-line distance between two posts and then stretch the cord to make it fit. Use the manufacturer’s allowed span and support instructions; there is no single correct amount of slack for every set.
Check the entire light set, not only the bulbs
Confirm that the string, connectors, power supply or controller, and any accessories are approved for their actual exposure. A sheltered porch and an open yard receive different amounts of water. “Outdoor” on a shopping page does not tell you the operating limits of every component.
Read the maximum connected length, number of sets, and wattage limits for the exact model. Also check bulb replacement, dimmer, timer, and smart-plug compatibility. A low bulb wattage does not permit unlimited strings to be linked together.
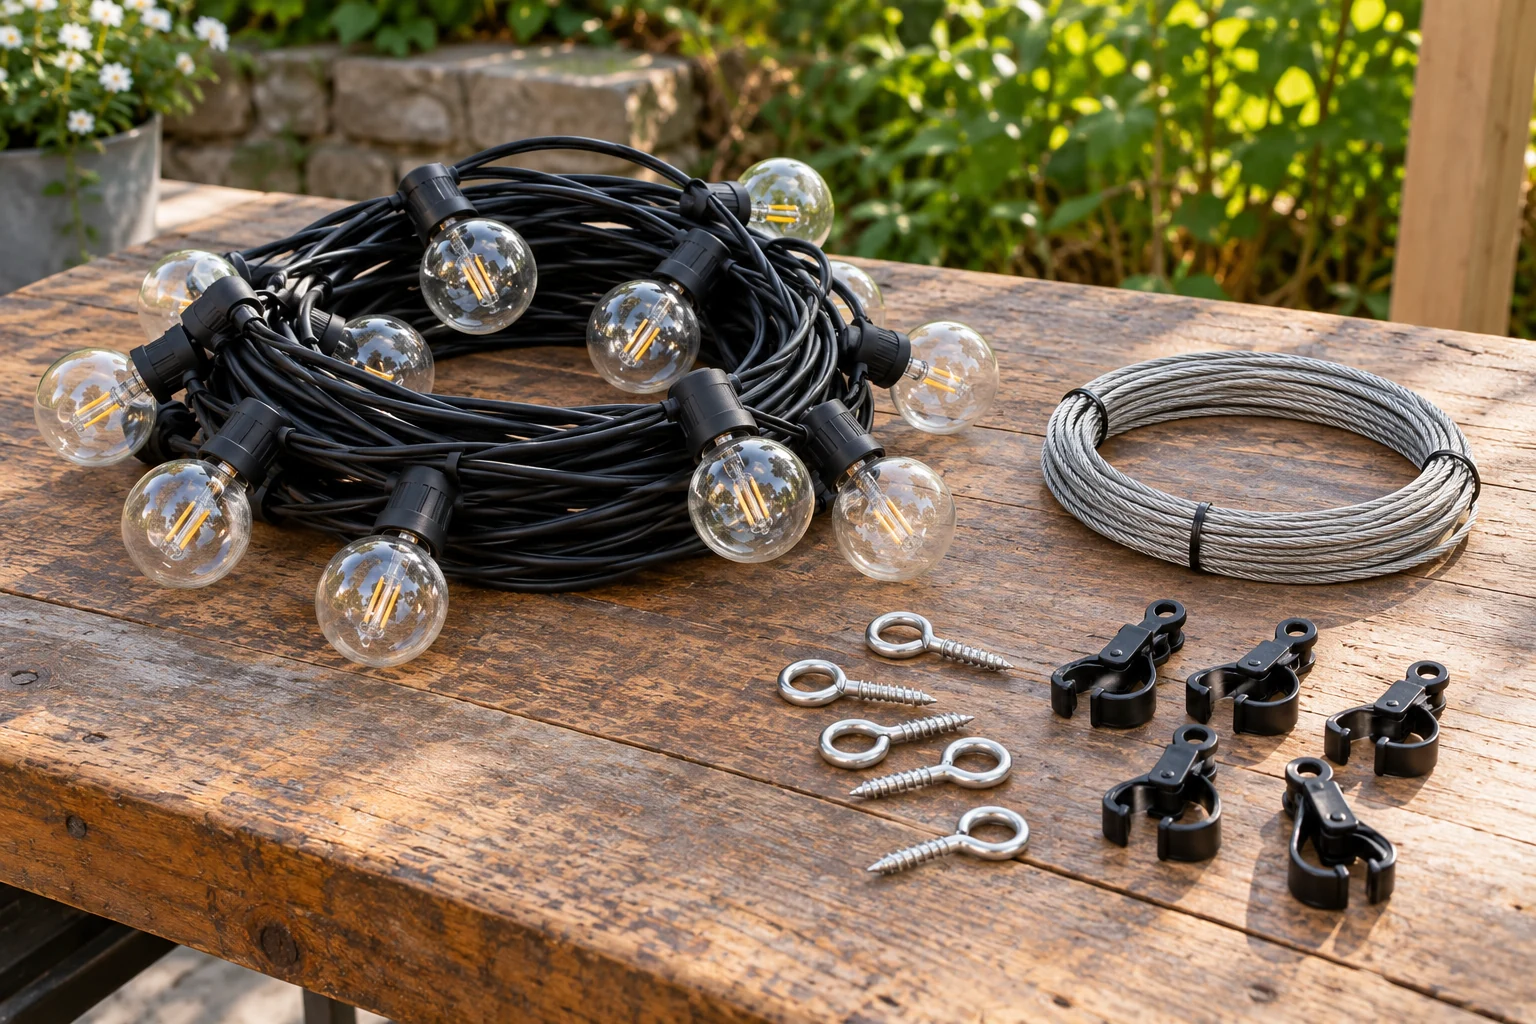
Inspect the unplugged set for damaged insulation, loose sockets, cracked components, or missing connector caps. Test a new set as directed before hanging it, then unplug it again for installation. Do not shorten a factory-wired strand by cutting its cord or improvise repairs to damaged wiring.
Choose supports that can take the load
A substantial-looking fence panel, decorative pergola trim, or gutter is not automatically a suitable anchor. Identify the actual supporting material and use a fixing designed for it. If you cannot establish what is behind siding or where a load will go, choose another support or get it assessed.
Freestanding light poles need an installation appropriate to their height, span, wind exposure, and the number of attached runs. A small planter filled with soil is not proof that a post will stay stable. Follow a purpose-made support system’s instructions rather than copying a photograph of a different installation.
Keep posts out of the walking line and allow for gates, doors, furniture movement, and yard equipment. Do not work near overhead utility lines. Use suitable access equipment on firm, level ground and avoid reaching sideways from a ladder to make up for poor positioning.
Install the supporting system before hanging the lights
Where the model requires or permits a guide wire, install its supports and hardware first. The wire, clamps, tensioning hardware, and anchors need to work together. Follow the specified terminations and tensioning method; pulling a cable as tight as possible can increase forces on its supports.
Feit Electric’s mounting guidance shows a separate guide wire with hanging attachments for its light strings. Use the instructions for your actual set rather than transferring every detail of that example to another product.
- Position the anchors. Confirm the mounting surface, allowed span, and intended clearances before drilling or fitting hardware.
- Install the support cable where specified. Secure and adjust it using the selected system’s components, without relying on the light cord to hold the supports together.
- Hang the unpowered string. Begin with the supply end oriented toward the outlet and attach the designated hanging loops or mounting points.
- Work along each span. Fit the approved clips without pinching insulation or putting strain on bulbs, socket connections, or plugs.
- Check the lowest point. Allow for the final drape and bulb drop, and adjust the layout to preserve clearance along the whole route.
Do not drive staples or nails through the cord. If ties or clips are permitted, use the correct outdoor-compatible type and do not tighten them enough to deform the insulation. Keep the lights clear of vegetation, curtains, hot appliance surfaces, and other obstructions as required by the product.
Inspect at each change of direction. A neat corner should not become a sharp bend, a pinched wire, or a plug carrying mechanical strain. The Christmas Lights, Etc. installation guide also distinguishes the support-wire step from hanging and connecting the light strings.
Keep the electrical connection protected
Use appropriate GFCI protection and an outdoor receptacle cover suitable for the connection while it is in use. Feit’s outdoor-use guidance explicitly calls for a covered GFCI outlet for its string lights. If you are unsure whether the available supply or cover is suitable, have an electrician check it.
Where an extension cord is allowed for the intended temporary use, it must be rated for outdoors and adequate for the load. Keep cords and connections out of standing water and away from pinch points. Do not run them through a closing door or window, underneath a rug, or where they will be walked on or damaged by equipment.
The CPSC’s electrical-safety guidance recommends outdoor-marked extension cords and working GFCI protection. An extension cord should not become a substitute for a properly installed permanent power supply. Do not remove a grounding pin or bypass protection to make a plug fit.
Use the supplied seals and caps as directed, including at an unused end connector. Do not assume plastic bags, household tape, or an improvised enclosure makes an unsuitable connection weatherproof. Keep the product instructions available for inspection and seasonal removal.
If there is no suitable outdoor outlet
Consider a solar or battery-powered set intended for the location, or have a suitable supply installed. For solar products, check where the panel will receive light and what the manufacturer says about charging and runtime. Do not assume a decorative set will provide the lighting needed for steps or a walking route.
Choose an alternative that resolves the power problem rather than creating a long improvised cord route from indoors. If the only feasible arrangement puts wiring across doors, paths, or wet ground, revisit the layout before buying more lights.
Check the installation in daylight and after dark
Before powering the set, check every support, hanging point, socket, and connector. Confirm that no electrical connection is holding up a span, the lowest bulbs have appropriate clearance, and the route is clear when doors and gates open. Follow the product’s GFCI and operating checks.
Then assess the result after dark from the table, the house, and neighboring sightlines. Adjust compatible dimming or the layout if bulbs cause glare. String lights can create pleasant ambient light without being the right solution for every task.
Inspect again after wind or severe weather, and remove or store the set when its instructions call for it. A successful installation is one you can examine, maintain, and take down without improvising new supports or electrical connections each season.

Ethan Miller
Ethan Miller writes about home improvement, interior design, cleaning, and everyday living at Home & Living Daily. He shares practical tips and simple ideas to help readers create more comfortable and functional homes.