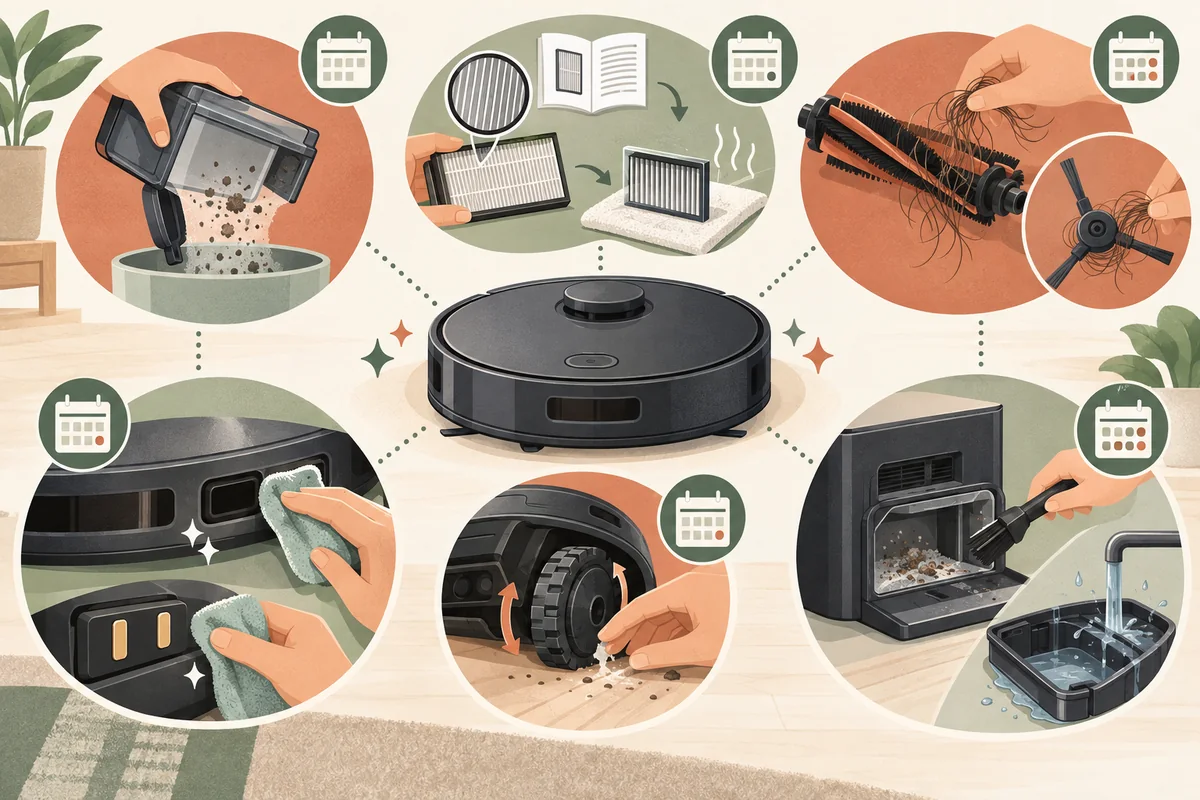
A robot vacuum still needs regular care: dustbins fill, hair wraps around brushes and wheels, and debris can collect on sensors and dock parts. A good routine is simple, but the exact cleaning method and replacement schedule vary by model. Check your owner’s manual or app before rinsing a part, removing a component, or ordering a replacement.
For most homes, begin by emptying the bin and checking the brush after a cleaning run. Add a weekly look at filters and wheels, then inspect sensors, contacts, and dock areas monthly or whenever performance changes. Treat these as convenient checkpoints rather than universal manufacturer intervals.
Research reviewed October 14, 2026. The illustrations are custom visuals, not product tests or photographs of a specific home.
Before you clean: power down and check the manual
Pause the robot and remove it from the dock. Turn it off if the manufacturer’s instructions call for that before maintenance. Keep liquids away from openings, motors, electronics, and charging parts. Use the supplied cleaning tool or a soft, dry cloth unless the manual specifies another method.
Make a note of which components are washable. Some dustbins can be rinsed while their filters must stay dry; other models may allow washing a particular filter. Let every washable part dry completely before reinstalling it. Never assume two filters that look similar have the same care requirements.
Empty the bin and care for the filter
Remove the dustbin as directed and empty it into a trash can. If the bin has dust on its interior, use the included brush or a dry cloth. Rinse it only if the manual says it is washable, and keep the filter out of the water unless the manufacturer explicitly says that filter can be washed.
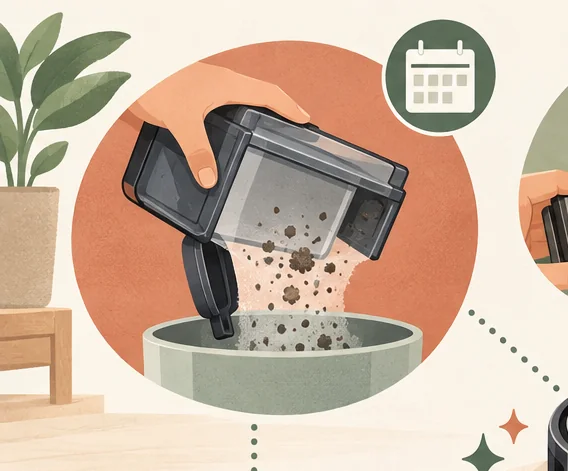
For a dry-only filter, gently tap loose dust into the trash or use the cleaning approach specified by the manufacturer. Avoid hard brushing, compressed air, or washing unless approved; these can damage filter media or push debris deeper. If a washable filter is permitted, rinse it only as directed and leave it to dry fully before putting it back.
Replace a filter when its manual or app indicates, or when it is damaged and the manufacturer recommends replacement. Published schedules differ: for example, iRobot’s s Series care chart says to clean the filter weekly (twice weekly with pets) and not wash it. That schedule is specific to the listed Roomba models, not a rule for every robot.
Remove hair from the main brush and side brush
Turn the robot over on a soft surface. Release the brush cover, remove the roller if the model allows it, and clear hair, thread, and lint from the brush and its ends. Use the supplied cutter carefully, keeping the blade away from bristles and rubber fins. Check the brush chamber and end caps for packed debris, then reinstall the parts securely.
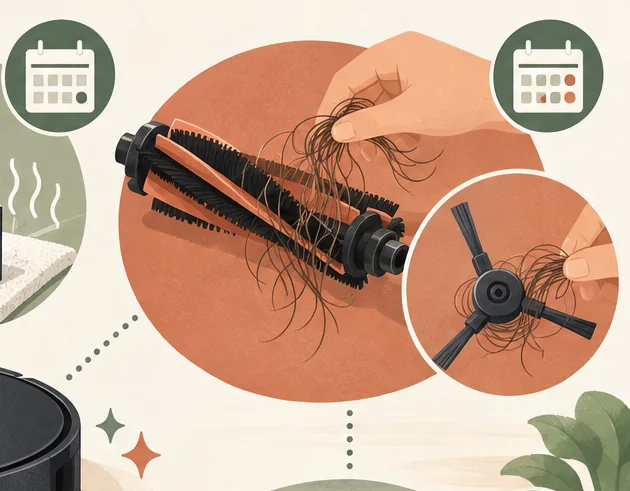
Remove hair from the side brush and confirm it turns freely. Do not force a screw or bearing that the instructions do not identify as user-removable. Replace brushes that are cracked, bent, missing bristles, or beyond the manufacturer’s recommended service interval. Homes with pets or long hair may need more frequent checks.
Wipe sensors, charging contacts, and wheels
Dust on cliff or navigation sensors can interfere with movement. Wipe the sensor windows gently using the cloth and method recommended for your model; many manufacturers advise a clean, dry microfiber cloth. Avoid spraying cleaner directly onto the robot.
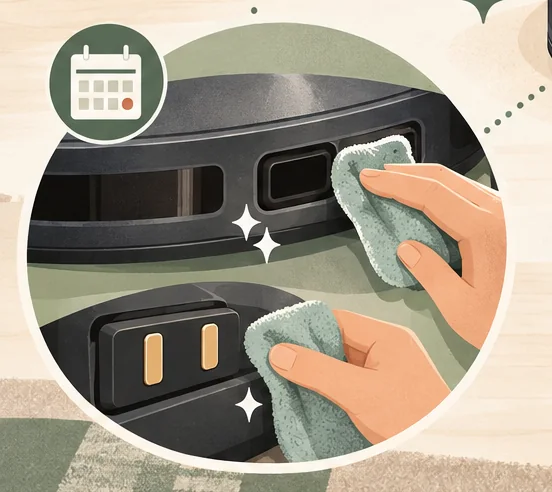
For charging contacts, follow the manual’s instructions. Some manufacturers specify dry cloths, while others describe a lightly dampened material and require the dock to be unplugged first. Because recommendations differ, do not use abrasives or add liquid unless your model’s support page says to.
Check the front caster and drive wheels for hair, threads, or grit around the axles. Remove only parts the manual says are removable, and clear debris without pulling on wires or seals. If a wheel remains stuck or damaged after basic cleaning, consult the manufacturer rather than opening the robot.
Clean an auto-empty or mop dock
A self-empty base may have a disposable dust bag, a removable filter, and an intake or blower cover that needs occasional inspection. Replace the bag when the app or indicator prompts you, and clear dock debris only as described in the product instructions. Unplug the base before cleaning parts that the manual says require it.
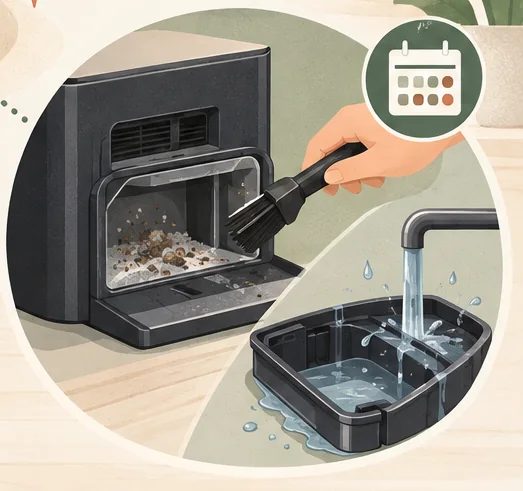
For a vacuum-and-mop station, empty dirty water, refill clean water, and rinse the wash tray or mop pads only as directed. Dry removable pieces before storage when the instructions call for it. Use only an approved cleaning solution; household detergents can leave residue or damage internal tubing. A dock that washes pads still needs periodic inspection.
A simple robot vacuum maintenance schedule
- After a run, or when prompted: empty a non-self-emptying bin, remove obvious hair, and check for a wet spill or debris that needs attention before the next cycle.
- Weekly starting point: inspect the roller, side brush, filter, and wheel axles. Increase checks if you have pets, long hair, heavy dust, or daily cleaning.
- Monthly starting point: wipe sensors and contacts using the approved method; inspect the caster wheel, dock intake, bag area, and mop tray if equipped.
- At the app or manual interval: replace filters, brushes, bags, or mop pads with compatible parts and reset maintenance reminders if your model requires it.
Use the app’s accessory-life screen if available, but follow the manual when its instructions differ from generic schedules online. For a model-specific example, iRobot’s care-frequency chart gives separate routines for older Roomba series and distinguishes care from replacement timing.
When cleaning does not fix the problem
If the robot still leaves debris, loses charge, or reports a sensor or brush error after care, use its app and model-specific support instructions to troubleshoot the symptom. Our robot vacuum troubleshooting guide covers common charging, pickup, navigation, and connection problems.
Stop using the robot if you notice a damaged battery, burning smell, exposed wiring, or unusual heat. Do not open a battery pack; contact the manufacturer or a qualified repair service.
The takeaway
Empty the bin, clear hair from brushes and wheels, and keep sensors and dock parts free of debris. The safest schedule and cleaning method depend on the exact robot, filter, and dock, so treat general intervals as reminders and use the manufacturer’s manual for washing, tools, and replacement parts.
Source note: Care procedures and replacement intervals vary by model. This guide uses manufacturer instructions as examples and does not present one brand’s schedule as universal. Review the article when major care guidance or dock designs change.

Ethan Miller
Ethan Miller writes about home improvement, interior design, cleaning, and everyday living at Home & Living Daily. He shares practical tips and simple ideas to help readers create more comfortable and functional homes.