You can scan documents without installing another app. In Notes, open a note, tap the attachment button, and choose Scan Documents. In Files, open the relevant browsing location, tap the More (…) menu, and choose Scan Documents, then save the finished scan to a folder.
Use Notes when the pages belong with a note; use Files when you need an easily named document for a folder or upload. The last step is checking the saved result, not merely capturing a picture of the paper.
Prepare the page for a readable scan
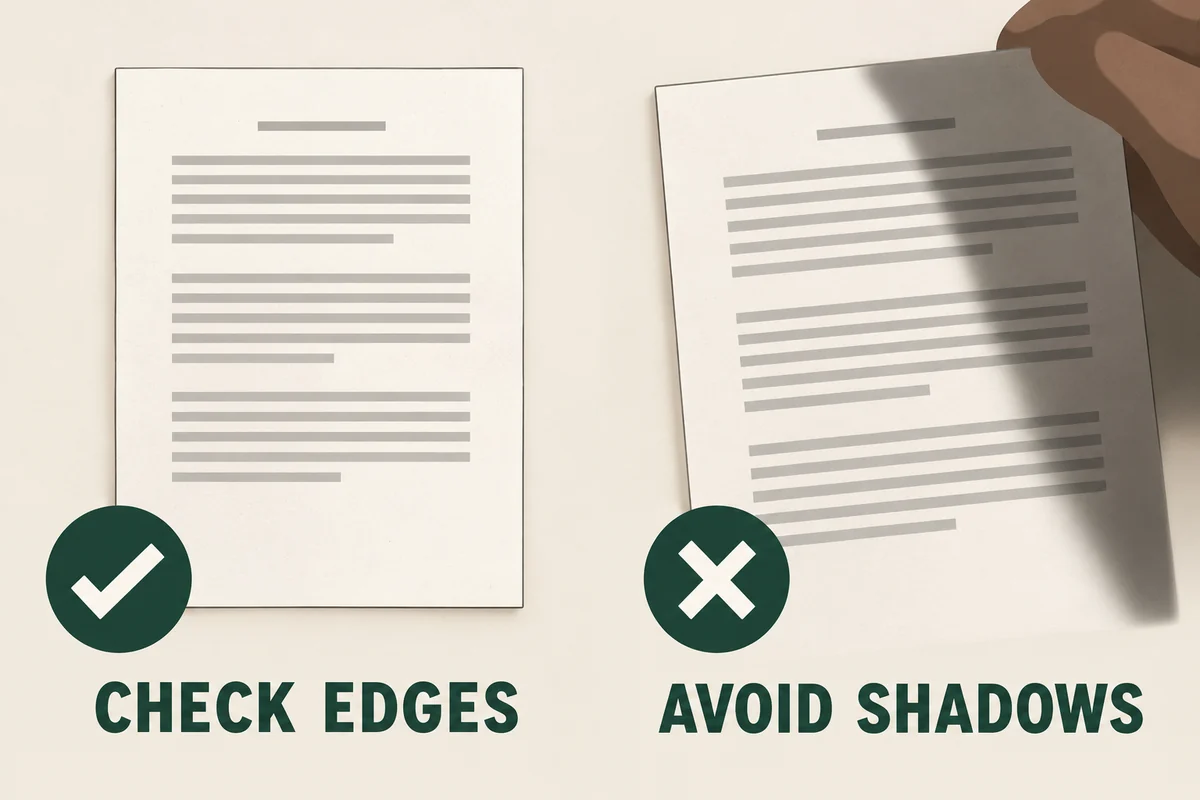
Flatten the paper on a contrasting surface and use even light. Position the phone above it so all four edges are visible. Watch for the shadow of your hand or phone, especially along small print.
For a folded document, check the crease before capturing. For a receipt, make sure the total and date are within the frame. These practical checks matter more than making the scan look dramatically black and white.
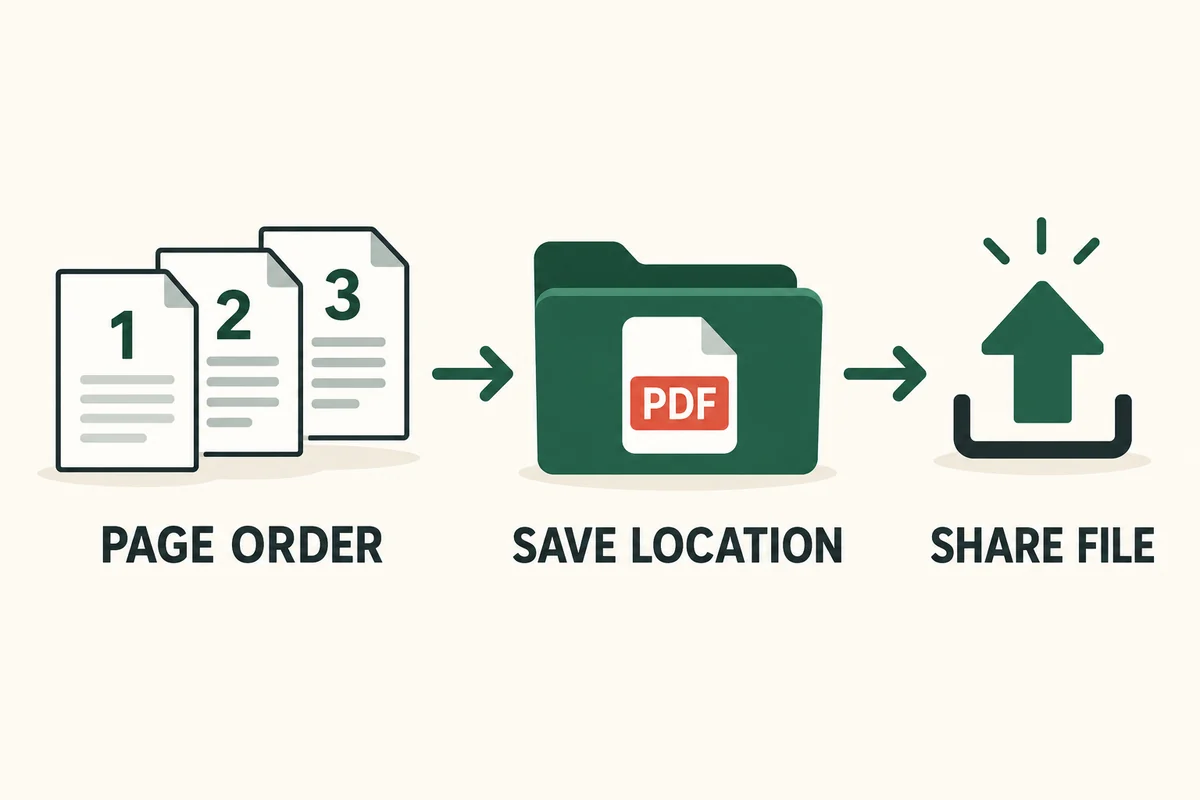
If several pages belong together, arrange them in order first. Put a finished page in a separate pile as you work. This simple habit reduces duplicate captures and missing middle pages when you are scanning a household form or a stack of receipts.
Scan several pages in Notes
Apple’s document-scanning instructions cover automatic capture, manual capture, crop adjustment, and adding more pages.
- Open Notes and create or select a note.
- Tap the attachment button, then Scan Documents. Some versions also offer a scanning action in the note’s More menu.
- Frame the page. Let Auto capture it, or use the shutter or a volume button for a manual scan.
- Adjust the corners if necessary and keep the scan.
- Capture the remaining pages, then finish using the displayed Done or save control.
Before sharing, open the scanned attachment and inspect each page. Zoom into a small line of text rather than judging only from a thumbnail. Retake a blurred page instead of hoping a later filter will reconstruct missing detail.
If you need a signature, Notes also provides Markup tools for a scanned document. Check that the receiving organization accepts the requested form of signature; placing a mark on a PDF does not by itself establish that it meets every submission requirement.
Save directly to a folder with Files
In Files, open the location you intend to use, choose More (…) > Scan Documents, capture the pages, finish, and choose the save location. This route is helpful when a website asks you to upload a document from the file picker.
Use a descriptive filename such as Warranty-receipt-2026-10.pdf rather than leaving several scans with indistinguishable default names. For an illustrative warranty claim, keep the receipt and any requested serial-number page together only if the recipient wants a single file.
Check the actual folder after saving. A file in iCloud Drive and a file under On My iPhone are different destinations, even if they look similar in a recent-files list. Remember the location you chose so you can find the document during the upload.
Share the document rather than an accidental screenshot
Open the saved scan, use its sharing or export controls, and inspect the attachment or copy offered. When the task requires a PDF, confirm that the selected item is the document rather than a screenshot of the preview or a shared note invitation.
Review page order, orientation, cropped edges, and readability before sending. If an upload has a size limit, check the actual file size and the recipient’s accepted formats. After any compression, inspect the smallest text again. A smaller file that cannot be read is not a successful submission.
Our guide to sending a fax from an iPhone covers a separate delivery route when the recipient specifically requires fax. Scanning creates the document; delivery still needs the correct destination and a completion check.
Conclusion
Choose Notes or Files by where the document needs to end up. Capture every page, inspect the saved copy, and confirm the file you actually share. Those checks turn a quick camera action into a document the next person can use.

Ethan Miller
Ethan Miller writes about home improvement, interior design, cleaning, and everyday living at Home & Living Daily. He shares practical tips and simple ideas to help readers create more comfortable and functional homes.