Smart home interior design means planning technology as part of how a room looks and works: where lights, shades, sensors, speakers, and controls belong, how they receive power, and how people use them. It is not a requirement to fill every room with devices or conceal every control.
Start with the room's activities and furniture, then choose technology that makes those activities easier. The best plan keeps everyday operation obvious while hiding avoidable clutter and preserving access for maintenance.
Start with the room and the routine
Draw the furniture, doors, windows, and the places people sit, work, and pass through. Mark the problems you want to solve: glare at a desk, a dark route to the bathroom, several lamps to switch off at bedtime, or equipment cables crossing a visible wall.
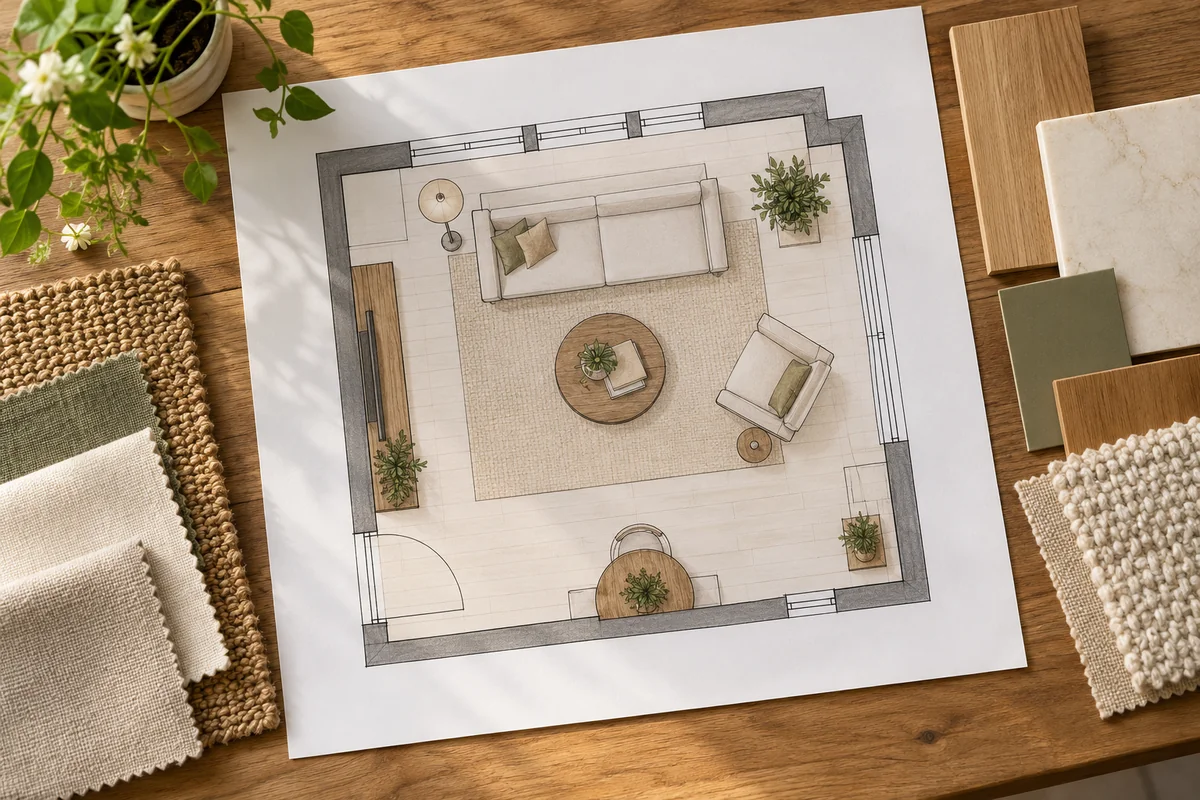
Describe each desired result in ordinary language. “One bedside action turns off the room's lights” is a useful requirement. “Everything should be smart” is not specific enough to guide the locations or purchase list.
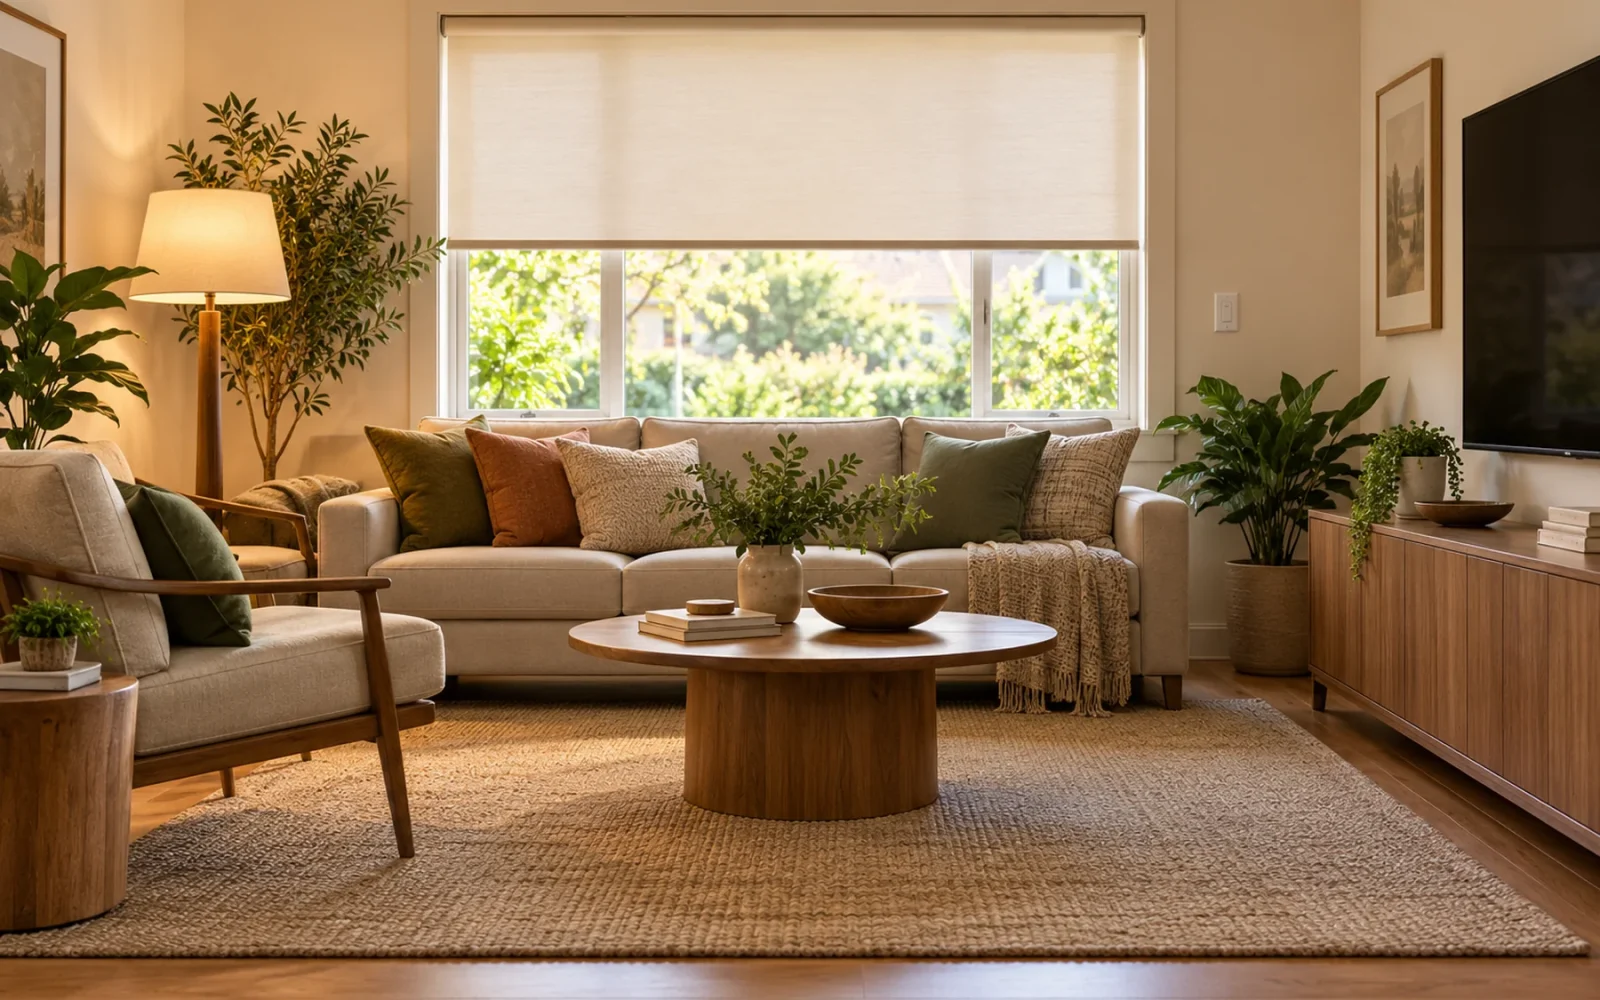
For an illustrative living room, the plan might include a reading lamp beside a chair, a softer evening lighting scene, and a shade that reduces afternoon screen glare. It need not include a touchscreen, a room camera, or a voice assistant unless those solve another real need.
Plan for the people who will use the room. A guest should be able to find a light control without installing an app. Someone sitting quietly should not lose the lights because a motion rule assumes an empty room.
Design the light before choosing the smart control
Begin with the lighting tasks: general illumination, reading, work surfaces, and accents. Fixture position, beam direction, glare, and the appearance of the light still matter after connectivity is added.
Then choose how the household should operate each light. A smart bulb can suit a lamp that needs individual dimming or color adjustment. An appropriate smart wall control may suit an entire circuit. Their behavior when someone uses the physical switch is a design decision, not a detail to postpone.
Keep the normal control in a predictable place and give each action a clear result. If the bulbs need continuous power, provide a supported control that sends commands without removing their supply. The smart-lighting setup guide covers these control paths and why conflicting routines can make a room frustrating.
Choose consistent faceplates, finishes, and mounting positions where practical. Consistency does not require every room to have the same number of buttons. It requires the buttons people see to behave in understandable ways.
Hide cables without hiding the functions
Conceal connections where it improves the room, but keep serviceable equipment reachable. A cabinet should let you replace a power supply, identify a cable, and access the device without dismantling the furniture.
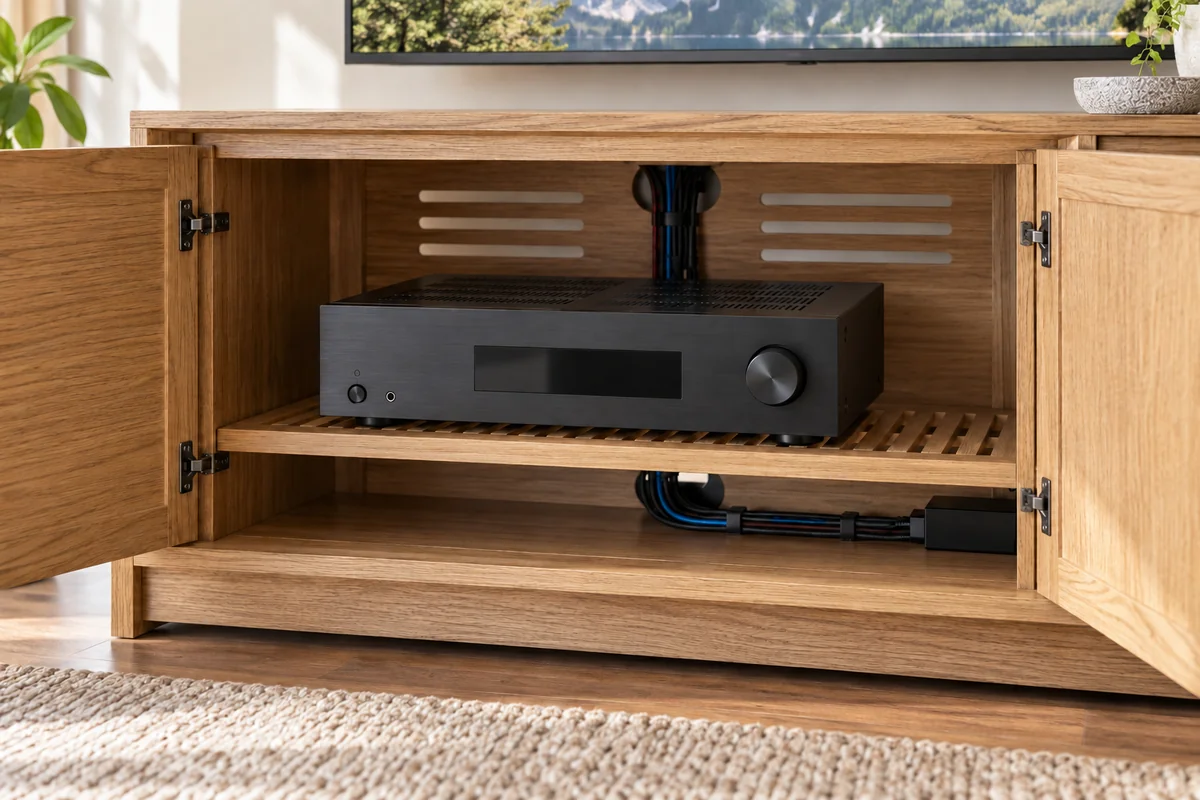
Ventilation and radio coverage can conflict with a completely hidden installation. A receiver may need clearances and airflow that a sealed drawer cannot provide. A wireless device can perform poorly inside an unsuitable enclosure. Test the proposed location rather than assuming “wireless” means placement is unrestricted.
| Element | What to coordinate with the room | What to preserve |
|---|---|---|
| TV and media cabinet | Screen, sources, power, and cable route | Ventilation and access to connectors |
| Motorized shade | Fabric, trim, motor side, and power | Charging or service access |
| Network equipment | Practical cable routes and coverage | Appropriate airflow and signal conditions |
| Sensors and controls | Sightlines, reach, and furniture | Detection coverage and ordinary operation |
If walls or cabinetry are being built, decide the equipment positions before the rough-in. The smart-home remodel wiring guide explains how to record power, data, pathways, and labels. Use it for the installation plan; the interior plan should establish where those endpoints belong.
Avoid specifying an exact cable merely because another room used it. The selected equipment, route, and installation requirements determine the suitable supply and connection. Coordinate that work with the relevant installer.
Treat window coverings as part of the composition
Choose fabric and mounting for privacy, glare, light filtering, or room darkening first. Then coordinate the motor, power, and controls with the window design.
A concealed shade pocket can look tidy while making a battery connection or motor difficult to reach. A planned power point can reduce visible cable, but it needs to be on the correct side and suitable for the chosen system. Do not finish the trim around an assumed future motor specification.
Motorization and app control are also separate choices. Lutron's Serena information, for example, distinguishes battery and wired models and specifies a bridge for remote app control. Those choices affect what needs space and access in the room.
For a row of windows, ask how the coverings look at their normal stopping positions, not just fully raised in a product photograph. The fabric, spacing, and alignment remain prominent design elements even when the motors are hidden.
Place sensors for the job, not just the photograph
A discreet sensor is useful only if it can detect the event you need. Follow its instructions for mounting, field of view, distance, and obstructions. Test after furniture and curtains are in place.
A hallway motion sensor and a sensor used to maintain occupancy at a desk solve different problems. Do not assume a basic motion detector will reliably detect someone reading without moving. Choose the device and timeout around the activity, and provide a practical override.
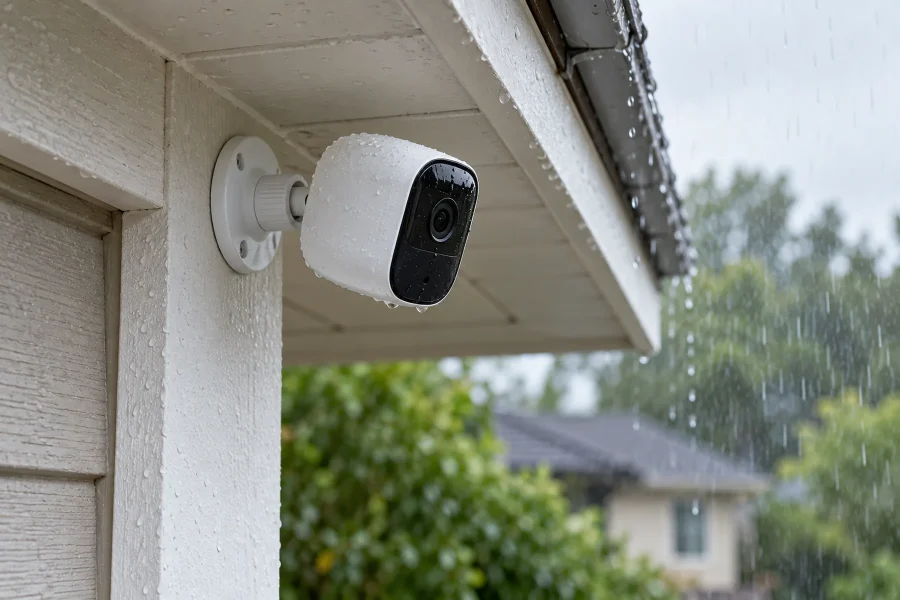
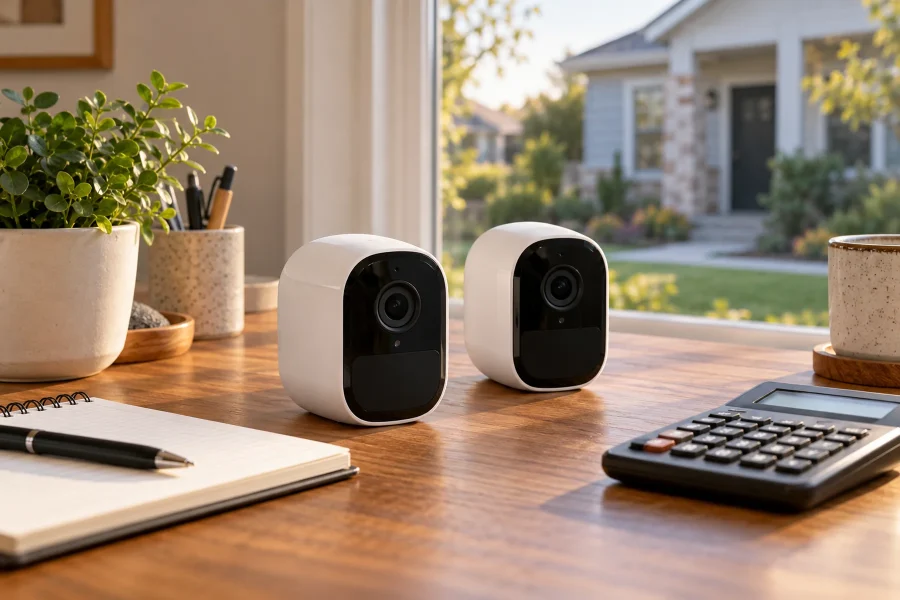
Consider privacy as part of placement. A camera in a private room is not a necessary sign of an advanced interior. For some tasks, a contact or occupancy sensor can provide the required event without a video feed. Choose the least intrusive device that performs the actual function.
Make the controls work without a perfect day
Plan normal use and foreseeable failures together. Which controls remain useful if the internet service stops? Can a visitor operate the lighting? Can someone reach the shade control when the phone is charging elsewhere?
Do not assume that adding a hub makes every routine local or that one platform exposes every feature. If equipment requirements are unclear, the guide to smart-home hub roles helps distinguish controllers, bridges, and radio connections.
Keep a small set of scenes with meaningful names and predictable results. An evening scene might soften background lights while leaving a reading lamp usable. A bedtime action should not turn off another person's active work area without an agreed override.
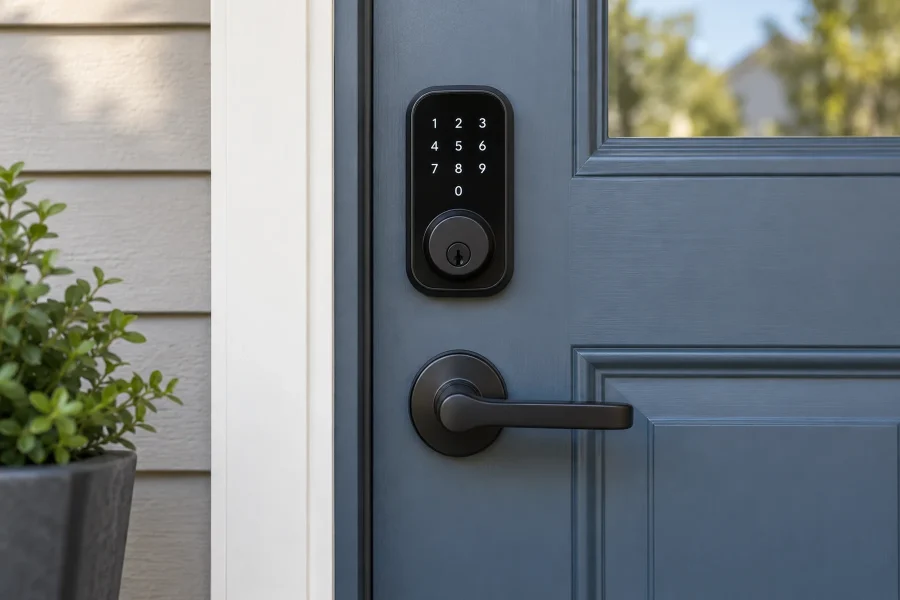
Test from the places people actually stand and sit. A beautiful keypad hidden behind an open door or a remote permanently out of reach has failed the room's usability test.
Commission the finished room before expanding
Create a short room schedule listing the desired action, device, location, control, and required connection. Give the same version to the designer and installers so a cabinet change does not silently invalidate the technology plan.
After installation, demonstrate the main routines with furniture and window coverings in place. Check signal, glare, controls, charging access, and ordinary manual operation. Record device models and label concealed connections before the locations become difficult to identify.
Live with one completed room before repeating the design throughout the house. A change to a control position or scene is much easier at that stage than after every switch, shade, and cabinet has been ordered.
Conclusion
Successful smart-home interior design makes the room easier to use while respecting its appearance. Commit early to device positions, power, and access, but add automation only for routines people value. Keep essential controls visible enough to find and hidden equipment accessible enough to maintain.

Ethan Miller
Ethan Miller writes about home improvement, interior design, cleaning, and everyday living at Home & Living Daily. He shares practical tips and simple ideas to help readers create more comfortable and functional homes.