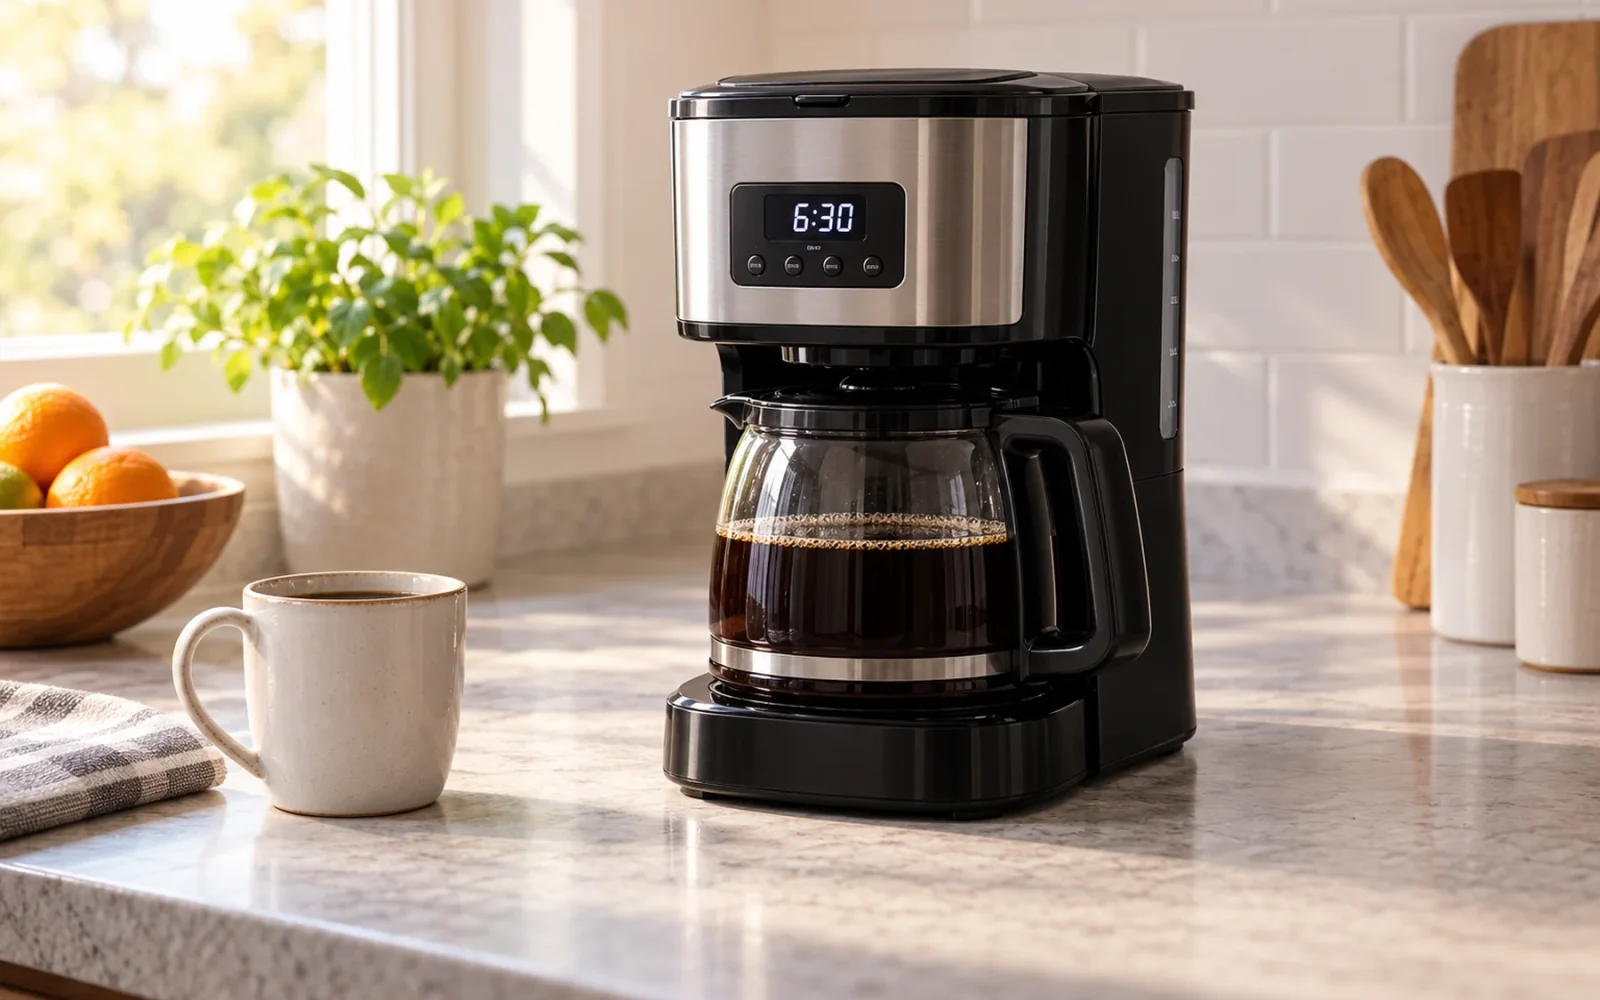
To program a coffee maker, set its current clock, choose the future brew time, prepare the water and coffee, and confirm that automatic brewing is armed. Setting a time on the display does not always enable the timer. Look for the model's Auto On or AUTO indicator before leaving it ready for the morning.
Button sequences vary. The examples below cover the Cuisinart DCC-3200C and BLACK+DECKER CM1160 series using their instruction booklets. If your controls differ, find the model number and its manual rather than trying a sequence from a similar-looking machine.
Prepare the machine before setting the timer
Use the maker's first-use cleaning procedure if the machine is new. Then prepare it just as you would for an ordinary brew: fresh cold water within the marked limit, the correct filter and grounds, and an empty carafe properly seated with its lid in place.
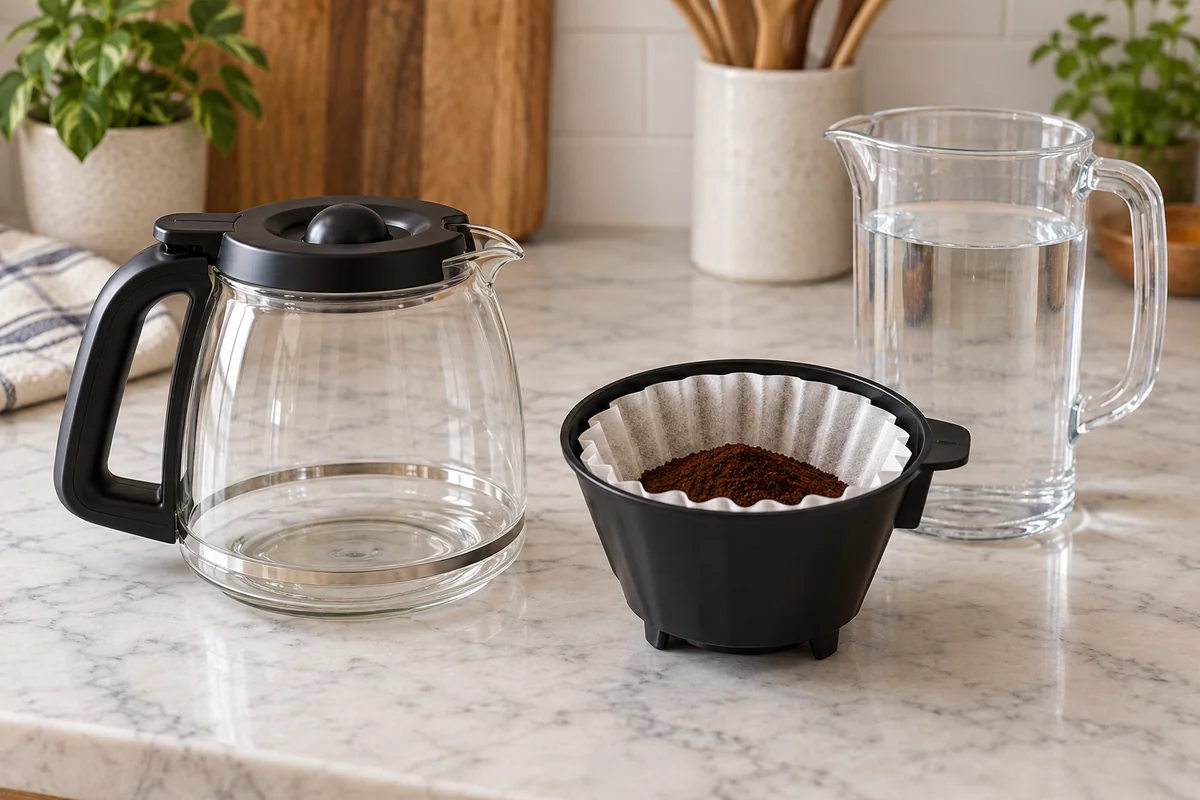
Check the physical setup while the machine is cool. The filter basket should sit correctly, the cover should close as intended, and the carafe must be able to receive the full batch. Do not leave yesterday's coffee in the pot beneath a newly filled reservoir.
Choose a position that meets the manual's heat, steam, ventilation, and clearance instructions. A timer does not make an enclosed appliance cupboard a suitable brewing location. Keep the cord and controls dry, and do not use a damaged machine for unattended scheduled operation.
For this task, “cup” usually refers to the coffee maker's marked serving size, not necessarily your mug. Use the reservoir and carafe markings together rather than assuming six large mugs equal six marked cups.
Program a Cuisinart DCC-3200C
The DCC-3200C instruction booklet describes a combined Prog/Auto On button. Check that this matches your machine; other Cuisinart versions can use different controls.
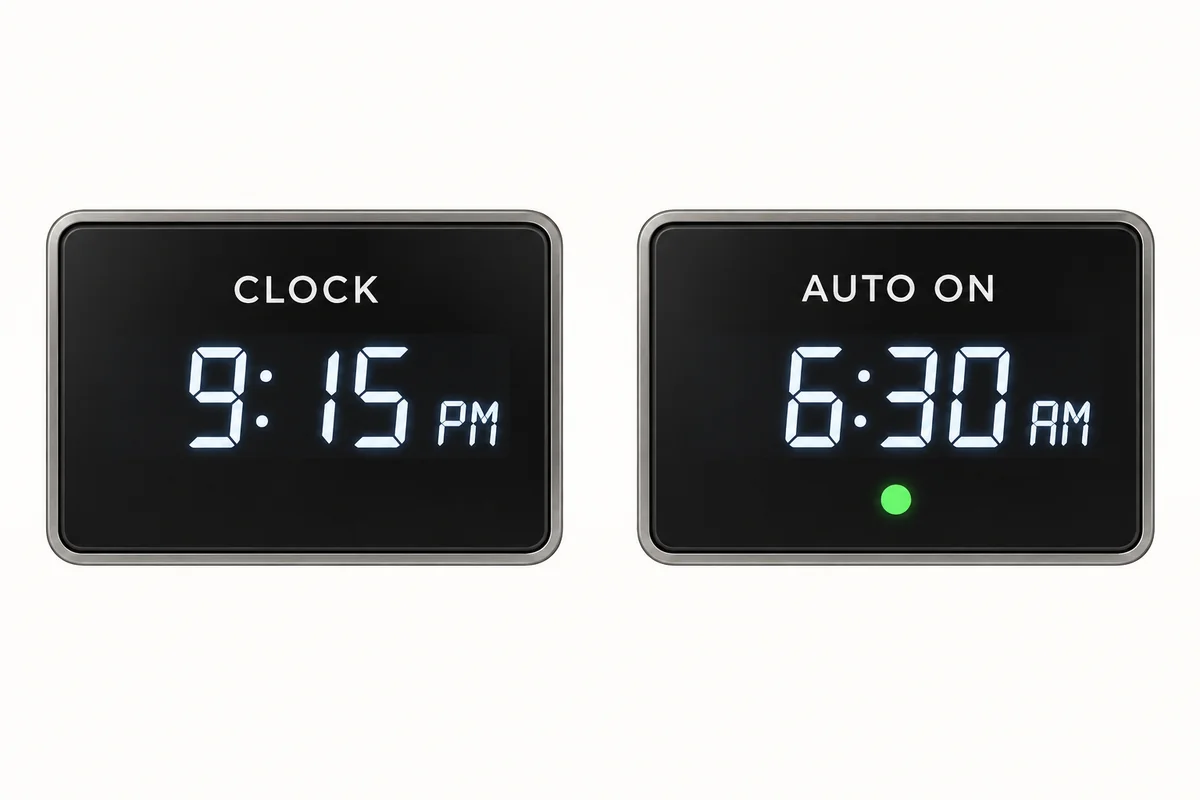
- Set the current time with Hour and Minute. If the clock is no longer flashing, hold Hour or Minute to return to clock-setting mode. Check the PM indicator.
- Hold Prog/Auto On for two seconds. When the programmed time flashes, use Hour and Minute to select the time brewing should start.
- Wait five seconds after finishing. The unit exits programming and illuminates the Auto On indicator.
- To arm a previously saved time, press Prog/Auto On and confirm its indicator lights. Pressing the illuminated button deactivates it.
The programmed time is the start of brewing. If you want coffee ready before you leave, allow the machine's actual brew duration rather than setting the timer to your departure time.
Auto Off controls the later shutoff, not the morning start. Do not change it as a way to schedule brewing. After a power interruption, inspect the clock and timer status before relying on the saved schedule.
Program a BLACK+DECKER CM1160
The CM1160 series use and care manual uses separate PROG and AUTO buttons. Its instructions should not be substituted for a different BLACK+DECKER control panel.
- Plug in the machine and set the current time using HOUR and MIN. The illuminated upper-left dot indicates PM.
- Press PROG. While the AUTO indicator flashes, use HOUR and MIN to choose the brew-start time.
- Press and hold AUTO until the AUTO light stops flashing. The display returns to the current time.
- If you press PROG to check the saved time, press AUTO to reactivate the timer and confirm its light is on.
Press AUTO to cancel automatic brewing; the indicator goes off. The manual also says that power interruption resets the clock, so recheck it after unplugging or an outage.
When comparing the two examples, notice the important difference: entering the programmed time and arming automatic brewing are not identical operations on every model. Follow your own indicator behavior instead of assuming the last button press was enough.
Test a short scheduled brew while you are present
Before relying on an early-morning schedule, set a test start a few minutes ahead and remain nearby. Use the machine's permitted brewing quantity and normal preparation; do not test by heating an empty reservoir.
Confirm that the clock returns to the current time, the automatic indicator remains enabled, and brewing begins at the intended moment. Let the cycle finish normally and check for leaks, overflow, or an incorrectly seated carafe.
After the test, reset the intended morning time and prepare a fresh batch. It is easy to leave the successful test time saved and wonder why the machine did not start at breakfast.
Do not assume the next day's brew remains armed after a cycle completes. Check the model's instructions and indicator each evening. A remembered start time and an active daily schedule are different states.
If automatic brewing does not start
Start with the clock and timer state before looking for an appliance fault. A clock that is twelve hours wrong can make the schedule appear completely unreliable while the timer itself is functioning.
| What you notice | What to check | What to do next |
|---|---|---|
| Saved time looks right but nothing starts | AUTO or Auto On indicator | Arm the schedule using the model's procedure |
| Brewing happens at the wrong time | Current clock and AM/PM for both times | Correct the clock, then reset and recheck the brew time |
| Schedule stopped after unplugging | Clock and program memory | Restore the required settings and run a short test |
| Machine starts but coffee does not flow normally | Water, filter, basket, and carafe arrangement | Stop and follow the manual's troubleshooting procedure |
If manual brewing works but the scheduled test fails, write down the model, displayed clock, programmed time, indicator state, and button sequence. Those details are more useful to support than “the timer is broken.”
If the basket overflows or hot water stops draining, do not open it mid-cycle to investigate. Turn the machine off, disconnect it as directed, and allow it to cool according to the manual before checking the cause. Repeatedly adding more grounds or restarting does not fix a blocked brew path.
Do you need Wi-Fi or a smart plug?
A built-in clock timer can schedule brewing without Wi-Fi. An app is relevant only if your particular coffee maker supports connected scheduling and you want those functions.
Do not assume a smart plug makes an ordinary coffee maker programmable. Some machines return to standby when power is restored and still require a button press. More importantly, automatic switching must be permitted by the appliance and plug manufacturers and suitable for the load. Use the coffee maker's own supported scheduling function when that is the task it already performs.
Conclusion
A dependable morning brew needs three confirmed states: the clock is correct, the machine is physically prepared, and automatic brewing is armed. Prove the sequence once while you are present, then check the indicator when preparing the next batch. The saved time alone is not the final check.

Ethan Miller
Ethan Miller writes about home improvement, interior design, cleaning, and everyday living at Home & Living Daily. He shares practical tips and simple ideas to help readers create more comfortable and functional homes.