On iOS 18 or later, open Settings, Apps, Mail, Mail Accounts, then Add Account. Choose your provider, sign in, and enable Mail. Some newer setup screens ask for your email address before identifying the provider. On older iOS versions, start at Settings, Mail, Accounts instead.
Adding an account connects an existing mailbox to Apple Mail. It does not create a new email address, replace an account already on the phone, or require you to move all your mail to Apple.
Use the provider sign-in option when available
Apple’s email-account setup guide separates automatic provider setup from manual configuration. In Add Account, choose the service that actually hosts the mailbox, such as Google, Microsoft Exchange, Outlook.com, or iCloud, when the matching option is available.
Enter the account credentials on the provider’s sign-in screen, complete any verification, and approve the requested access. Then select which supported services you want to sync. Enable Mail for email; Contacts and Calendars are separate choices rather than automatic requirements for reading an inbox.
For a custom work address, ask which account type the organization uses. The part after the @ sign does not necessarily identify the underlying provider. Selecting Other simply because the address uses a company domain can create unnecessary manual configuration.
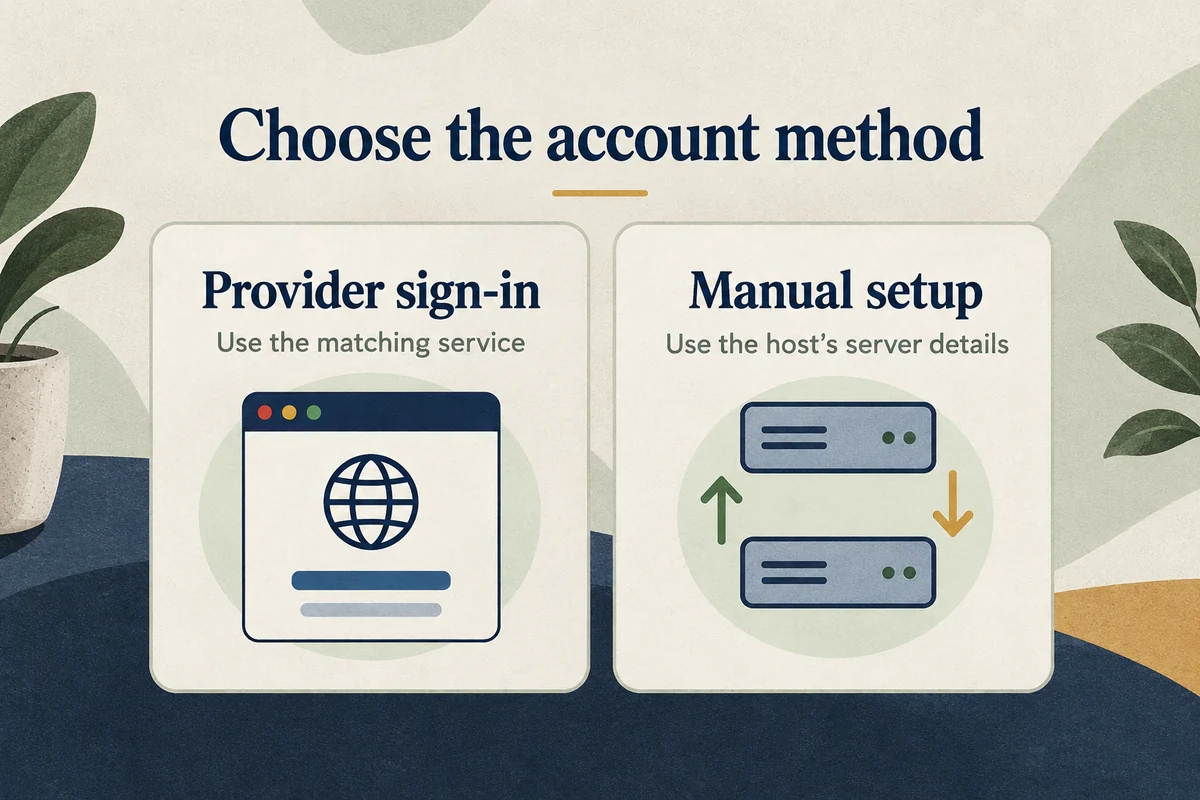
Set up a manual account only with the host’s details
If the provider is not listed, choose Other and Add Mail Account where shown. You will need the account address, password or approved app-specific credential, and the host’s incoming and outgoing server settings.
Use the settings supplied for your mailbox, including the account type, hostnames, username format, encryption requirements, and any specified ports. IMAP and POP are not interchangeable choices to make by guesswork. If you want mail synchronized across devices, ask the provider which supported setup provides that behavior.
The host’s instructions also matter for outgoing mail. For example, one.com’s iOS 18 setup guide requires outgoing-server authentication even when the interface labels a field optional. Its particular server names are for its customers, not universal settings for every mailbox.
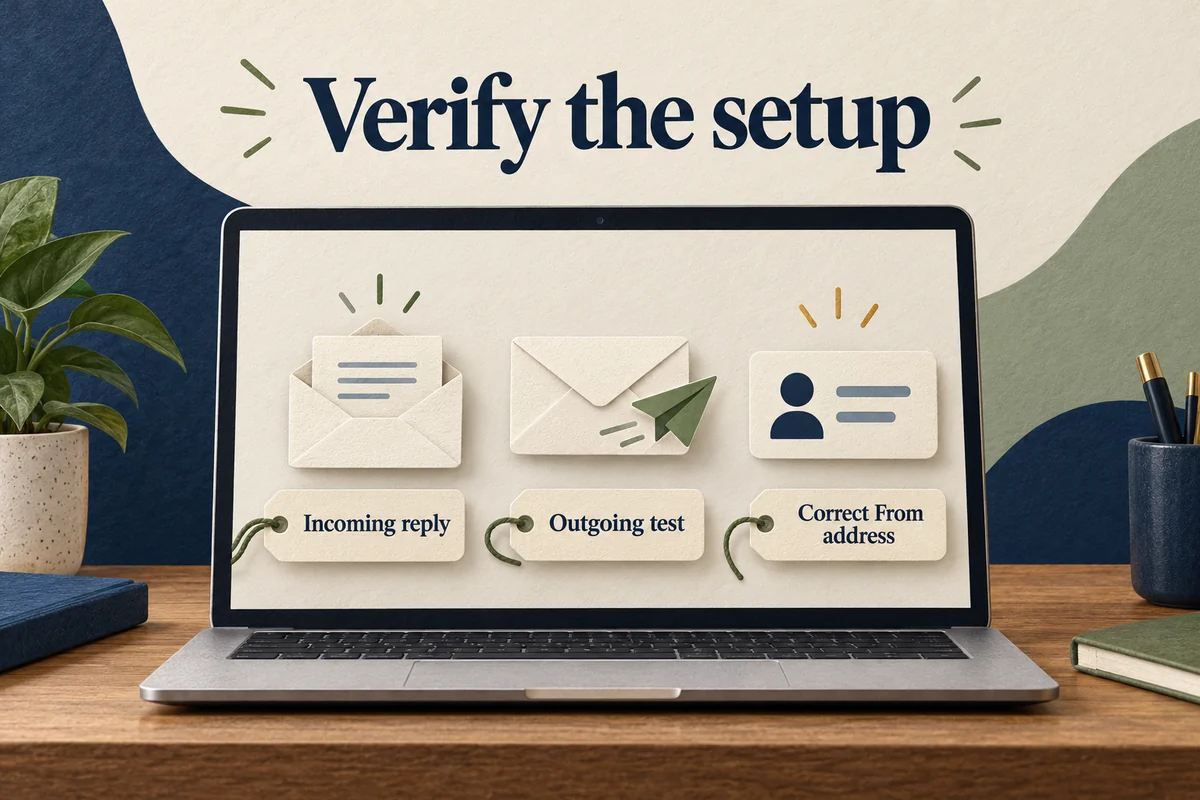
Confirm sending as well as receiving
After saving the account, open Mail and locate its inbox. Send a short test to another address you control, reply to it, and check that the reply arrives. This tests both directions instead of treating a populated inbox as proof that outgoing mail works.
When composing, inspect the From address. With multiple accounts connected, it is easy to send a work message from a personal address unless you check. Give each account a recognizable description if the account settings allow it.
For a new empty mailbox, the absence of old messages may be normal. For an established mailbox, compare its website with Mail before changing sync settings or assuming the address was added incorrectly. Some account configurations initially display only a limited period of mail.
If the account will not finish setup
First try signing in through the provider’s official website. If that fails, resolve the credential or account issue there. If webmail works, inspect the provider’s rules for app access, verification, app-specific passwords, or administrator approval.
For a managed work or school account, follow the organization’s instructions. It may require an approved app or device-management process rather than an ordinary personal Mail configuration. Do not disable security controls simply because an older tutorial skips them.
Avoid deleting another working account as a troubleshooting step for the new one. They can coexist, and removal may affect cached mail or other synced services. If only sending fails, inspect the outgoing-server configuration instead of starting the entire setup over repeatedly.
Conclusion
Use the correct provider option first and manual settings only when the mailbox host requires them. A complete setup includes a successful outgoing message, an incoming reply, and the correct sender identity. Those checks establish more than an account name appearing in Settings.

Ethan Miller
Ethan Miller writes about home improvement, interior design, cleaning, and everyday living at Home & Living Daily. He shares practical tips and simple ideas to help readers create more comfortable and functional homes.