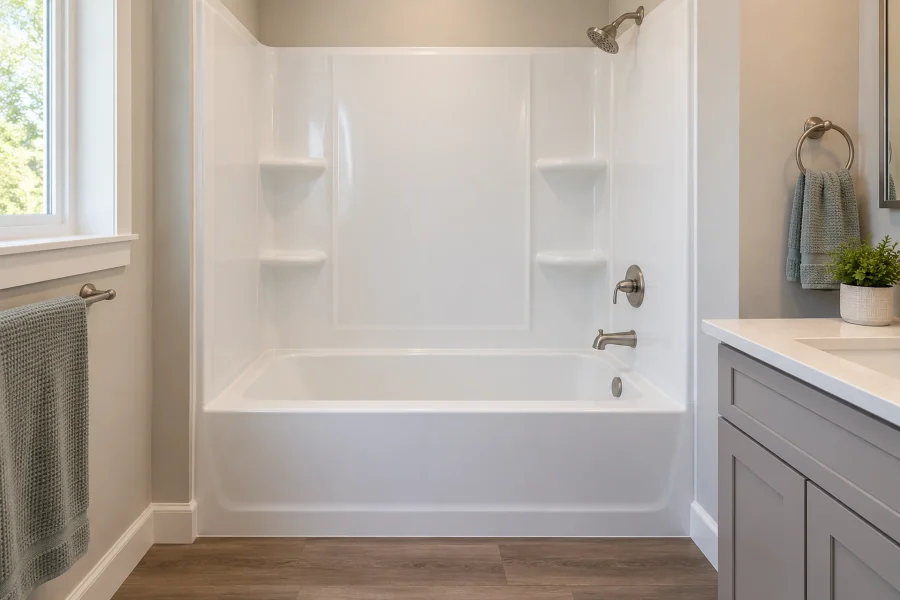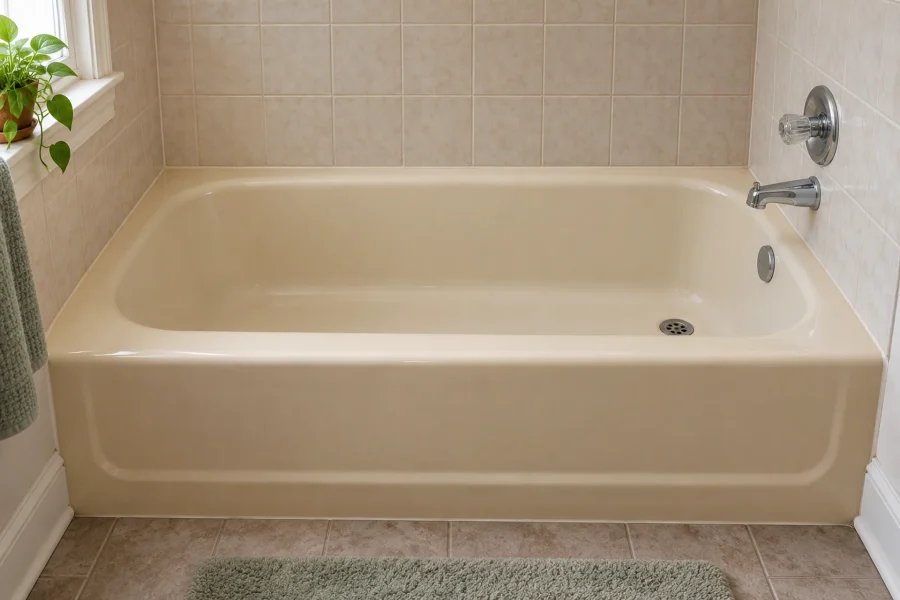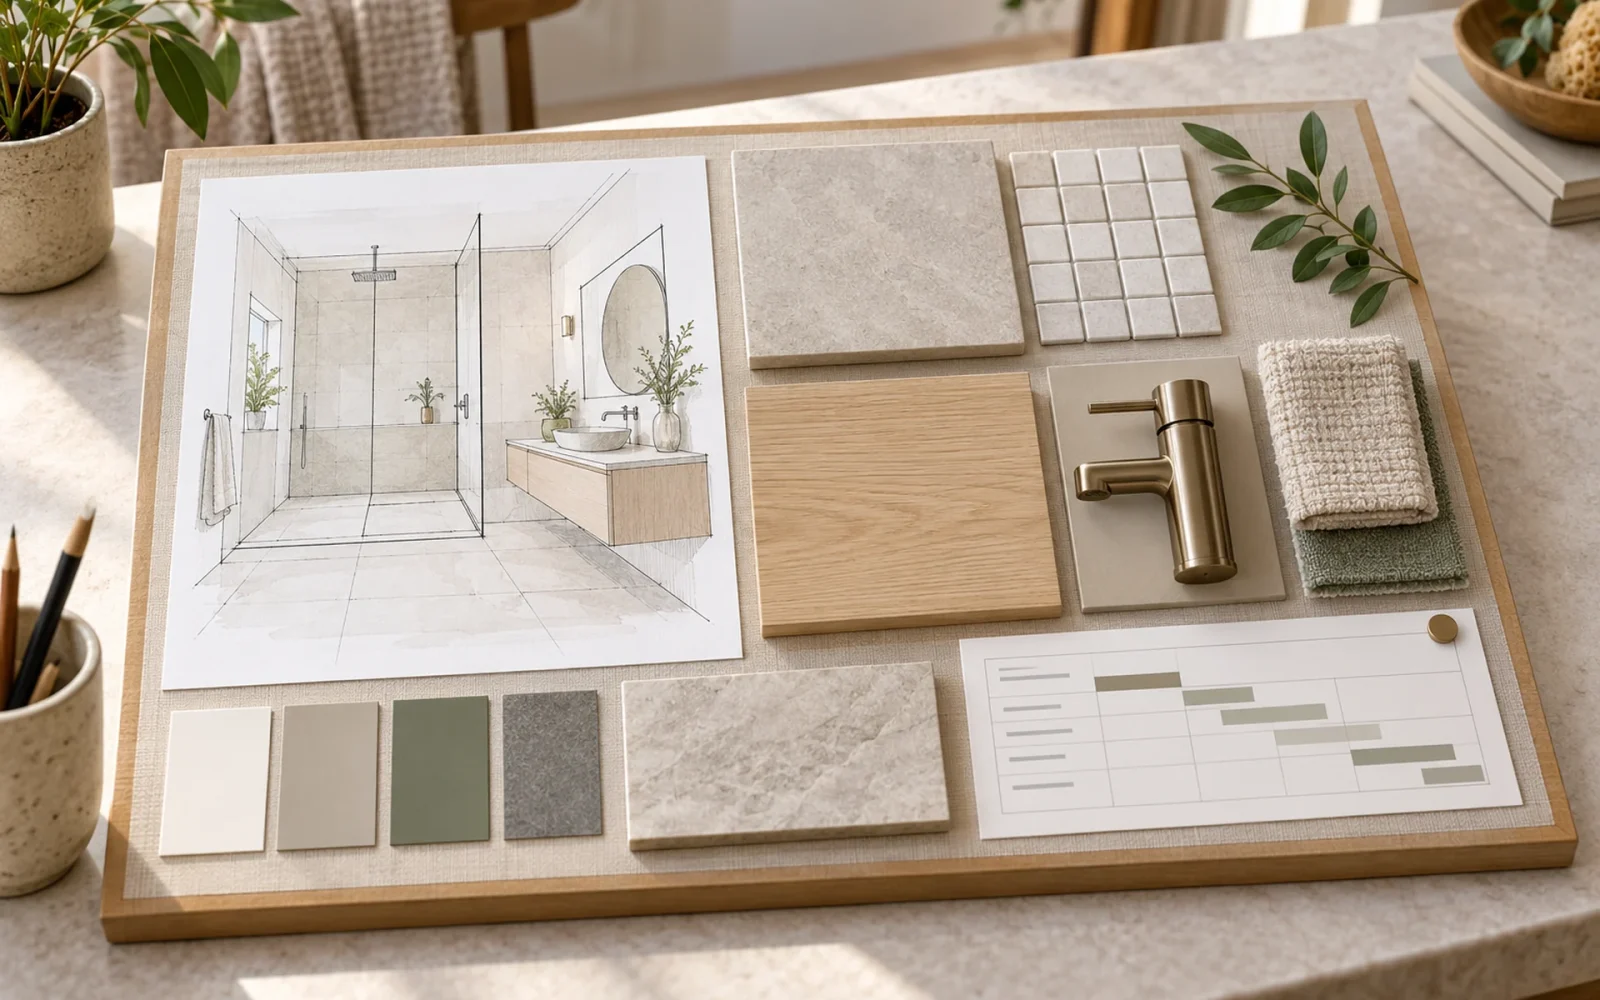
Plan a bathroom remodel by resolving the layout, concealed work, coordinated products, and construction responsibilities before demolition. Then schedule purchasing and installation around the decisions each stage needs. A room sketch and a collection of favorite tiles are useful, but they are not yet a buildable plan.
Start with the daily problems you want to solve. Those priorities will help you decide when a layout change is worth its cost and when retaining a sound feature leaves more funds for something useful.
Write a brief that describes how the room must work
Identify who uses the bathroom, which tasks feel awkward, and what needs to stay. Include bathing preferences, storage, cleaning, access, lighting, and whether this is the home’s only bathroom. Rank a few essential outcomes so optional finishes do not displace them later.
Document the existing room with a rough measured plan and photographs of every wall. Mark doors, windows, fixture projections, vents, visible pipes, and anything that may affect access. Treat your measurements as discussion material; the responsible professional should verify dimensions for ordering and construction.
Test the layout as a sequence of movements
Imagine entering, closing the door, reaching the shower control, drying off, opening drawers, and cleaning beside the toilet. Draw door and drawer swings. Where practical, mark a proposed vanity footprint on the floor to understand how much of the walking area it occupies.
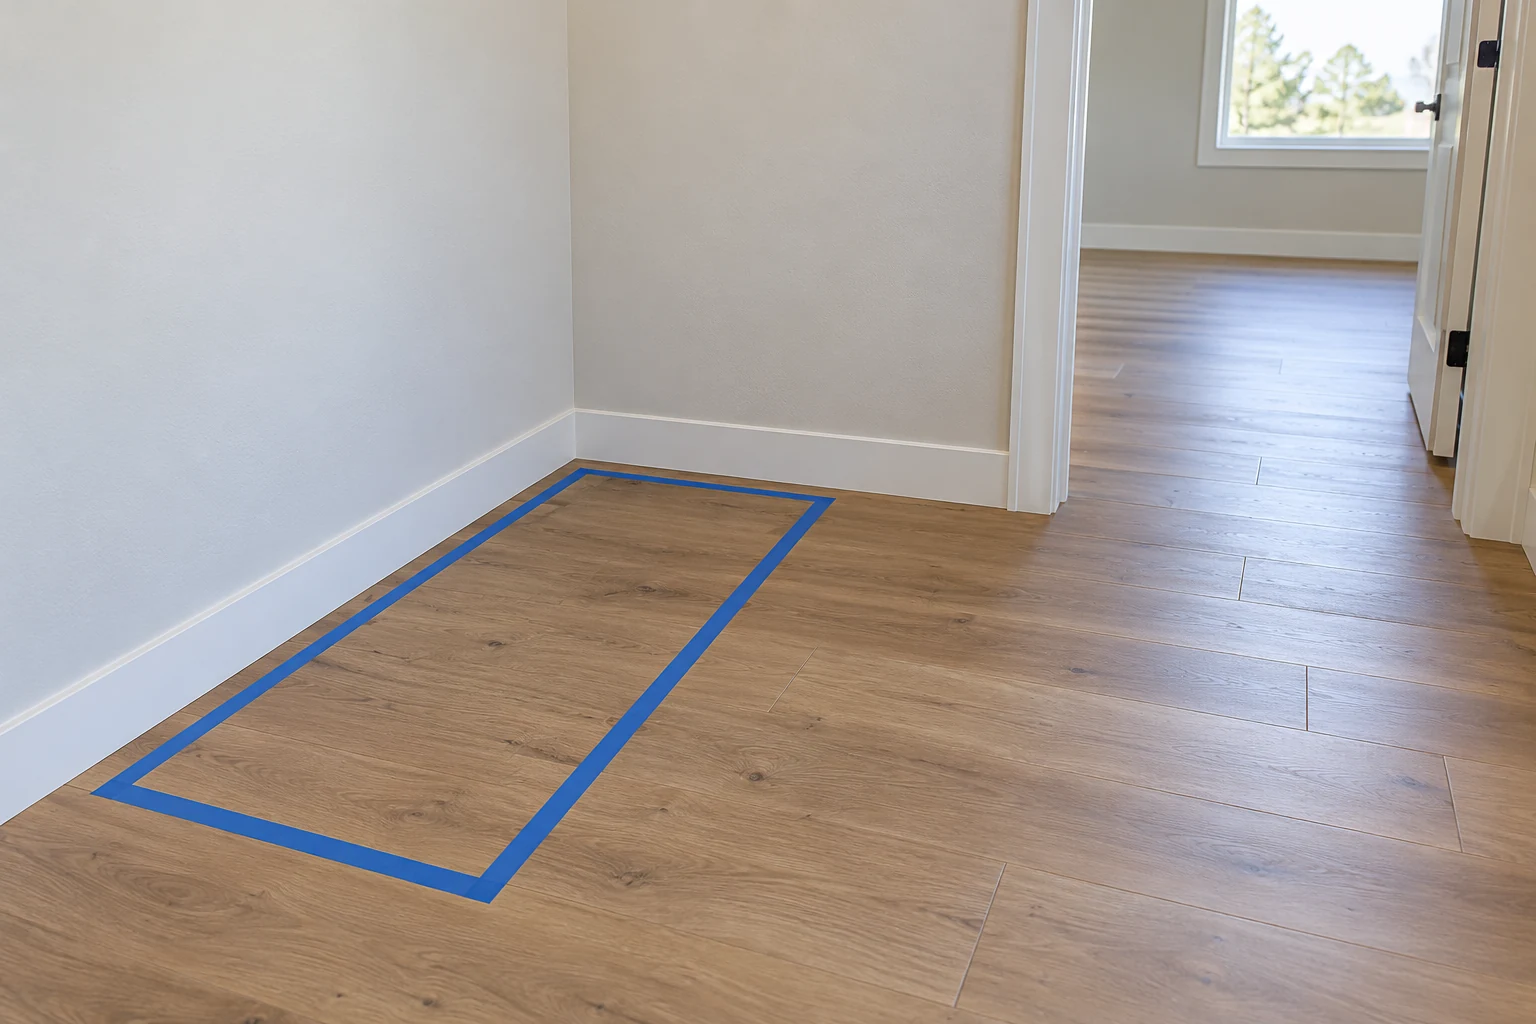
Compare a version that retains fixture positions with one that changes them. Ask what additional plumbing, framing, electrical, and surface repair the change requires. If space is tight, our small bathroom shower layout guide explores how the room shape and enclosure affect circulation.
Think beyond the footprint when changing bathing access. The shower entrance, drain, waterproofing transitions, support for planned accessories, and enclosure need to work together. A doorless or curbless concept is a design to assess, not an automatic upgrade for every room.
Coordinate products before their installation decisions become fixed
Keep a product schedule with exact model numbers, finish, supplier, ordering status, and the person responsible for confirming compatibility. A faucet needs to suit the sink and top. A vanity needs room for the drain and supplies. Shower trim must match the intended valve system.
| Decision | Resolve before | Why it matters |
|---|---|---|
| Vanity, sink, and faucet combination | Plumbing and top fabrication are finalized | Cabinet storage, connections, holes, and reach must align |
| Shower valve, base, drain, and enclosure concept | Rough-in and wet-area construction | Later changes may disturb completed work |
| Lighting, fan, controls, and accessories | Walls close | Locations, service routes, and support may need preparation |
| Tile and edge details | Layout and setting begin | Thickness, cuts, transitions, and supply affect the finish |
Some items need final field measurements after earlier work is complete. Custom glass and certain tops are examples to discuss with the supplier. Do not order a nonreturnable component from an early sketch when its fabrication depends on the finished opening.
Resolve the construction plan and the unknowns
Agree who designs the wet-area assembly, performs each trade, obtains required permits, arranges inspections, and signs off on work before it is concealed. Ask what existing conditions remain unverified and how a discovered repair will be documented and approved.
The sequence varies with the project, but dependencies remain: demolition exposes conditions, repairs and rough-in precede the finishes that conceal them, and required checks come before covering the work. Product preparation and cure requirements belong in the schedule. A generic online step list should not override the selected system’s instructions.
Confirm readiness before the bathroom goes out of service
Review the written scope, selections, available materials, delivery checks, labor bookings, and inspection arrangements. Identify items that can arrive later without interrupting the work and those whose absence would stop it. Build the start decision around those critical items.
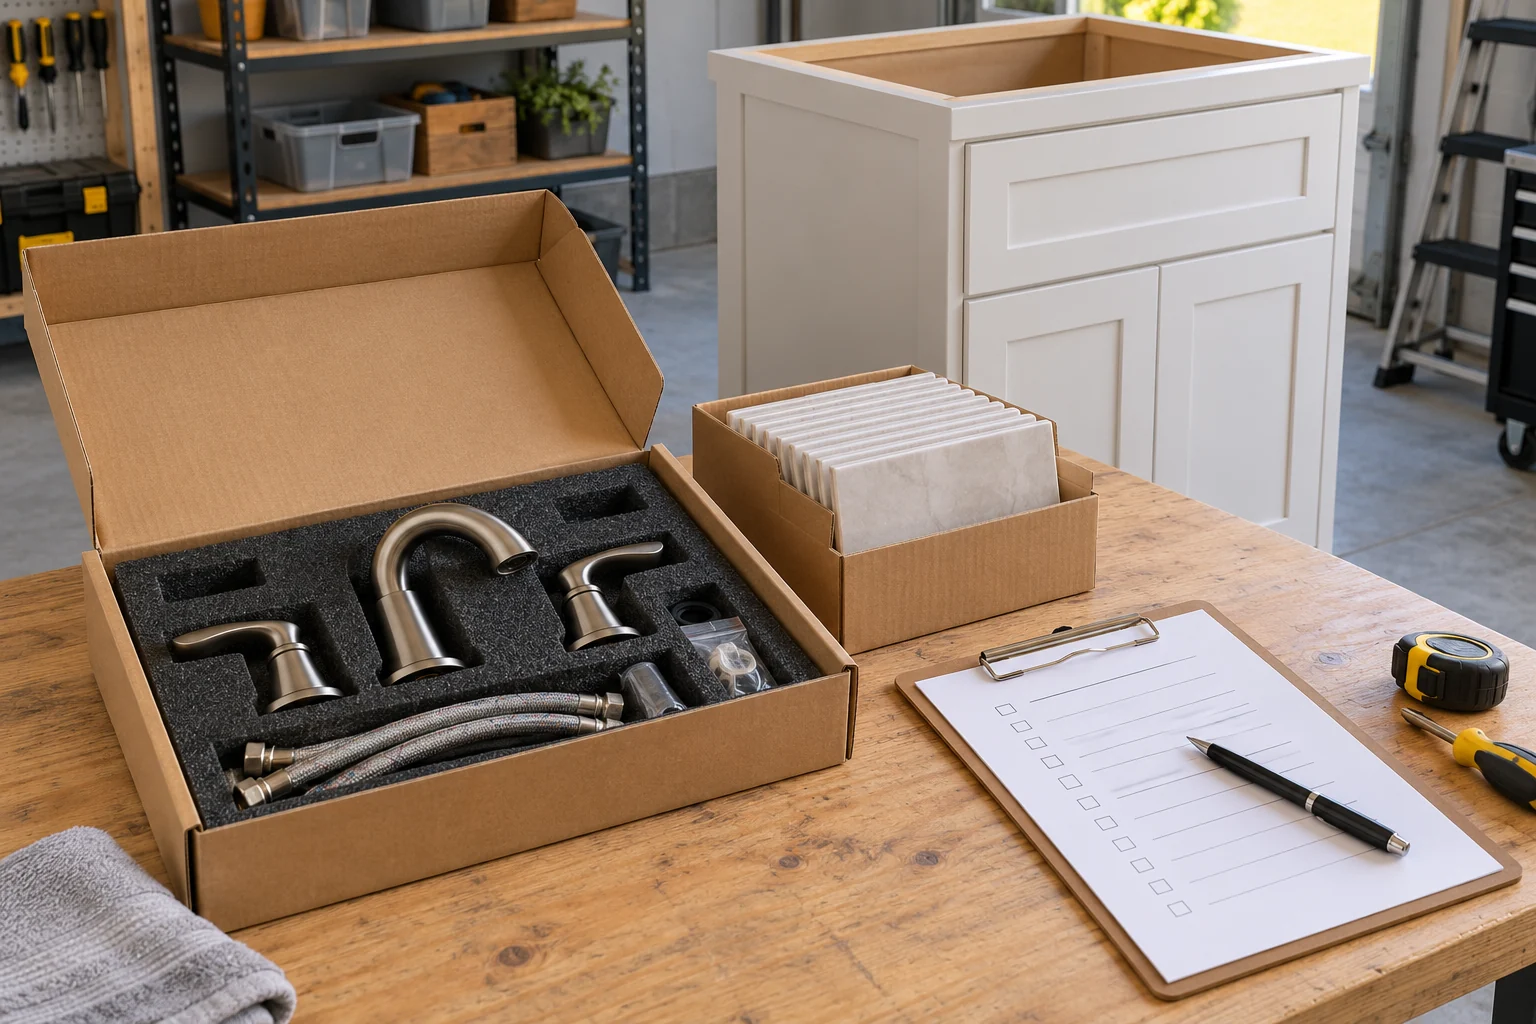
Plan an alternative bathroom, storage for household contents, protected work routes, and notice before service interruptions. Set a clear point of contact and a way to approve changes in writing. If only one bathroom is available, discuss the actual loss-of-use period rather than assuming a toilet can remain usable throughout construction.
Before handover, arrange a walkthrough covering fixture operation, remaining items, care instructions, warranties, and any inspection documents. The plan is complete when it carries the room from its current condition to a usable result, including the decisions that photos and finish samples cannot show.

Ethan Miller
Ethan Miller writes about home improvement, interior design, cleaning, and everyday living at Home & Living Daily. He shares practical tips and simple ideas to help readers create more comfortable and functional homes.