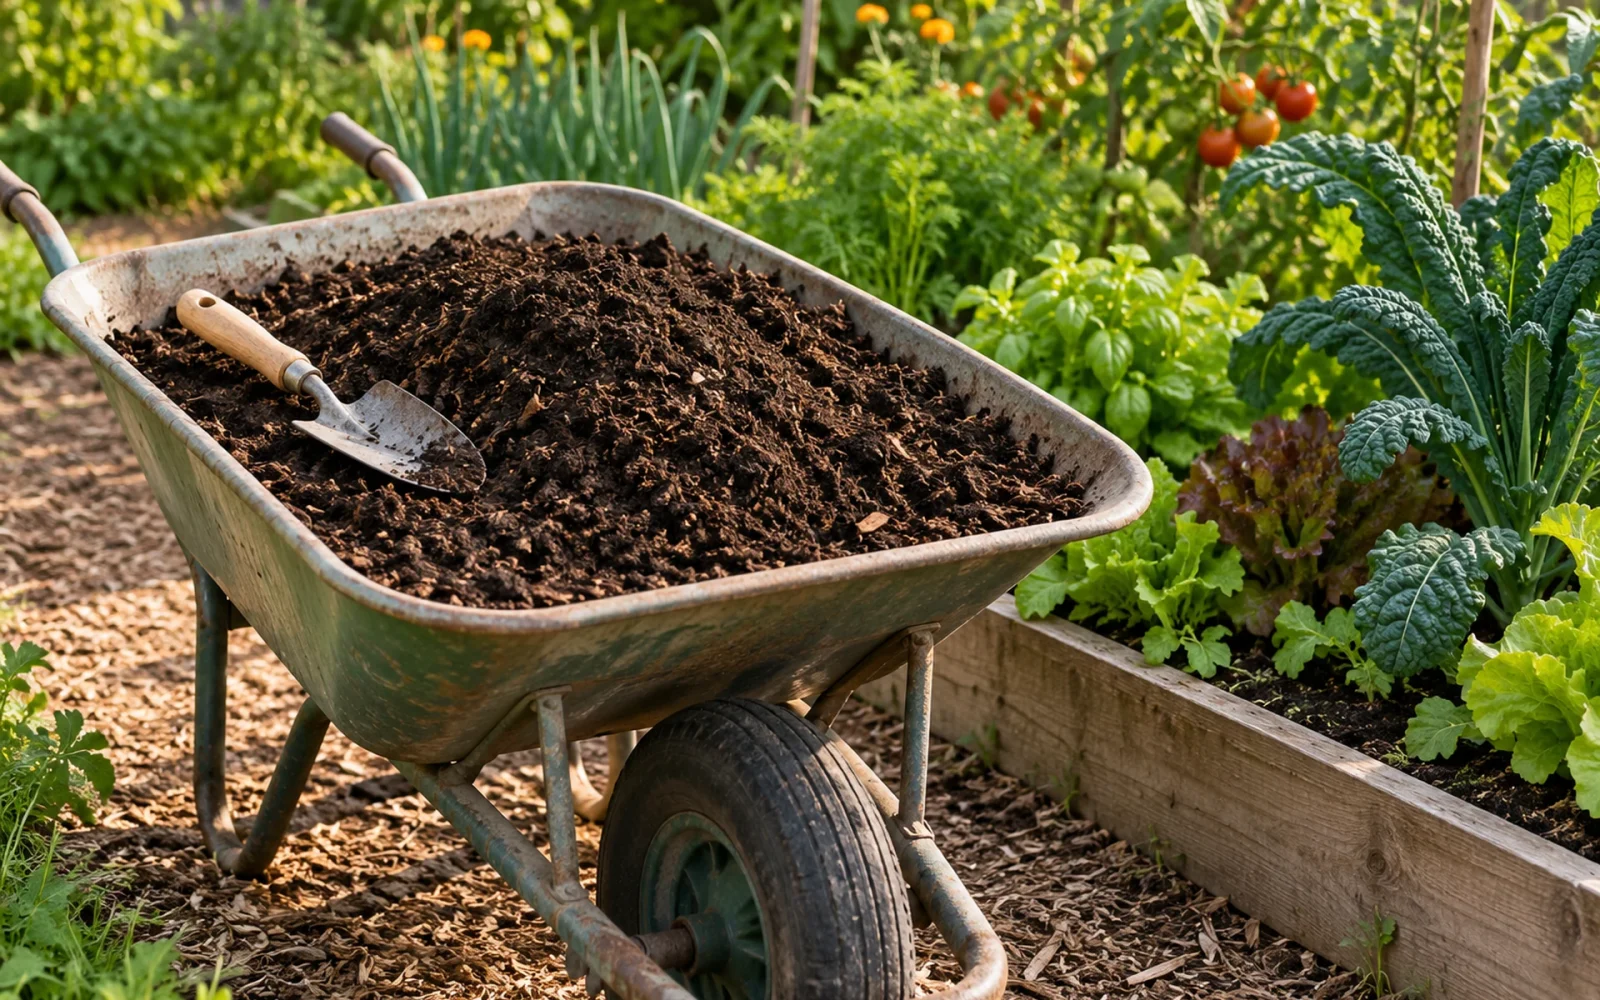
Use finished compost as a soil amendment, a surface dressing around suitable plants, or one ingredient in a complete container mix. On an established lawn, use a fine, thin dressing that works between the grass blades. Match the amount to the soil, compost, plants, and purpose rather than adding the same depth everywhere.
Compost is not the same as garden soil or a ready-to-use potting mix. Its useful role depends on the setting in which you apply it.
Check the material and the soil’s need
Use mature, clean compost from a known source. Most soft original ingredients should have broken down, with a loose earthy texture and no strong rotten or ammonia-like odor. Appearance is helpful but not proof of a controlled treatment process or a complete nutrient analysis.
For purchased compost, ask about feedstocks, maturity, screening, and available test information. For an established garden, use a soil test and plant requirements to guide repeated additions and any fertilizer plan. More organic material is not automatically the answer to every poorly growing plant.
If you need to fill a new raised bed, that is a soil-mix decision rather than simply a compost application. Our guide to filling a raised garden bed distinguishes the growing mix, root space, and volume.
Established beds: apply around the plants
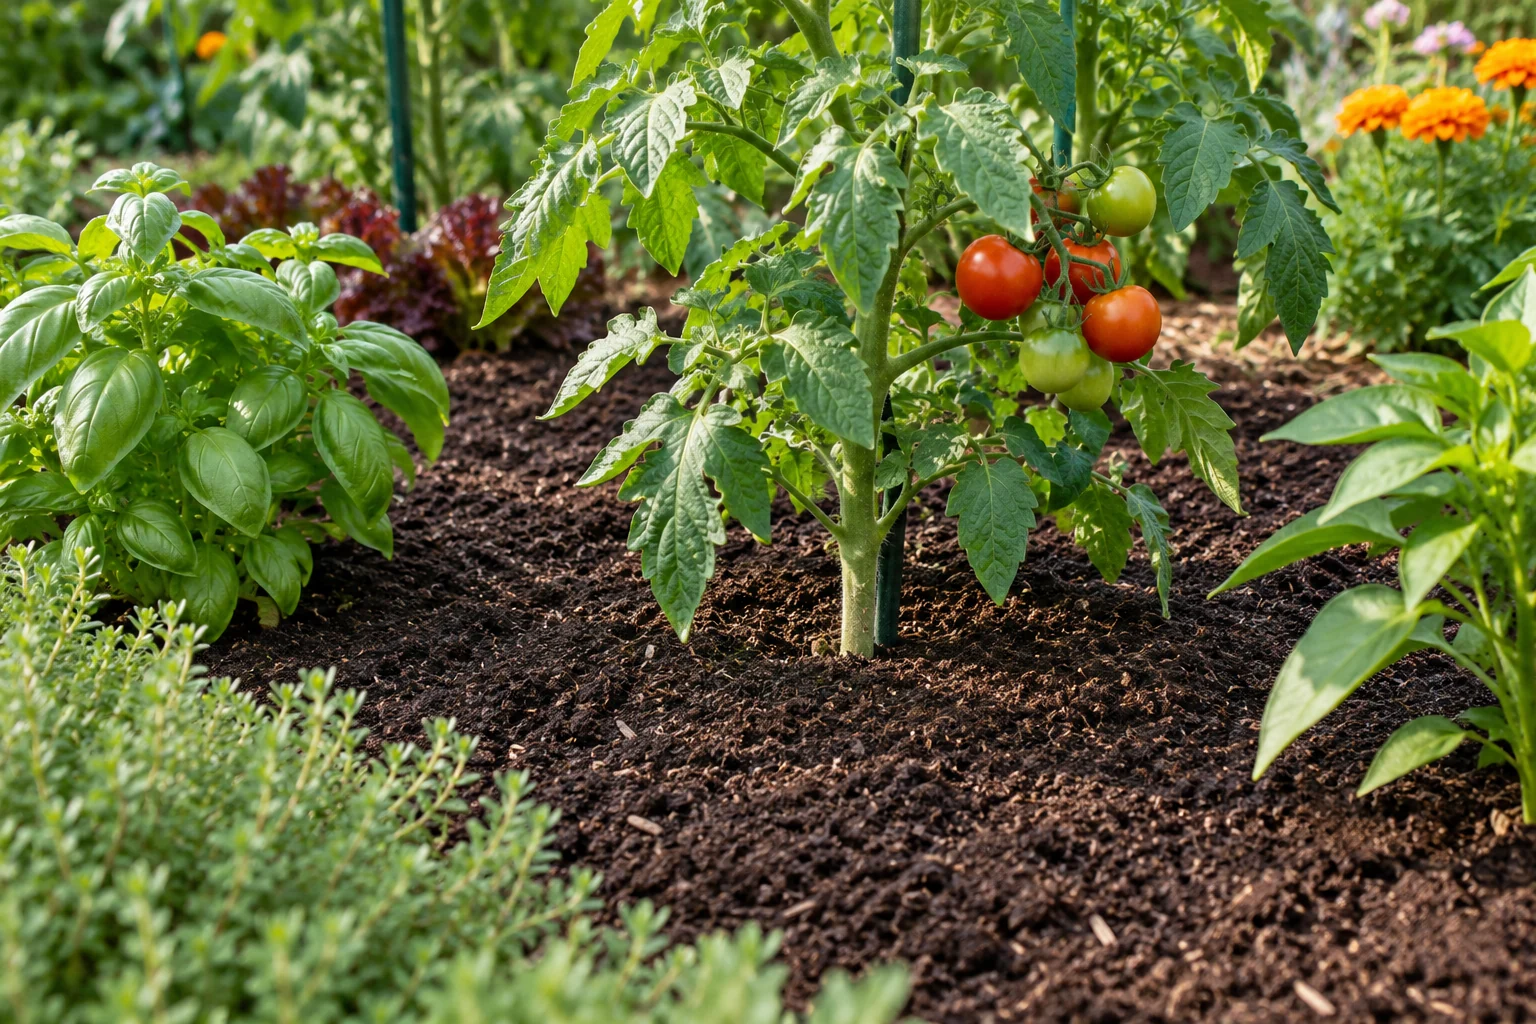
For established beds, a surface dressing can add organic matter without digging through roots. Move coarse mulch aside where appropriate, spread the chosen amount evenly, and keep trunks, stems, and plant crowns clear. Replace the mulch if it is still useful and compatible with the planting.
Choose the amount for the actual bed and material. A bed amended heavily in previous years may not need the same addition as a new low-organic-matter site. Compost can contribute nutrients, so account for it alongside fertilizer rather than automatically applying full amounts of both.
Do not build a mound against a tree trunk. Also avoid burying low-growing crowns under a fresh layer because it was convenient to spread the entire path of the wheelbarrow at once.
New beds: decide whether incorporation is appropriate
Where a new bed will be prepared by mixing amendments into workable soil, establish the target depth and amount before digging. Distribute compost over the whole planting area rather than creating isolated rich pockets.
Existing roots, wet clay, a no-dig approach, and the intended planting can change the appropriate method. Do not till saturated ground just to incorporate compost on schedule. For a surface-based approach, follow a plan suited to that bed rather than assuming every layer must be mixed in immediately.
Tree planting has another distinction. Wisconsin Extension recommends backfilling a new tree’s planting hole with the original soil, rather than adding compost to that hole. Improving the broader soil environment and making a special amended pocket are different actions.
Containers need a complete growing medium
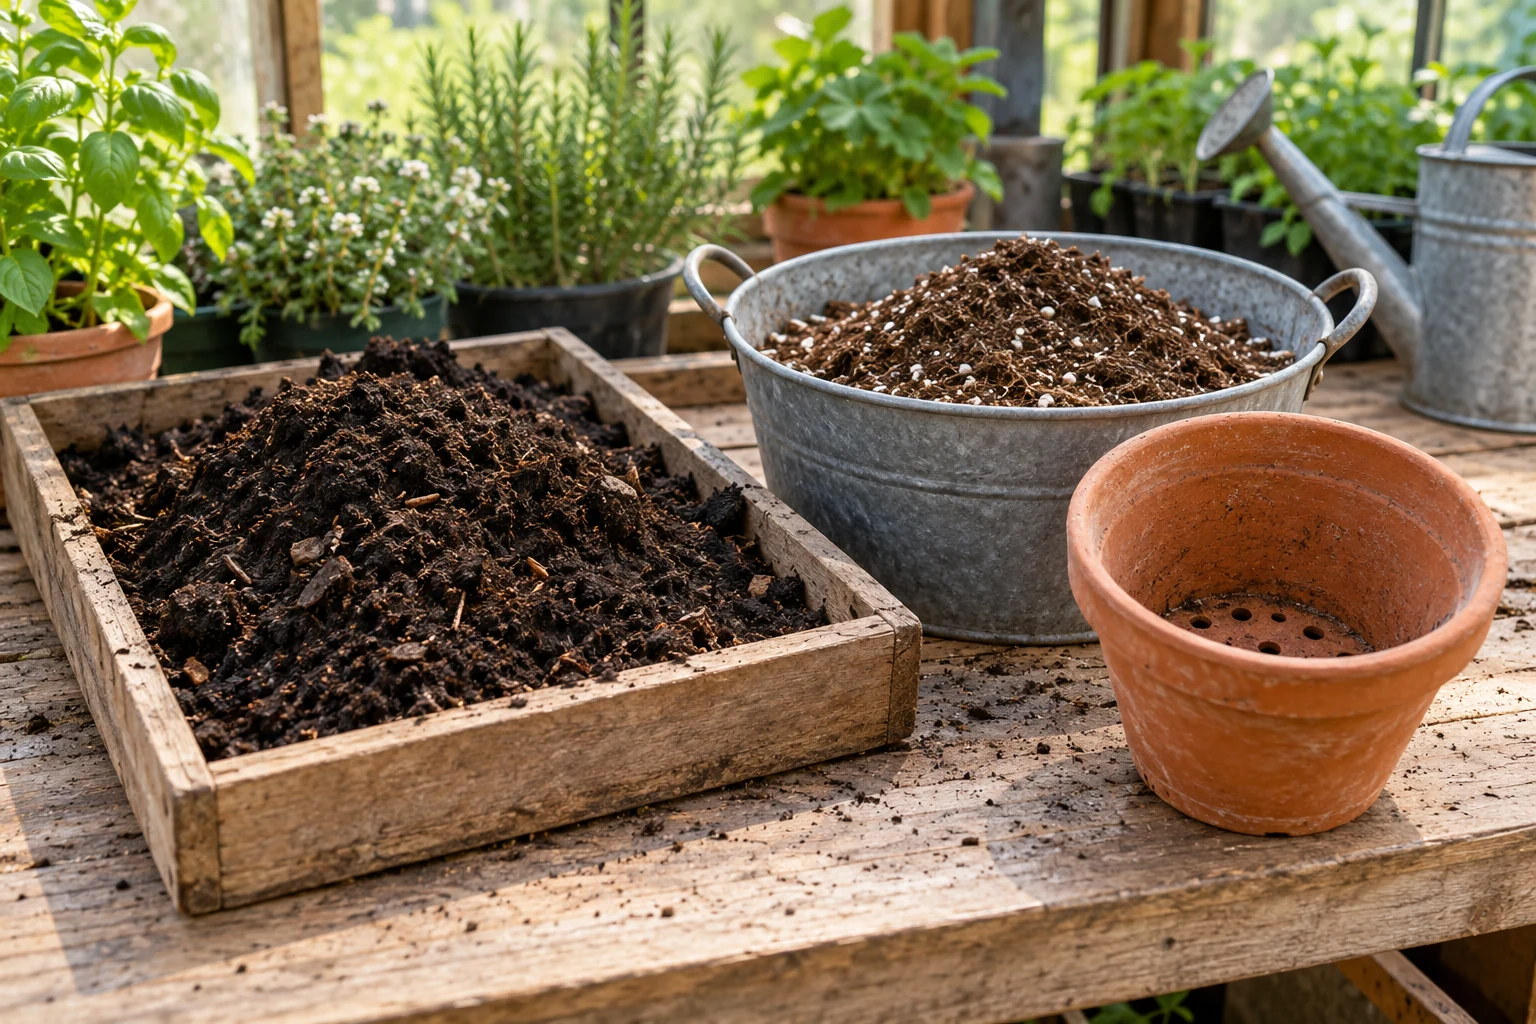
Use a container mix appropriate to the plant and add compost only in a suitable, established formulation or according to the mix and plant guidance. Container roots depend on the whole medium for air and water management, and drainage holes still matter.
A generic 50:50 compost-and-garden-soil recipe is not suitable for every pot. Compost varies, mineral garden soil can behave differently in a container, and plants have different requirements. Seed starting deserves particular care with maturity, cleanliness, and texture.
For an existing potted plant, check root condition, drainage, watering, and whether it needs repotting. Removing soil and replacing it with compost should not be an automatic response to poor growth. Avoid piling material against the stem or reducing the watering space below the rim.
Lawns: keep the dressing fine and thin
Use a fine compost suitable for turf, without large sticks or debris. Apply a light, even layer and work it between the grass blades so the grass remains exposed. Deep piles can smother rather than improve a lawn.
The Minnesota Pollution Control Agency’s application guide gives ⅛ to ¼ inch for topdressing established lawns. Treat that as a light-application reference, with local turf advice, the compost’s properties, and the lawn’s condition informing the actual work.
Plan application during a suitable period of grass growth and avoid saturated or frozen ground. If a lawn problem comes from grading, drainage, shade, or an unsuitable grass, topdressing alone will not resolve the cause.
Measure the chosen application
Once you have selected an appropriate depth, multiply area by depth in feet to calculate volume. For example, a chosen ½-inch application over 120 square feet is 120 × (0.5 ÷ 12) = 5 cubic feet. The arithmetic does not establish that ½ inch is the right rate for your bed.
For a chosen ¼-inch lawn dressing over 1,000 square feet, the geometric volume is about 20.8 cubic feet, or 0.77 cubic yard. Ask the supplier about coverage, texture, and delivery quantities rather than guessing bag counts.
Record what you applied and observe the plants and soil afterward. That record, together with relevant soil testing, gives you a better basis for the next addition than repeating a large annual dose by habit.

Ethan Miller
Ethan Miller writes about home improvement, interior design, cleaning, and everyday living at Home & Living Daily. He shares practical tips and simple ideas to help readers create more comfortable and functional homes.