To factory reset an iPhone you can unlock, go to Settings > General > Transfer or Reset iPhone > Erase All Content and Settings. Follow the review and authentication prompts, choose the appropriate eSIM option, and let the erase finish. Back up or transfer what you need before confirming.
This removes the phone’s content. It is different from restarting, resetting network settings, or resetting the layout. If your goal is a small settings repair, first establish whether you need a complete erase at all.
Decide what happens to the phone next
| Your plan | What to settle before erasing |
|---|---|
| Keep and set up the same phone again | Backup, account access, and whether to retain its cellular service |
| Sell, trade in, or give it away | Transfer, account sign-out, watch pairing, and removal of your service |
| Troubleshoot a persistent problem | What has already been tested and how current data will be protected |
| You cannot unlock the phone | Use the official forgotten-passcode recovery process instead |
Know the device passcode and Apple Account credentials before you begin. Make sure you can receive any account-verification code without depending entirely on the phone you are about to erase.
For a handover, test the replacement device first: open important apps, check needed photographs and documents, and confirm that essential accounts are accessible. A transfer progress bar finishing does not replace checking the information you personally depend on.
Finish the backup or transfer first
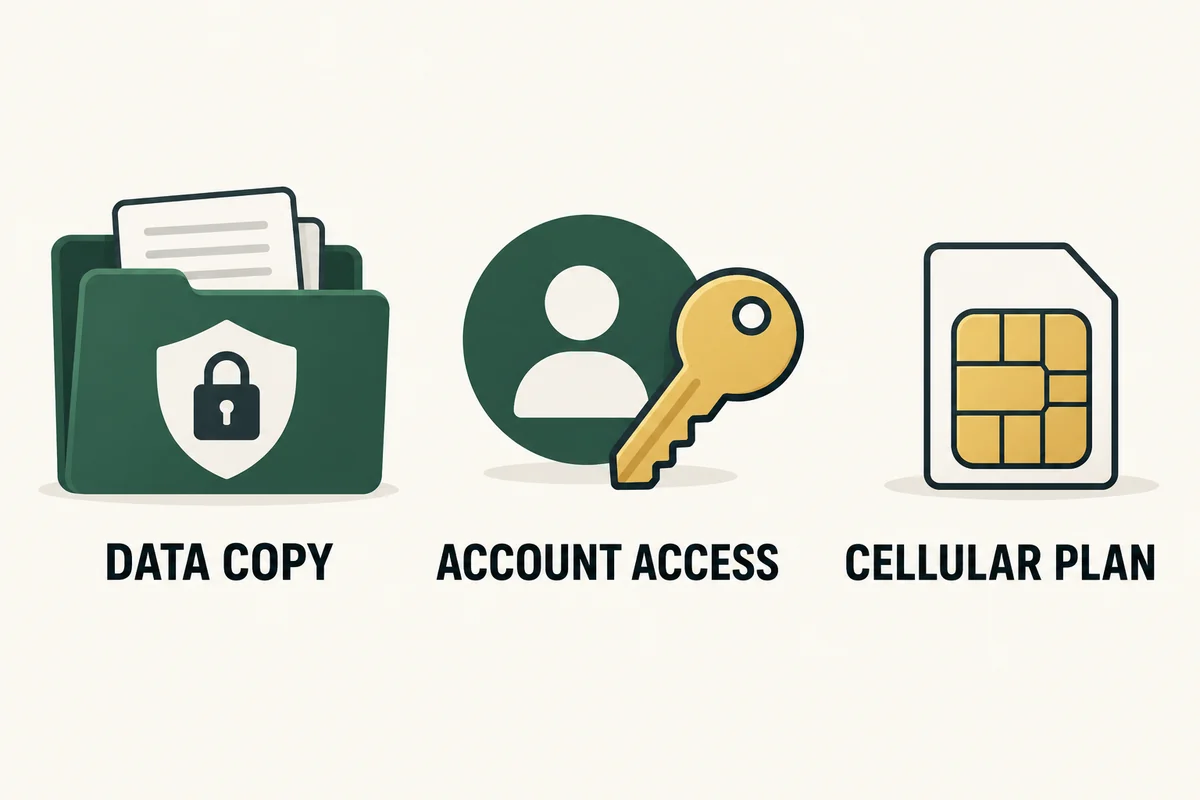
Apple’s factory-reset instructions begin with backing up the device. Confirm completion rather than assuming an enabled backup setting means the latest copy has finished.
Think about app-specific information too. A locally stored draft, an authenticator setup, or an offline document may need its own transfer procedure. Record what you need to check; do not discover after erasing that the phone was your only working route into an account.
If you are selling the phone, avoid manually deleting synced photographs and contacts as a substitute for erasing it. Apple’s handover checklist warns that deleting synced items can remove them from iCloud and connected devices as well. Follow the device-erasure workflow after protecting the data you want to keep.
Run Erase All Content and Settings
- Open Settings > General > Transfer or Reset iPhone.
- Select Erase All Content and Settings and review what will be removed.
- Continue through the authentication and backup prompts.
- Choose whether to keep or erase the eSIM when that choice is offered.
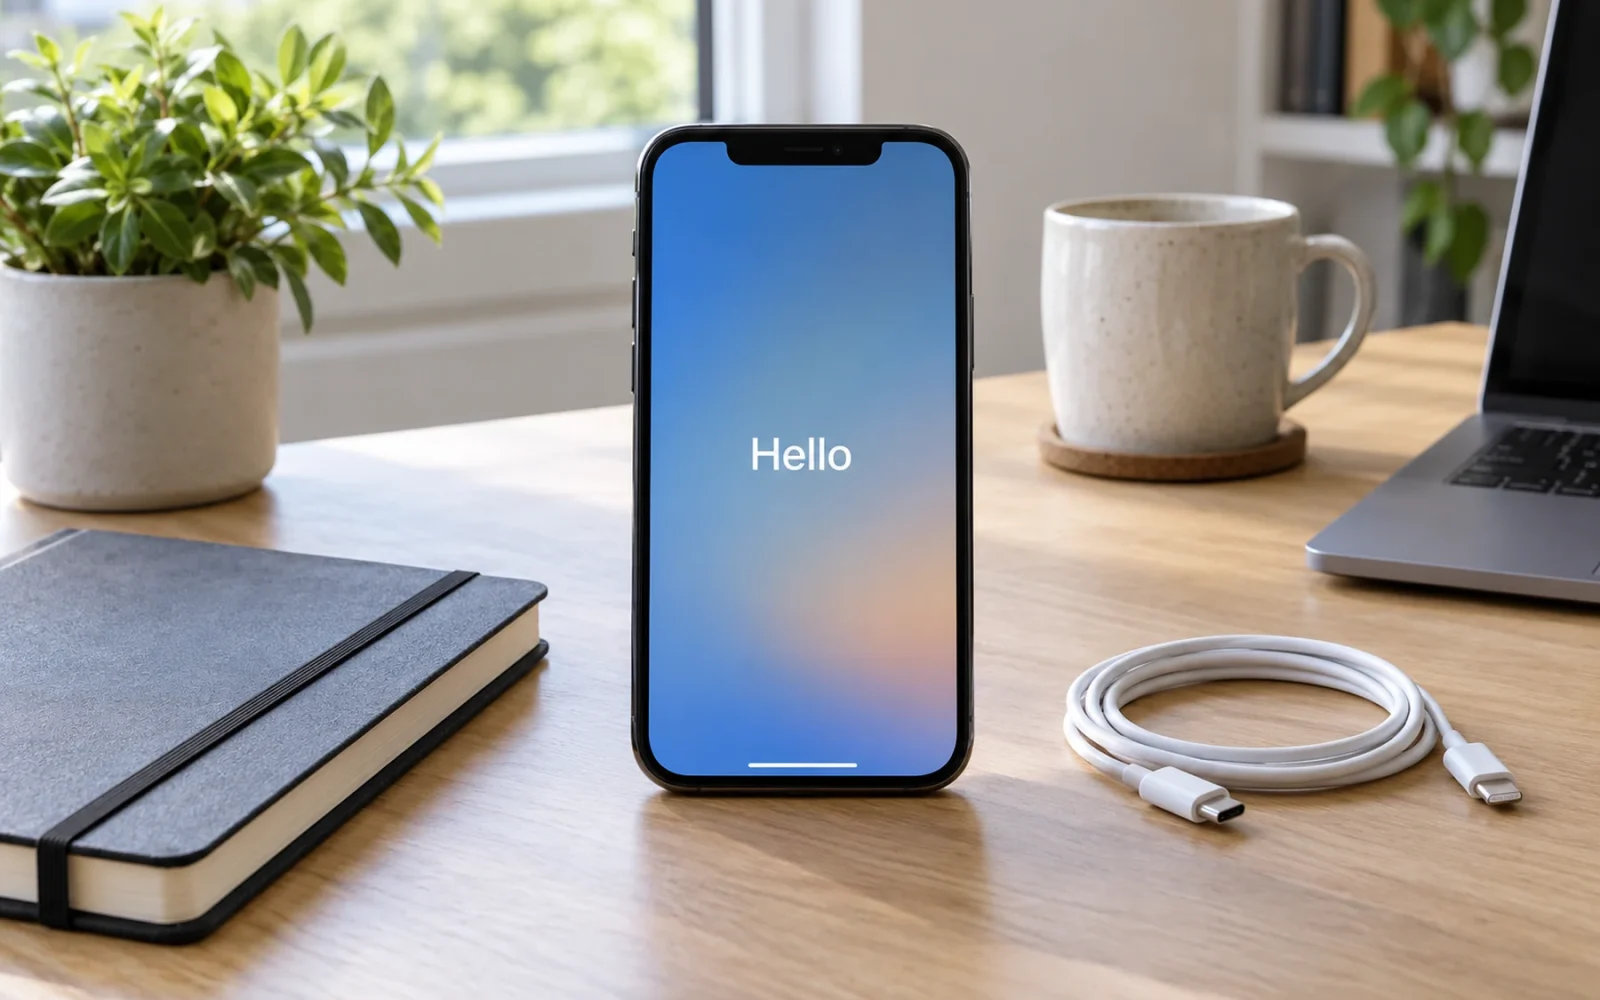
- Let the process finish; the device returns to the Hello setup screen.
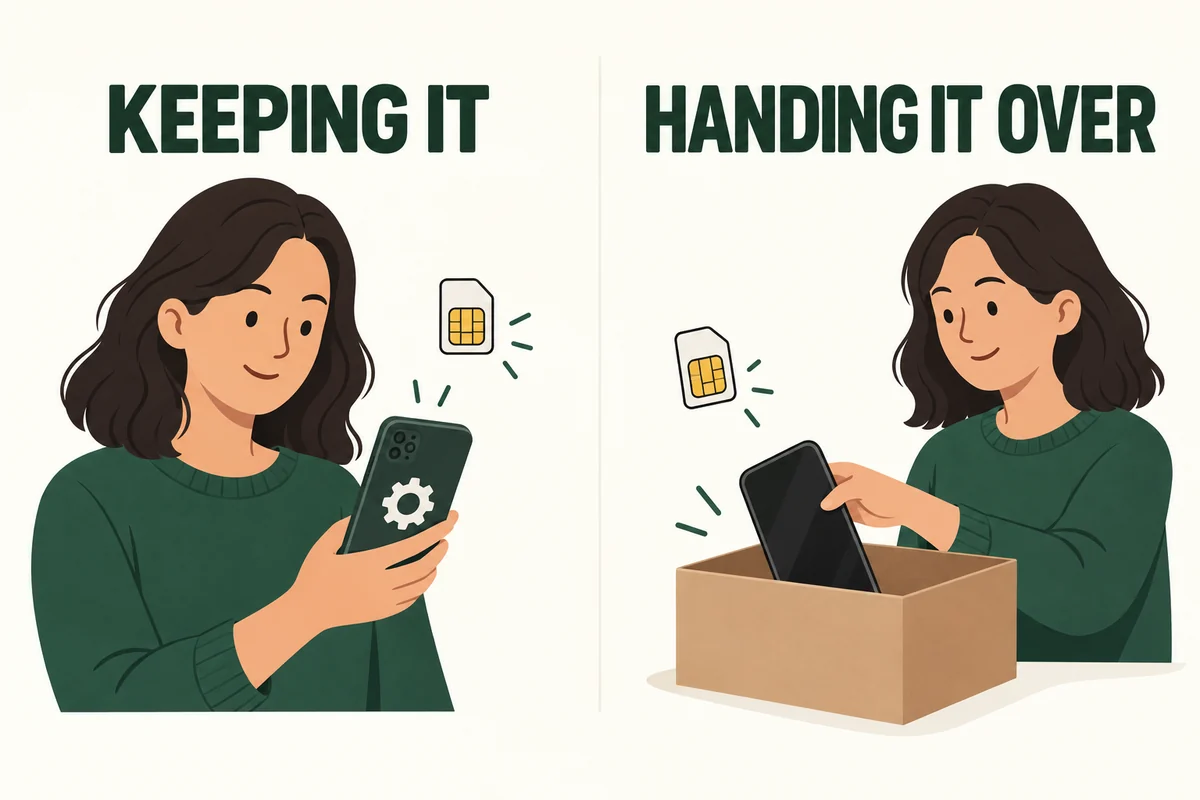
Choose the eSIM option deliberately. Keeping the same phone and service can call for retaining it; handing the phone to another owner calls for removing your eSIM. Erasing an eSIM can require carrier assistance to reactivate service. It is not a substitute for checking whether your service agreement has been canceled or transferred.
Do not promise yourself a fixed completion time. Leave a practical setup window, especially when you need to restore data afterward. The erase completing is only one part of getting a usable phone back.
Extra checks when another person will own it
Follow Apple’s handover checklist for signing out and, when relevant, unpairing an Apple Watch. Remove a physical SIM if present and make sure your cellular number has been handled correctly on the replacement device. Switching to a non-Apple phone also calls for checking iMessage deregistration.
Complete the owner’s official authentication steps so the device is ready for the next person. A reset is not a way to bypass someone else’s Activation Lock, and an unknown account prompt needs to be resolved with the legitimate owner.
After the Hello screen appears, avoid setting the phone back up with your own account if it is leaving your possession. Keep any trade-in or handover records separately, and follow the receiving organization’s requirements.
Conclusion
The critical part of a factory reset happens before the erase: confirming a usable copy of important information and preserving account access. Once those are settled, use the specific erase workflow and match the final cellular and account checks to whether you are keeping the phone or handing it over.

Ethan Miller
Ethan Miller writes about home improvement, interior design, cleaning, and everyday living at Home & Living Daily. He shares practical tips and simple ideas to help readers create more comfortable and functional homes.