Patio pavers do not all need sealing. Seal them when the paver manufacturer allows it and the expected stain resistance or appearance is worth the application and future upkeep. If you decide to proceed, identify the material and existing coating, clean the surface, resolve joint problems, meet the product’s drying requirements, and apply the compatible sealer at its specified coverage.
Sealing cannot level a sunken patio, fix drainage, or make damaged joints sound. Deal with those problems before choosing a finish.
Decide what you want the sealer to change
Possible goals include making spills easier to clean, retaining a natural appearance, or deepening color. Those are different outcomes. A wet-look product can substantially change the paving, while a product marketed as natural-looking may still alter sheen or shade on your particular surface.
Unilock describes sealing its concrete pavers as optional, rather than a universal requirement. Start with your own paver’s care information, especially if it has a factory treatment. Guidance for untreated concrete units should not automatically be applied to porcelain, clay, or natural stone.
Balance the benefit against maintenance. A film that later becomes cloudy, wears unevenly, or peels can require more than another quick coat. If you like the unsealed surface and its manufacturer does not require a treatment, leaving it unsealed may be a reasonable decision.
Identify compatibility before buying a container
Find out what the pavers are made from, whether they are factory-treated, and whether an earlier sealer is present. If the installer cannot identify an existing coating, ask the proposed sealer manufacturer how to establish compatibility. “Water-based” on both containers is not sufficient proof that one can go over the other.
Also identify the joints. Conventional sand, polymeric sand, mortar, and permeable aggregate have different requirements. Do not fill aggregate joints with polymeric sand merely because a generic sealing tutorial includes that step.
Choose a test area or spare paver that represents the actual surface. Test the intended preparation and full coating system, then allow the required cure before assessing the finish. An approved sample is much more useful than a label photograph.
Prepare the paving and joints as separate tasks
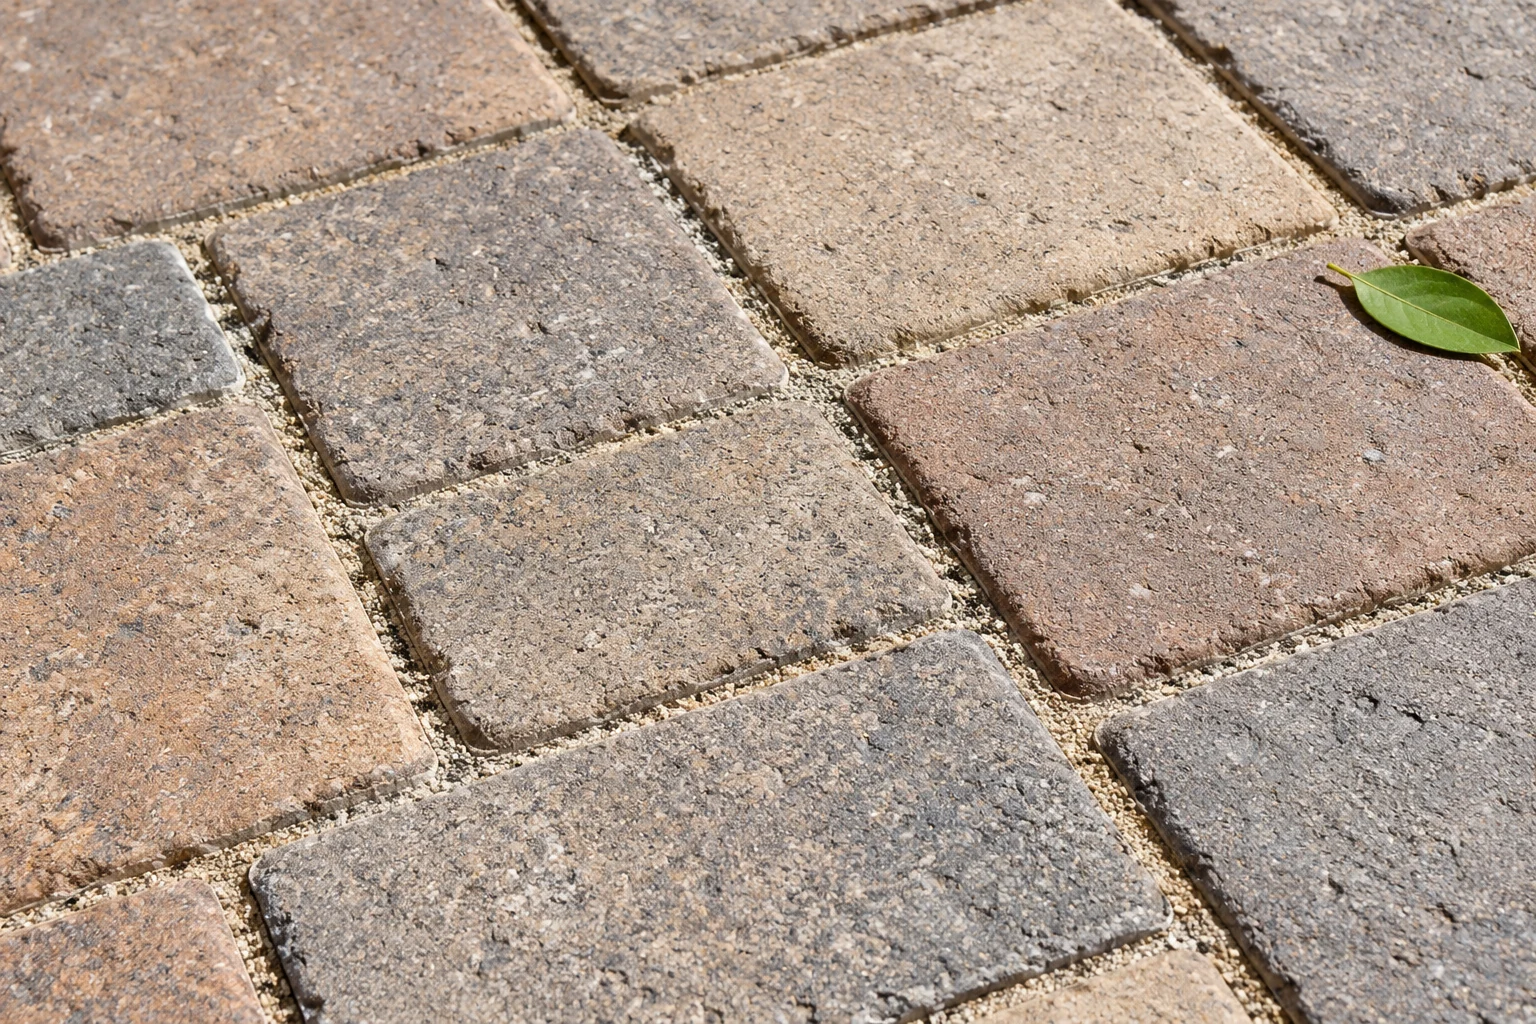
Remove furniture and pots. Inspect for oil, rust, organic staining, white deposits, loose units, and failed joint material. Our guide to cleaning patio pavers covers a controlled wash that protects the surface and joints.
Do not seal over stains you still want to remove. A finish can emphasize them or make later treatment more complicated. White haze also needs identification: mineral deposits, polymer residue, and a failing coating can call for different solutions.
If joints need repair, use the correct material and procedure, including its activation and curing requirements. Follow the paver, jointing, and sealer instructions together. A generic “wait 24 hours” rule may not satisfy all three products.
Make dryness and weather a go-or-wait decision
A paving face can look dry while moisture remains in joints or bedding. Western Interlock identifies hidden moisture as a common sealing mistake. Use the sealer maker’s method for assessing conditions instead of treating appearance alone as permission to apply.
Read the allowed air and surface temperatures, dew and rain restrictions, and cure window. A sunlit paver can be hotter than the reported air temperature. Shaded edges can stay damp after the center dries. Sprinklers and runoff from neighboring areas count as water exposure too.
For new pavers, check the maker’s initial waiting period and any efflorescence instructions. Do not choose whichever tutorial offers the shortest wait. If the requirements conflict or remain unclear, resolve them with the suppliers before coating the patio.
Plan coverage, application, and your exit
Measure the area and use the selected product’s coverage range to estimate quantity. Absorption, texture, and the number of specified coats affect consumption. The figure on a container is not permission to stretch a thin coat over any larger area.
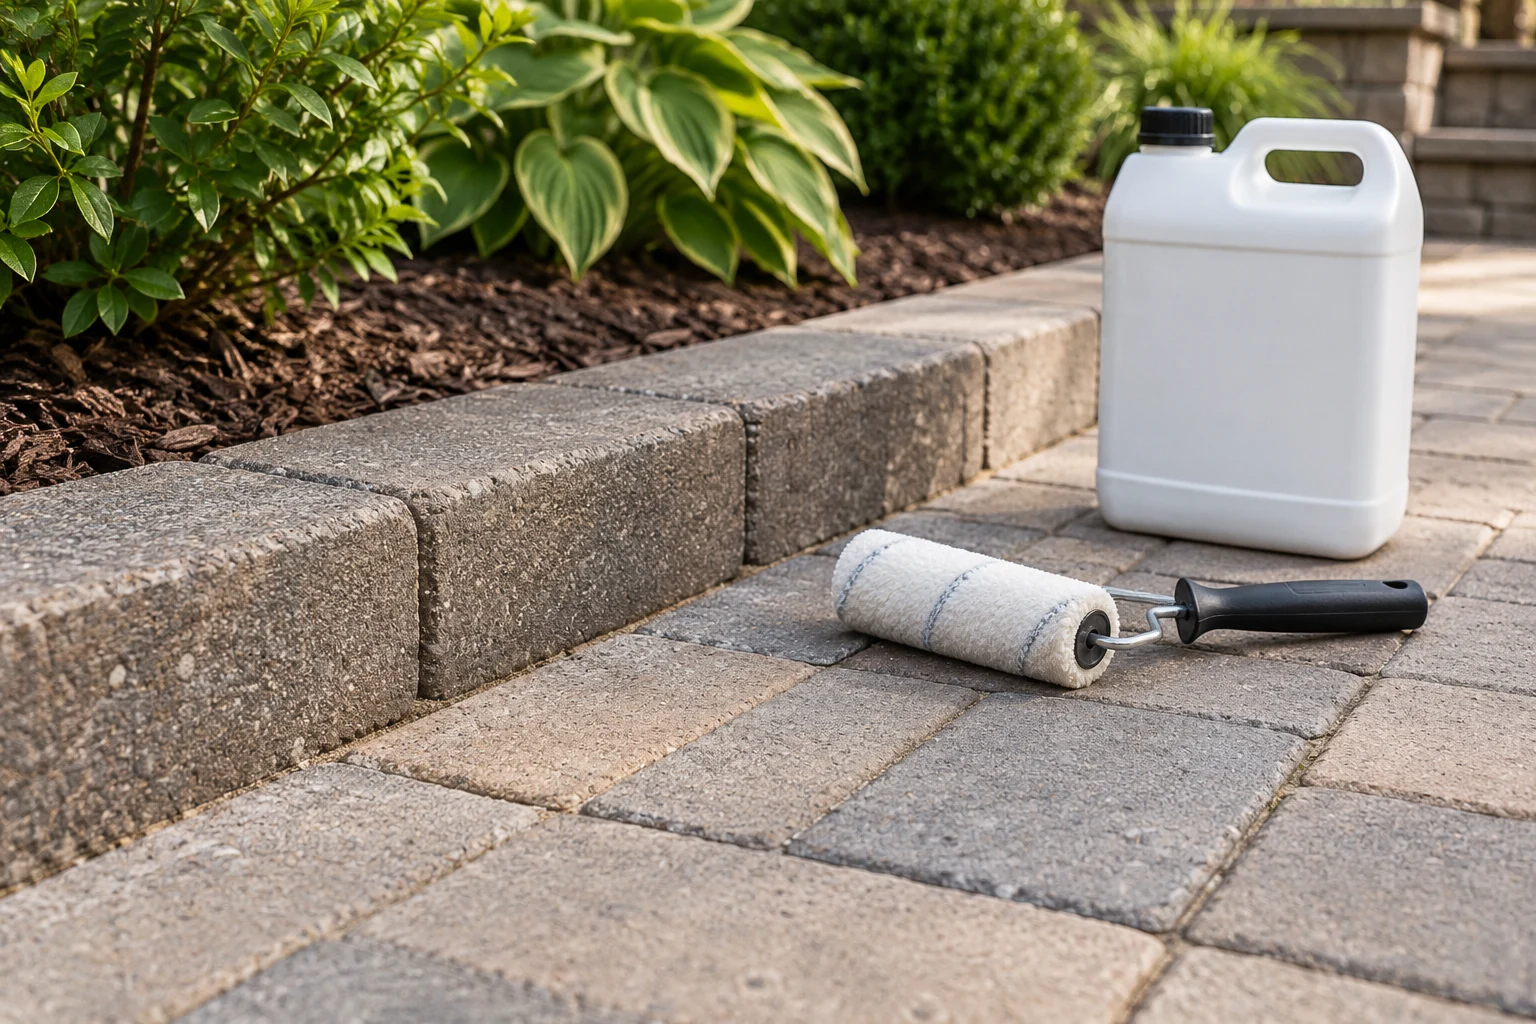
- Protect adjacent surfaces. Follow the label for plants, walls, doors, and any required personal protection.
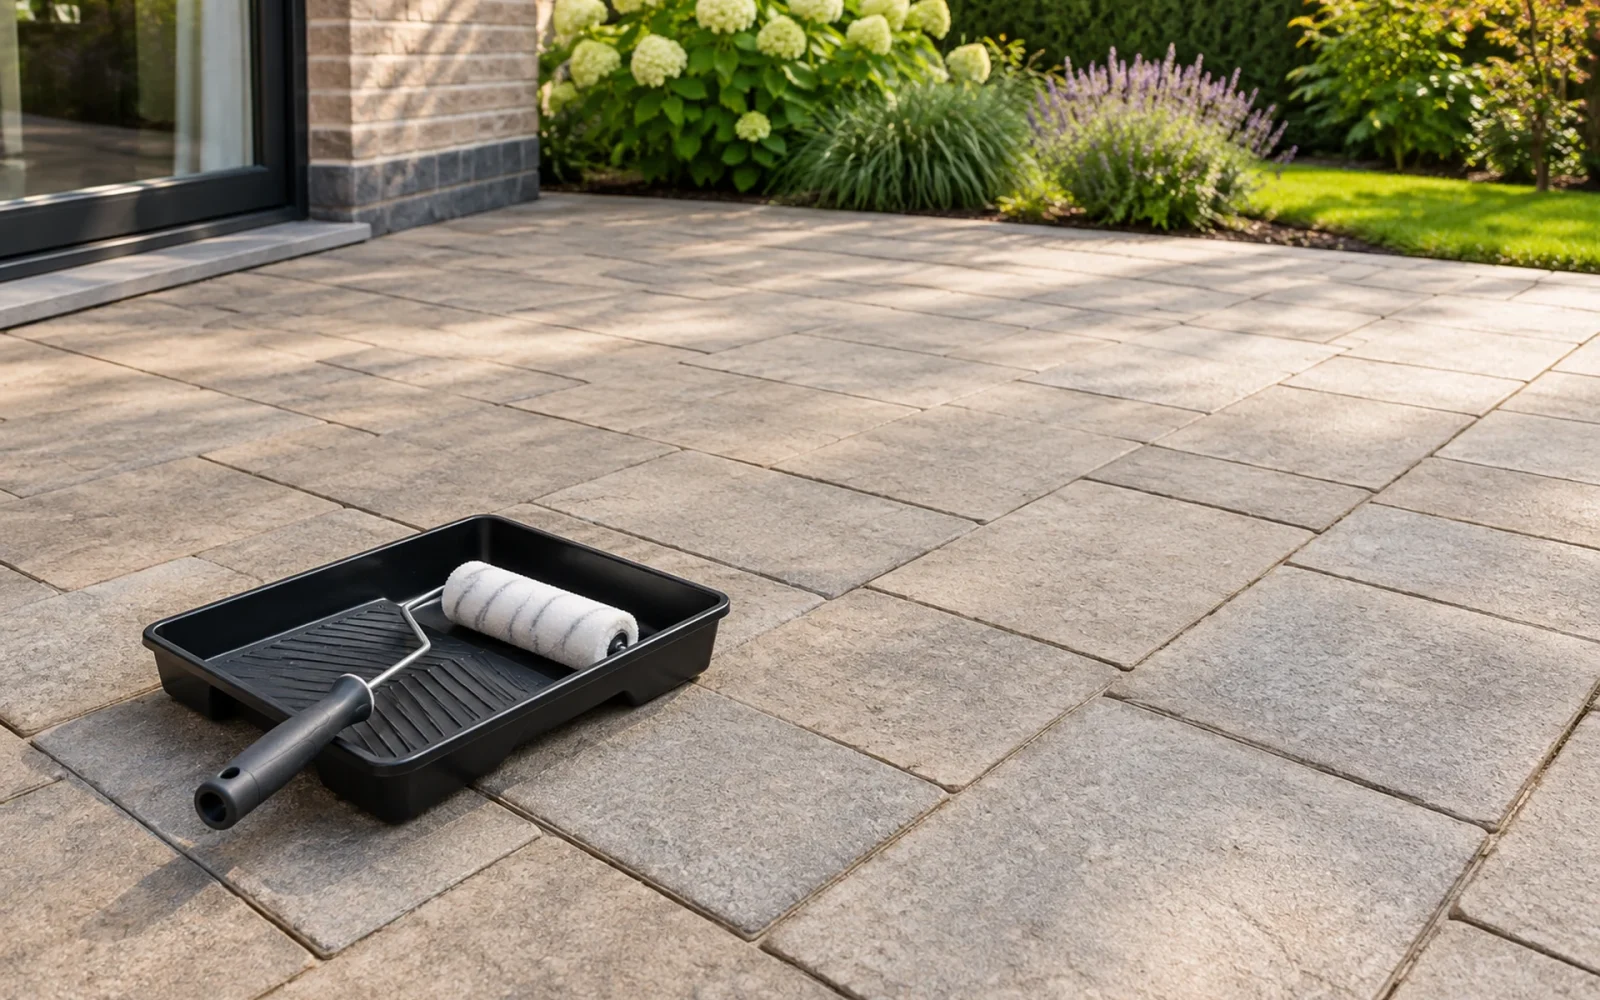
- Use approved equipment. A sprayer must be compatible with the formulation; a roller’s nap and material also matter.
- Work in manageable sections. Maintain the continuity and timing required by the product, without trapping yourself away from the exit.
- Control excess. Remove puddles and uneven buildup as directed. Do not assume a thicker layer gives better protection.
- Apply another coat only as specified. Respect the recoat window and required surface condition.
Rolling versus spraying is a product and surface decision, not a universal contest. Some systems call for spraying followed by back-rolling; others specify a different method. Follow the actual instructions rather than combining pieces of several demonstrations.
Keep the patio clear until its permitted return to use
Observe the separate times for light foot traffic, furniture, heavier use, and water exposure where the product distinguishes them. A dry-to-touch film is not necessarily fully cured.
Keep the product name, batch information, preparation details, and application date. Inspect the finish as it wears and follow its maintenance instructions. If whitening, peeling, or blotchy gloss appears, identify the cause before adding more sealer or attempting a solvent repair. The useful maintenance interval is the one that fits that coating and surface, not an automatic annual recoating appointment.

Ethan Miller
Ethan Miller writes about home improvement, interior design, cleaning, and everyday living at Home & Living Daily. He shares practical tips and simple ideas to help readers create more comfortable and functional homes.