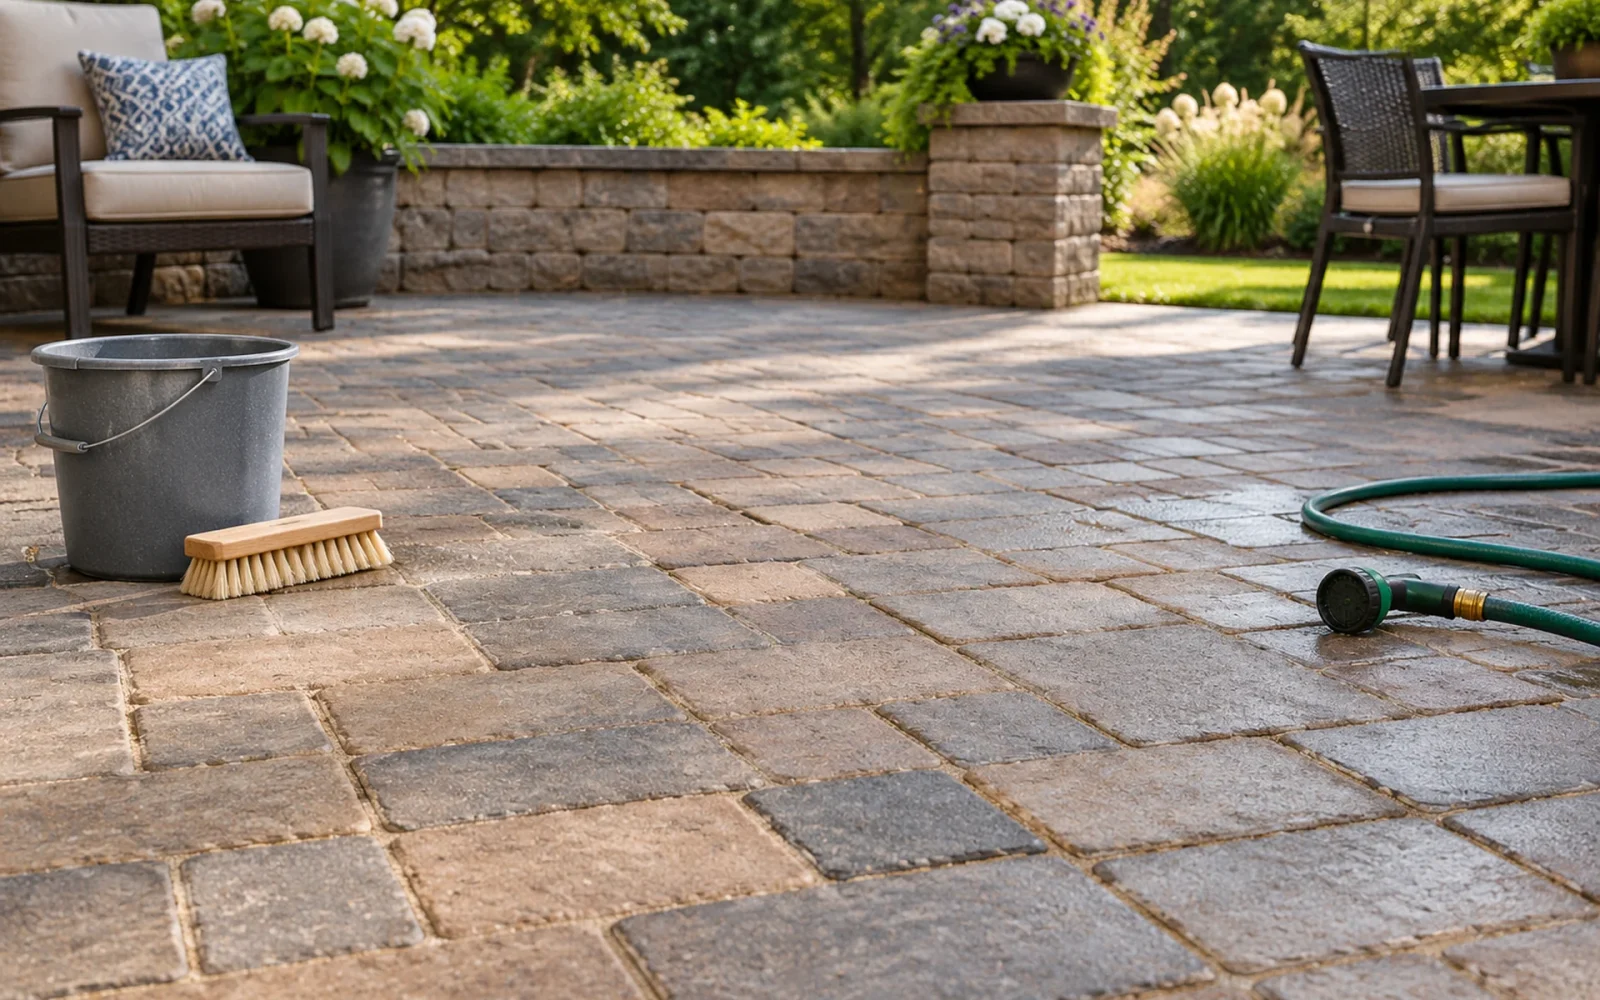
Clean patio pavers with a compatible cleaner, a nonmetal brush, and a controlled garden-hose rinse before considering pressure washing. Inspect the joints first and avoid directing water into them. The goal is to lift dirt from the paving faces while leaving the joint material and surface finish intact.
There is no single cleaner for every patio. Concrete, clay, porcelain, and natural stone can need different care, and a sealer may introduce another set of requirements.
Identify the pavers and what fills the joints
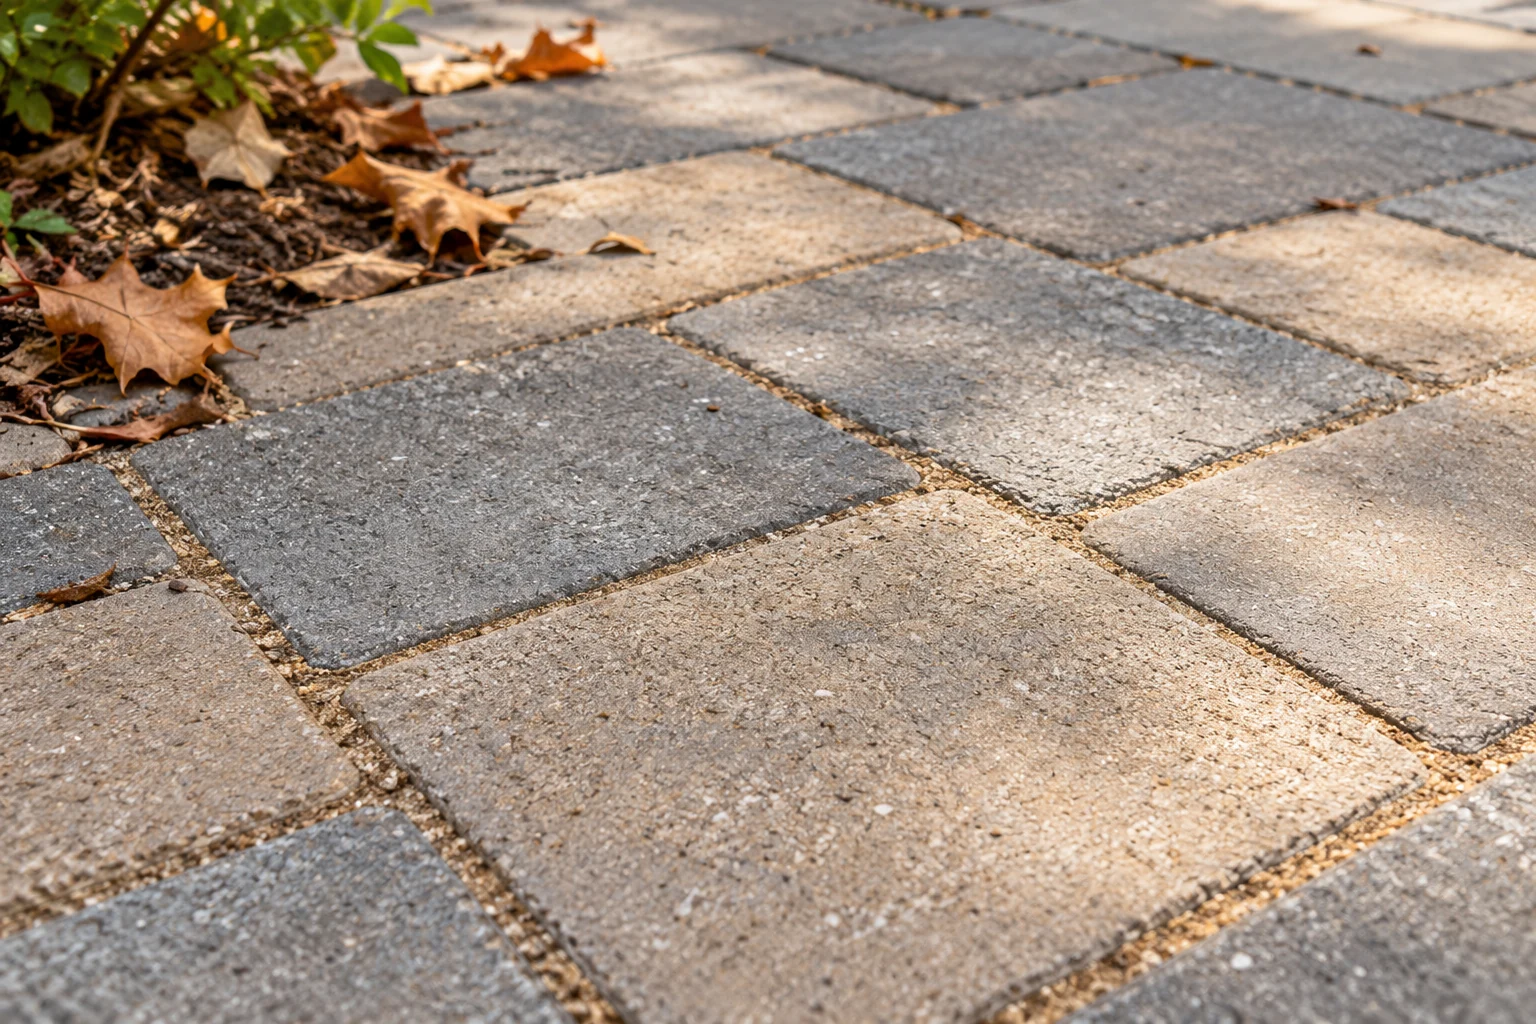
Check installation records, leftover packaging, or the supplier’s information for the paver material and any sealer. Note loose units, damaged edges, sunken areas, and existing gaps before wetting the patio.
Then identify the joint system. Conventional loose sand, polymeric sand, mortar, and open-graded aggregate are not interchangeable. A permeable patio with aggregate joints needs maintenance suited to its drainage system; do not sweep ordinary sand into it because a general patio-cleaning guide mentions re-sanding.
If the pavers or jointing material are recently installed, check their curing and cleaning restrictions. A joint that appears dry at the surface may not yet be ready for a chemical treatment or powered cleaning device.
Choose a small test that tells you something useful
Clear furniture and pots, sweep away grit and leaves, and select an inconspicuous section with the same finish as the rest of the patio. Use a cleaner approved for the paver material, jointing, and sealer.
For general dirt, a suitable mild detergent may be enough. Do not assume that vinegar, a kitchen degreaser, or a masonry acid is safe for an unidentified surface. “Natural” and “strong” are not material-compatibility ratings.
Belgard’s paver-care guidance emphasizes matching the cleaning method to the material and warns that wire or steel brushes can damage pavers. Use the brush type recommended for your surface rather than the most abrasive tool in the shed.
Follow the cleaner’s directions for dilution, prewetting if required, contact time, and rinsing. Let the test dry before judging color, sheen, residue, and joint condition. If it changes the finish or loosens the jointing, stop and ask the supplier for a suitable method.
Wash in sections without chasing dirt into the joints
- Remove loose debris. Collect it rather than pushing a pile toward a drain. Lift weeds carefully without levering out joint material unnecessarily.
- Prepare the approved solution. Use its stated dilution and required protection. More concentrate can make residue harder to remove.
- Apply to a manageable section. Prewet only where the product calls for it. Do not let the cleaner dry on the paving.
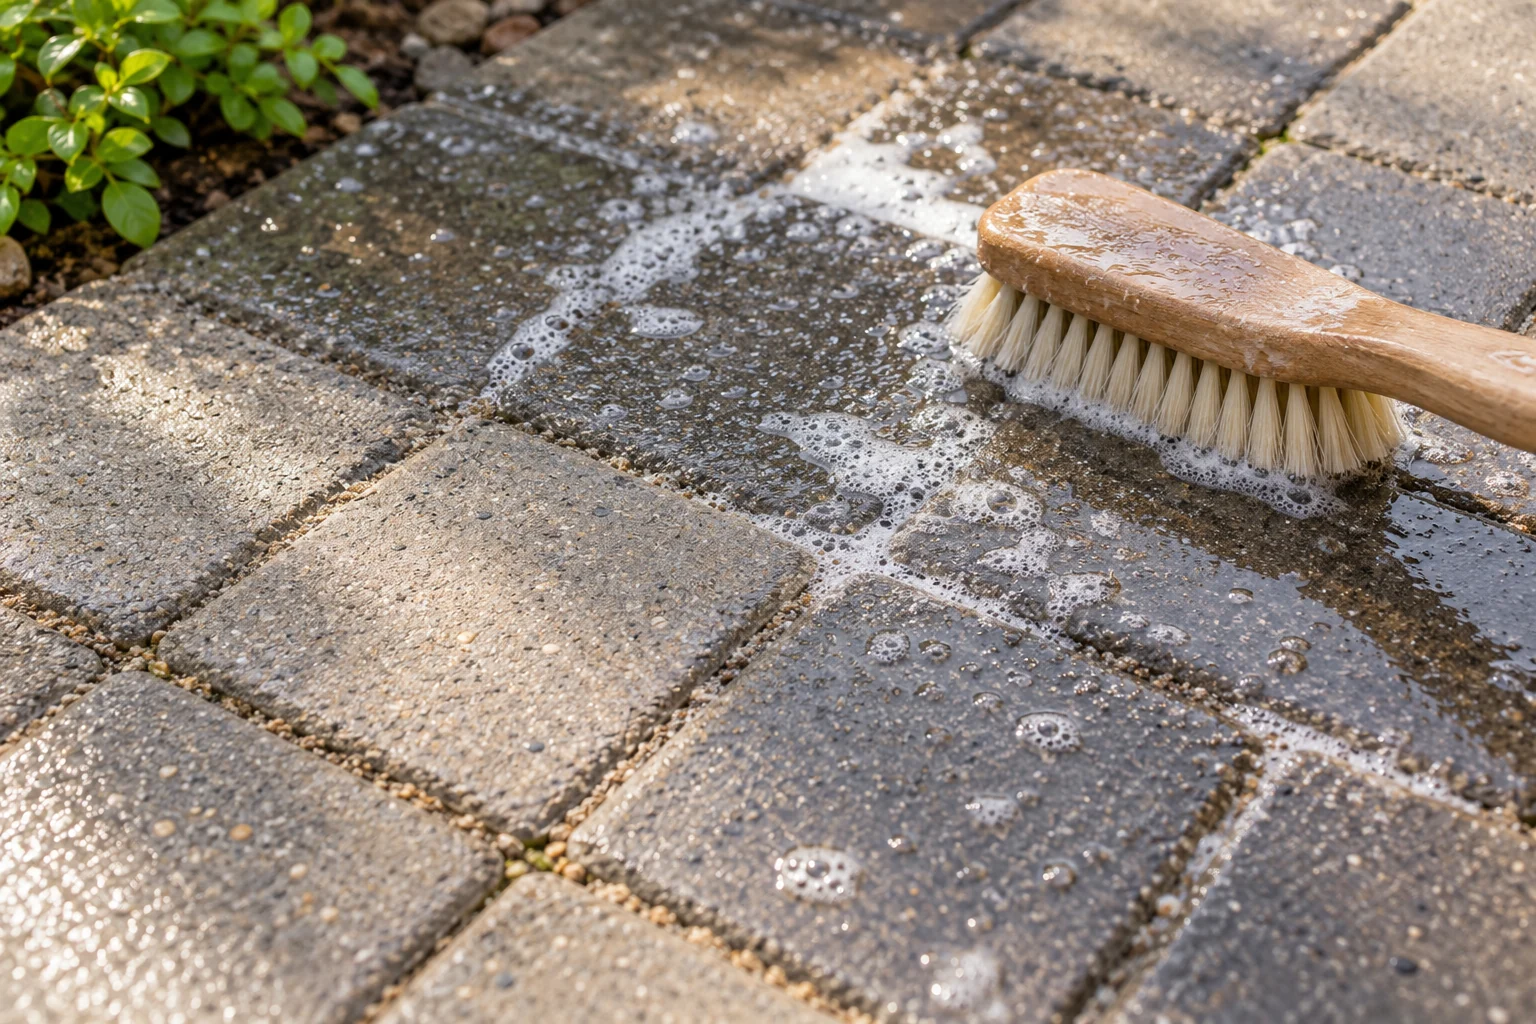
- Agitate the faces gently. Brush across the surface without excavating the joints. Lift heavy surface residue before it spreads into adjacent areas.
- Rinse with controlled flow. Avoid a concentrated jet into gaps or beneath edges. Direct dirty water appropriately and follow the product’s disposal instructions.
- Check before continuing. If sand is moving or a surface is changing, adjust the method rather than completing the entire patio the same way.
Choose weather that gives you time to work before the solution dries. Avoid flooding walls, door thresholds, electrical fittings, or adjacent beds. Keep people off the wet work area and rinse footwear before tracking cleaner indoors.
If a stain remains, identify its source
Grease near the grill: lift fresh spills, then use a degreaser approved for the paver and sealer. An absorbed stain may not disappear in one treatment. Do not turn a localized stain into a whole-patio chemical experiment.
Rust beneath furniture: remove or repair the source and choose a suitable rust treatment. Some removers are acidic and can affect concrete or acid-sensitive stone. Check compatibility rather than borrowing a product intended for another material.
Leaf marks or green growth: remove the organic debris and use a surface-appropriate treatment if the general wash is insufficient. Address the damp or shaded condition that keeps the patch returning.
White deposits or a cloudy coating: do not assume this is dirt. Efflorescence, cleaner residue, polymer residue, and a sealer problem can look similar from a distance but need different remedies. Ask the installer or supplier to identify it before applying an acid wash or another coat of sealer.
Never mix cleaning products. In particular, keep bleach away from acids, vinegar, and ammonia-containing cleaners. Use the exact product instructions when changing treatments or deciding how long to wait.
Pressure washing is a separate decision
A pressure washer may remove grime quickly, but it can also erode the face, affect sealer, and dislodge joint material. The Nicolock cleaning guide specifically warns about washing out joint sand and prefers a brush-and-rinse method for routine care.
If your paver and joint manufacturers allow powered cleaning, follow their instructions and those of the machine. A single recommended PSI cannot account for nozzle, distance, flow, surface condition, or joint type. Start with a discreet test and stop at any sign of surface or joint damage.
For extensive staining, unknown coatings, loose joints, or a valuable natural-stone surface, a professional who understands that specific system may be the better choice. Ask how they will protect the finish and whether joint repair is included in the quoted scope.
Inspect the joints again once the patio is dry
Cleaning does not automatically mean the whole patio needs new sand. Compare the joints with your initial inspection. If they remain properly filled and sound, leave them intact.
If material is missing, identify the correct replacement and the reason for the loss. Repeated erosion can point to a water-flow or installation problem that a thin topping will not fix. Polymeric jointing products also have specific requirements for depth, removal of failed material, surface dryness, compaction, and activation.
For example, Techniseal’s EZSAND technical sheet requires dry surfaces and joints and warns against using the product as a capping sand. Follow the current instructions for the exact product you are using, rather than transferring those requirements or timings to a different joint system.
Keep cleaning, joint repair, and sealing as distinct tasks. Resolve failed joints and moisture problems before applying a compatible sealer, and meet that product’s preparation and drying requirements. For ordinary ongoing care, promptly remove leaves, clear spills, and keep drainage routes open so the next wash can remain a gentle one.

Ethan Miller
Ethan Miller writes about home improvement, interior design, cleaning, and everyday living at Home & Living Daily. He shares practical tips and simple ideas to help readers create more comfortable and functional homes.