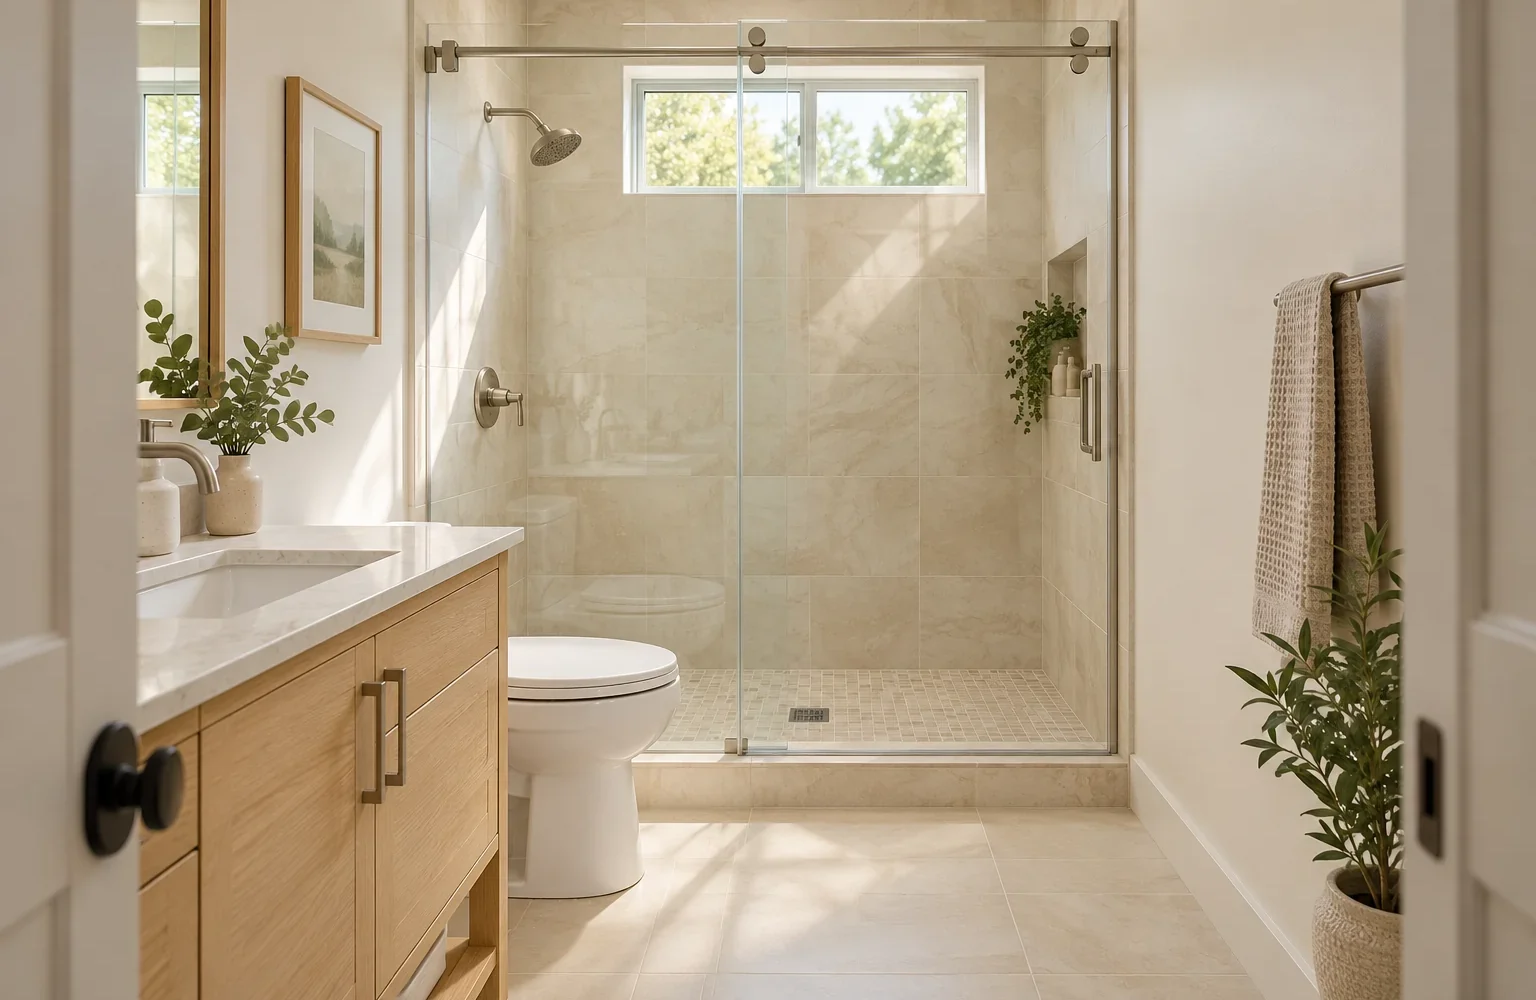
The most useful small bathroom designs with a walk-in shower start with the room’s shape: put the shower across the far wall of a narrow rectangle, consider a corner enclosure in a squarer room, or use a longer shower along one side when the aisle can remain comfortable. Then choose the glass and entry arrangement around water containment and everyday movement. Clear glass can make a room feel open, but it cannot fix a cramped route to the sink.
A walk-in shower does not have to be doorless or curbless. A low-threshold shower with a sliding glass door may suit a compact bathroom better than an open wet room. Use the layout comparisons below to choose a starting point, then have a qualified remodeler check the measurements, drainage, waterproofing, and local requirements before ordering fixtures.
The images in this guide are AI-generated design concepts, not photographs of completed renovations or construction plans.
Choose a layout from the shape of your bathroom
Measure the finished room, including projections from trim, radiators, and pipes. Mark the entry door, window, toilet, sink, and existing drain. A layout that reuses plumbing positions is worth comparing with one that moves them; the visual improvement needs to justify the additional work.
| Room or constraint | Layout to explore | Enclosure to compare | Main issue to test |
|---|---|---|---|
| Narrow rectangular room | Shower across the far short wall | Sliding glass door or a fixed panel with a protected entry | Clear space between the shower entrance, toilet, and vanity |
| Squarer room with two usable adjoining walls | Corner shower | Corner enclosure with a door selected for the available clearance | The door opening and usable standing space inside |
| Long room with enough width for a dry aisle | Shower along part of one side | Long fixed screen, with a door if splash cannot be contained | Aisle width after the vanity and glass are installed |
| Very tight room | Contained shower with a compact vanity | Sliding or another space-conscious enclosure | Whether an open shower would wet the toilet, storage, or doorway |
These are layout families, not approved plans. The same room dimensions can produce very different results when a door sits in a different corner or a window occupies the intended shower wall.
Put the shower across the back wall of a narrow room
A shower at the end of the room creates a clear visual destination and keeps the wet zone together. It is a useful option to investigate when replacing a bathtub that already spans the far wall. Keep the sink and toilet outside the shower’s entry route rather than squeezing in a larger vanity simply because it fits against the wall.
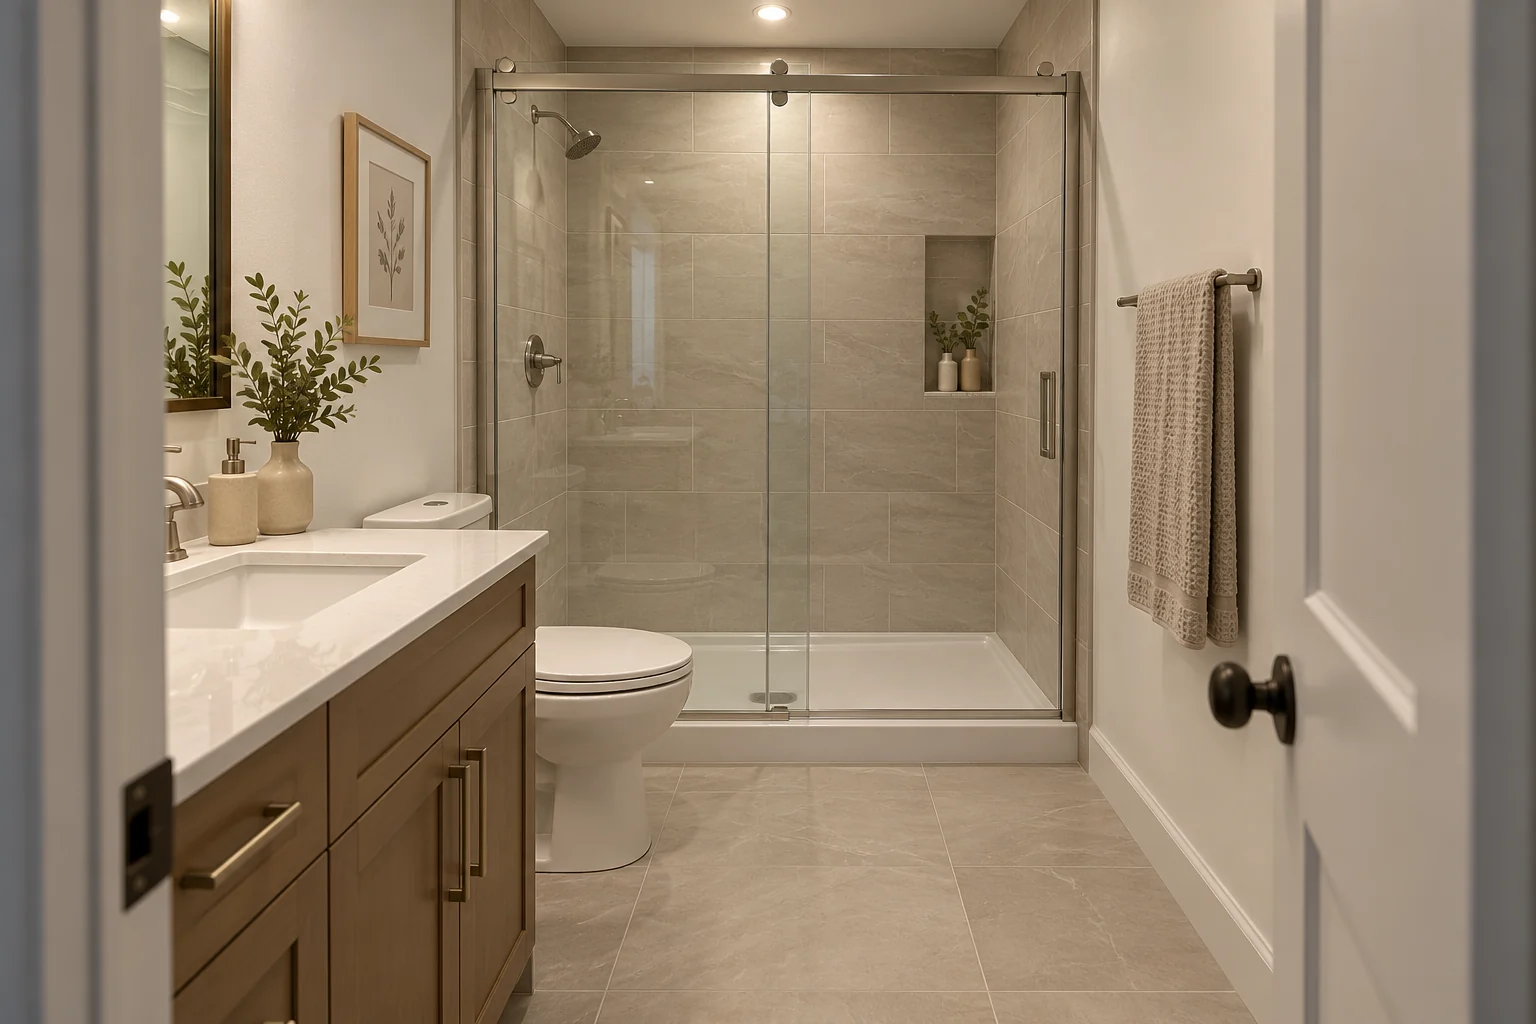
Compare a sliding door with a fixed panel. A slider avoids a door swinging into the aisle, but its opening is smaller than the full enclosure width, and tracks need cleaning. A fixed panel reduces moving parts, yet the exposed entry must be far enough from spray and splashes. Ask the installer to show the actual opening on the plan; the glass panel’s width alone does not tell you how comfortable entry will feel.
Can this work in a 5-by-8-foot bathroom?
A 5-by-8-foot room is 40 square feet, and a shower across its nominal 5-foot end is one arrangement worth testing. Do not assume that a nominal 60-inch product will fit the finished opening: wall construction, tile, and the manufacturer’s measurement method matter. Plot the shower depth, vanity projection, toilet position, entry door, and required clearances together.
Make two versions of the sketch: one using the existing fixture positions and another with a shallower vanity. Compare how you would enter, dry off, open drawers, and clean beside the toilet. If those tasks conflict, reduce the furniture or reconsider the enclosure before reducing the shower to an uncomfortable size.
Use a corner enclosure when it protects the center of the room
A corner shower can leave a useful central circulation area in a squarer bathroom. It works best when the other fixtures can occupy the remaining walls without crowding the shower entrance. A diagonal front may change the route through the room, but it can also reduce usable space inside the shower. Compare the interior shape rather than choosing from the outside footprint alone.
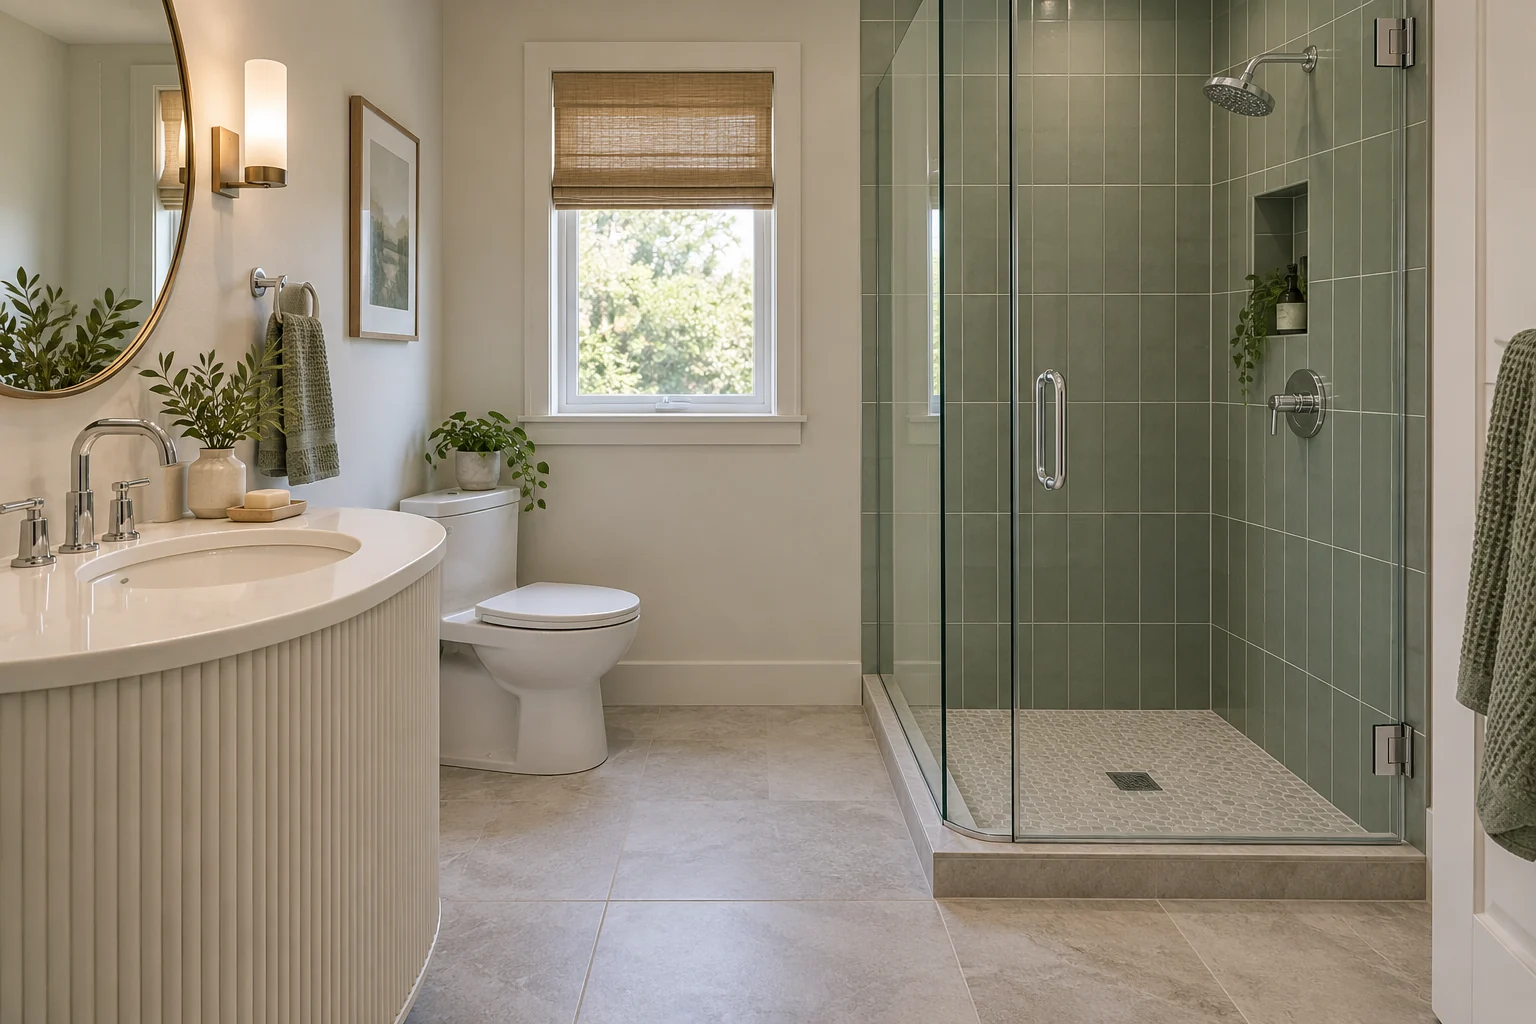
Trace every door swing, including the bathroom door, shower door, vanity drawers, and medicine cabinet. A shower that looks generous in a photograph may be awkward if you have to stand beside the toilet to open it. Ask the enclosure supplier about the door’s opening direction, clear opening, seals, and required clearances before deciding on the tray or tile layout.
For a modest visual statement, use color inside the shower and quieter finishes elsewhere. Sage, muted blue, or warm clay-colored wall tile can define the corner without adding a second competing pattern to the floor.
Run a shower along one side only when the aisle still works
A long side shower can suit a room with enough width to keep a comfortable dry route beside it. A shallow wall-hung vanity on the opposite wall may help, provided it still offers a usable basin and storage. Measure the aisle at its narrowest point, including handles, glass brackets, and any projecting countertop edge.
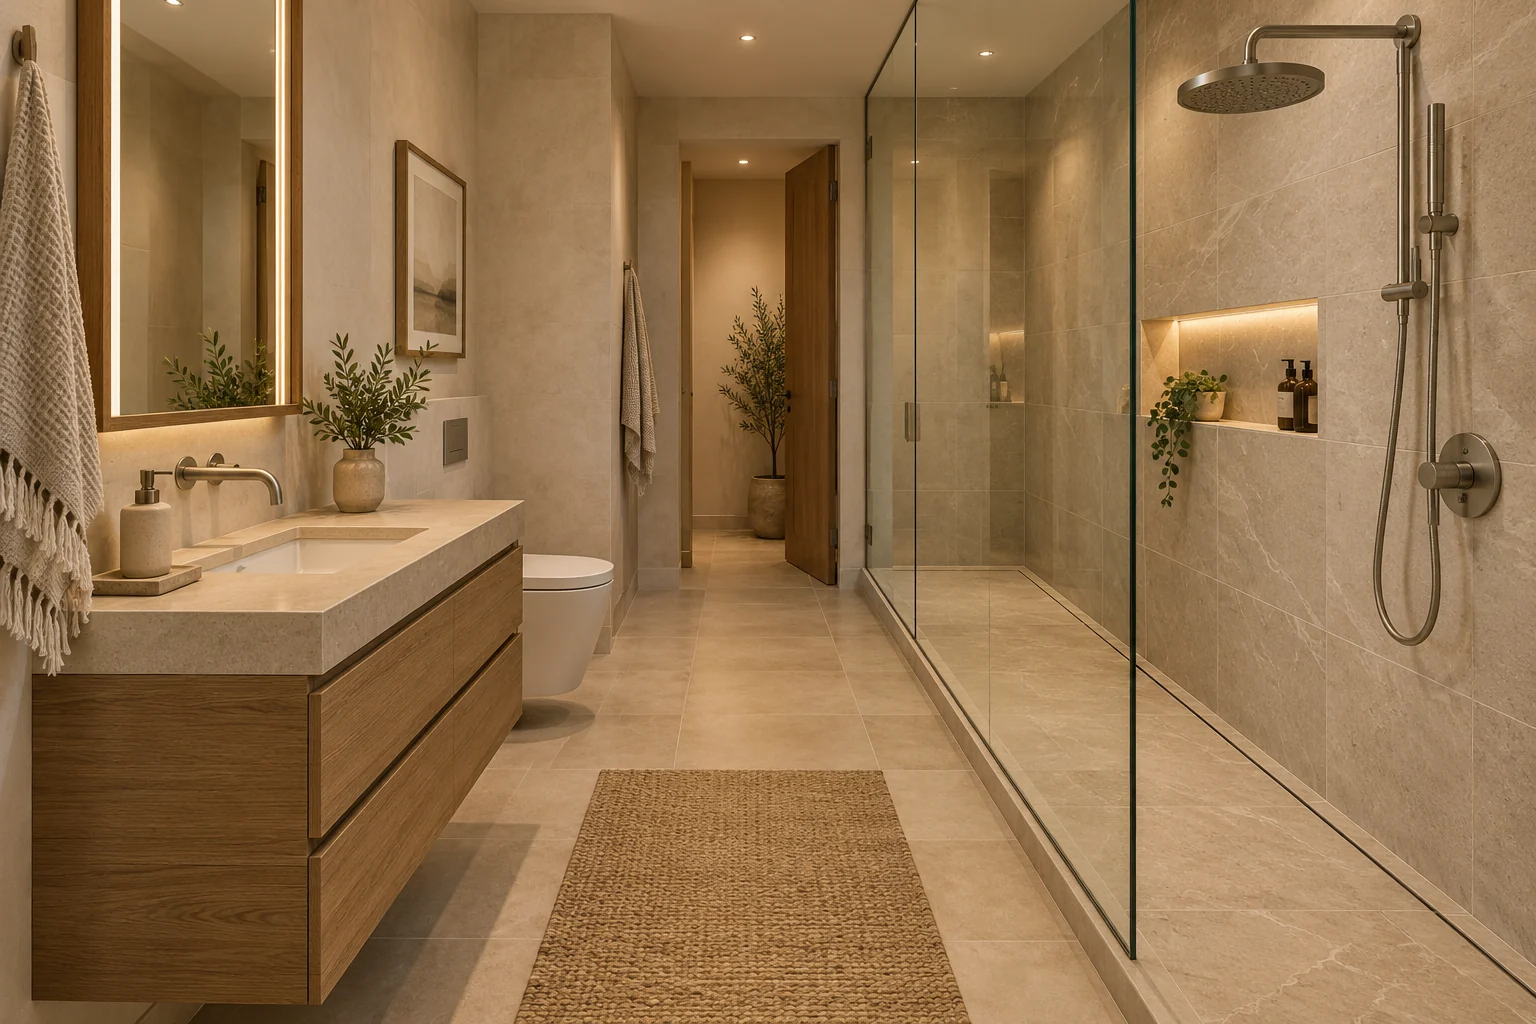
Position the opening away from the showerhead where the layout allows, and examine the direction of the spray. A long glass screen may intercept direct spray while still allowing water to escape at the opening during use. If the towel area or vanity keeps getting placed in that likely splash zone on the sketch, compare a door instead of assuming a different showerhead will solve it.
This arrangement becomes less convincing when both the shower and vanity have to be made unusually shallow to fit. In that case, return to the back-wall or corner options and compare the whole room’s usability.
Choose the threshold and enclosure as separate decisions
Low curb: a contained option to price first
A low curb gives the shower a defined edge and can be paired with a door or screen. It remains a step to cross, so consider how everyone in the household will enter it. Ask for the finished threshold height rather than judging from a tray photograph or an unfinished floor.
Curbless: plan the floor assembly before choosing the look
A flush-looking entry needs a coordinated floor, drain, slope, and waterproofing design. It is not achieved simply by removing the curb from a conventional shower. Have the contractor assess the existing structure and finished floor levels, especially on an upper floor. The areas outside the enclosure may also need protection as part of the selected system.
Curbless does not automatically mean accessible. Entry space, controls, support, seating, and room to maneuver all affect usability. The U.S. Access Board’s bathing-room guide illustrates these relationships for accessible facilities; it is not a substitute for determining the requirements and personal needs of a private-home project.
Doorless: treat it as a water-management test
An open entry can look calm, but a small room offers little separation between wet and dry uses. Before approving a doorless design, ask where direct spray, reflected splash, and water from someone exiting will go. Include the toilet paper holder, towel hooks, vanity sides, and bathroom doorway in that review. If the available footprint cannot protect them, a contained shower is the more practical design to compare.
Make the room feel larger without sacrificing function
Use a limited palette across the shower walls and surrounding room. Similar colors reduce abrupt visual breaks, while one contrasting surface can give the room character. Clear glass preserves sightlines; a partial privacy treatment may suit a shared bathroom better. Make that choice around use as well as appearance.
Large wall tiles can reduce the number of visible grout joints, but plan the cuts around corners, niches, and the glass edge. Shower floors need a product suitable for wet barefoot use and a format compatible with the drainage design. A wall tile’s attractive finish does not establish its suitability for the floor. Our comparison of shower wall tile materials covers the wall decision in more detail.
A floating vanity exposes more floor, but it still needs adequate support and useful storage. Choose it after checking what must fit inside: spare toilet paper, cleaning supplies, grooming tools, and everyday toiletries. If you need more enclosed storage, a modest floor-standing vanity may serve the room better than a visually lighter unit that leaves everything on display.
Build storage and controls into the plan
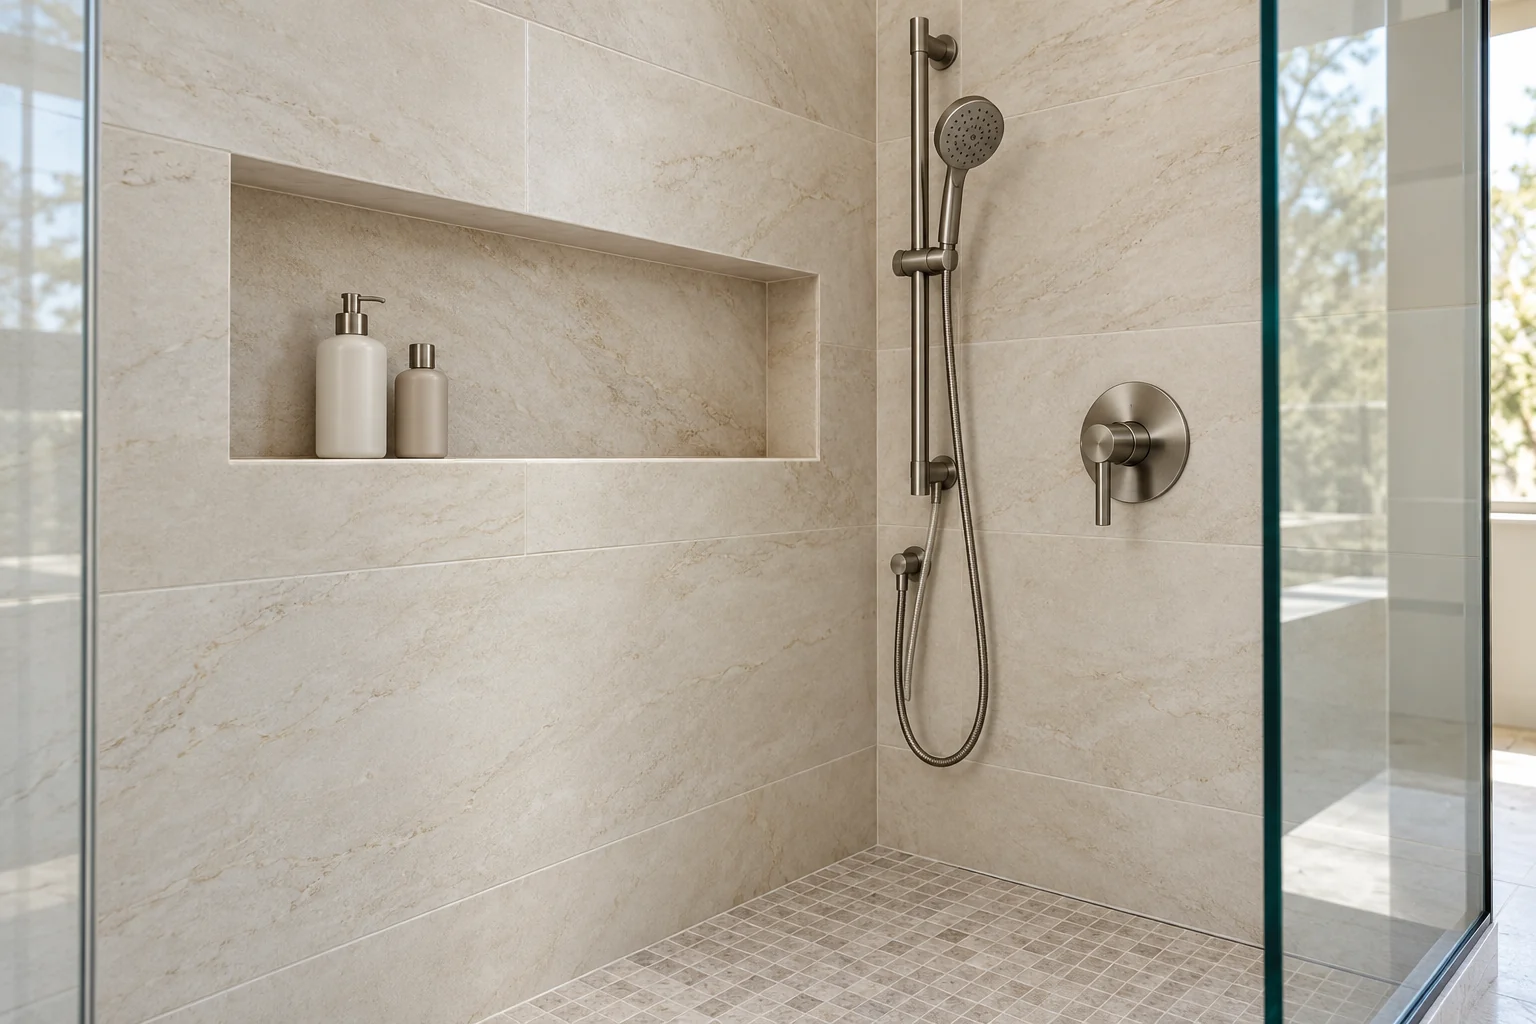
A recessed niche can keep bottles off the floor, but its location must work with the wall assembly, framing, plumbing, and waterproofing. Size it for the products you use and ask how its lower surface will drain. A small shelf can be an alternative where a recess is impractical, as long as it does not intrude into the movement area.
A bench uses standing space. Add one when it serves a real need and the layout supports it; otherwise, compare other seating arrangements with a professional rather than treating a built-in bench as a required luxury feature. If future support bars or seating may be needed, discuss reinforcement while the walls are open.
Place controls so the user can start the water without leaning awkwardly through the spray. Keep a dry towel within reach after stepping out, with hooks outside the expected splash path. These small decisions often affect daily comfort more than a decorative fixture upgrade.
Resolve the construction questions before buying finishes
Tile and grout are not the waterproofing system. Schluter’s shower guidance explains why water management must be handled by the assembly beneath the finish. Ask the installer to identify the complete system, its connection to the drain, treatment around penetrations, and the inspection or testing process before it is covered.
Confirm ventilation, lighting suitability, electrical work, and any permits with the relevant professionals. Local requirements and the existing building can change which layout is feasible. A design concept should help you ask better questions, not be used as a construction specification.
Once the layout is settled, use our shower tile quantity guide to organize measurements by surface and product. For budgeting, distinguish a finish replacement from rebuilding the shower: our shower retiling cost guide covers a different scope from a tub conversion with new drainage, waterproofing, and glass.
A short checklist to take to your remodeler
- A measured room sketch with windows, door swings, existing plumbing, and the proposed finished fixture sizes.
- Your preferred layout plus one alternative, with the shower’s clear entry and the route to each fixture marked.
- A choice to compare for both threshold and enclosure, including where splashes could reach.
- Storage needs, towel location, controls, and any seating or support requirements.
- Questions about the floor structure, waterproofing system, drain, ventilation, permits, and inspection stages.
- A scope-based quote separating the shower assembly, plumbing changes, glass, fixtures, tile, and other room work.
Choose the design that lets you move, wash, dry off, and clean comfortably. Once that layout works on a measured plan, glass, tile, and lighting can give the small bathroom the open feeling you want.

Ethan Miller
Ethan Miller writes about home improvement, interior design, cleaning, and everyday living at Home & Living Daily. He shares practical tips and simple ideas to help readers create more comfortable and functional homes.