Set up smart lighting by choosing a control method your household can use, adding the lights through the correct pairing route, and testing one simple routine before expanding. Begin with one room. You should be able to turn its lights on, adjust them where supported, and turn them off without hunting through several apps.
The most common planning mistake is treating a connected bulb as a complete control system. A smart bulb still needs power when its light is off in the app. If someone cuts that power at the wall, your voice command or schedule cannot reach it. Decide how people will use the switches before installing a roomful of bulbs.
Choose the Lighting and Its Everyday Controls Together
Start with the fixture and the task. A smart bulb is useful when you want to change an individual lamp's brightness, white tone, or color. A suitable smart switch can control a circuit of ordinary bulbs. A smart plug can provide on/off control for a compatible plug-in lamp that resumes its intended state when power is supplied.
These options do not provide identical controls. A basic on/off plug cannot add color adjustment to a lamp. An ordinary dimmer is not automatically suitable for a smart bulb, and combining two ways of dimming can create problems. Follow the bulb and control manufacturers' compatibility instructions rather than stacking devices experimentally.
| Approach | Everyday control to plan | What must remain available |
|---|---|---|
| Smart bulbs | App, supported remote, or compatible wall controller | Power to the bulbs and their required communication path |
| Smart wall switch | The installed switch plus supported app controls | Compatible wiring, loads, and any required controller |
| Smart plug for a lamp | Plug control, app, or supported button | A suitable lamp left in its operating position |
Check the bulb base, physical size, supply voltage, fixture restrictions, and indoor or outdoor rating. For switches, confirm the wiring arrangement, load type, and whether the circuit has multiple control locations. Arrange qualified help for electrical work you cannot safely perform; a general app tutorial is not a wiring diagram for your home.
Identify the Correct Pairing Route
The wireless technology determines how the light joins your system. Read the instructions for the exact model, including the controller requirements for the platform you want to use.
A Wi-Fi bulb may join the home network through its manufacturer's app. A bridge-based system first needs its bridge connected and added to the app. A Matter light may offer setup in a compatible smart-home app using its setup code. Matter-over-Thread equipment also needs a suitable Thread connection for the intended installation; a Wi-Fi router alone does not establish every requirement.
For example, Philips Hue's starter-kit instructions describe powering the included Hue Bridge, connecting it to the router by Ethernet, and adding it through the Hue app before discovering lights. That is a route for the kit described, not an instruction to connect every smart bulb directly to Wi-Fi or to buy a bridge for every brand.
For Matter accessories, Apple's pairing guidance describes scanning the setup code in Home and following the instructions for already-paired accessories. Keep the code accessible and use the supported sharing process when adding a second platform. Repeated factory resets are not the normal way to share an already-working light.
Add One Light and Confirm Basic Control
Turn off power to a lamp or fixture before changing a bulb, let the old bulb cool, and follow the fixture's instructions. Keep setup codes and identifying information available before placing a light where they are difficult to reach. Restore power when the installation is ready for pairing.
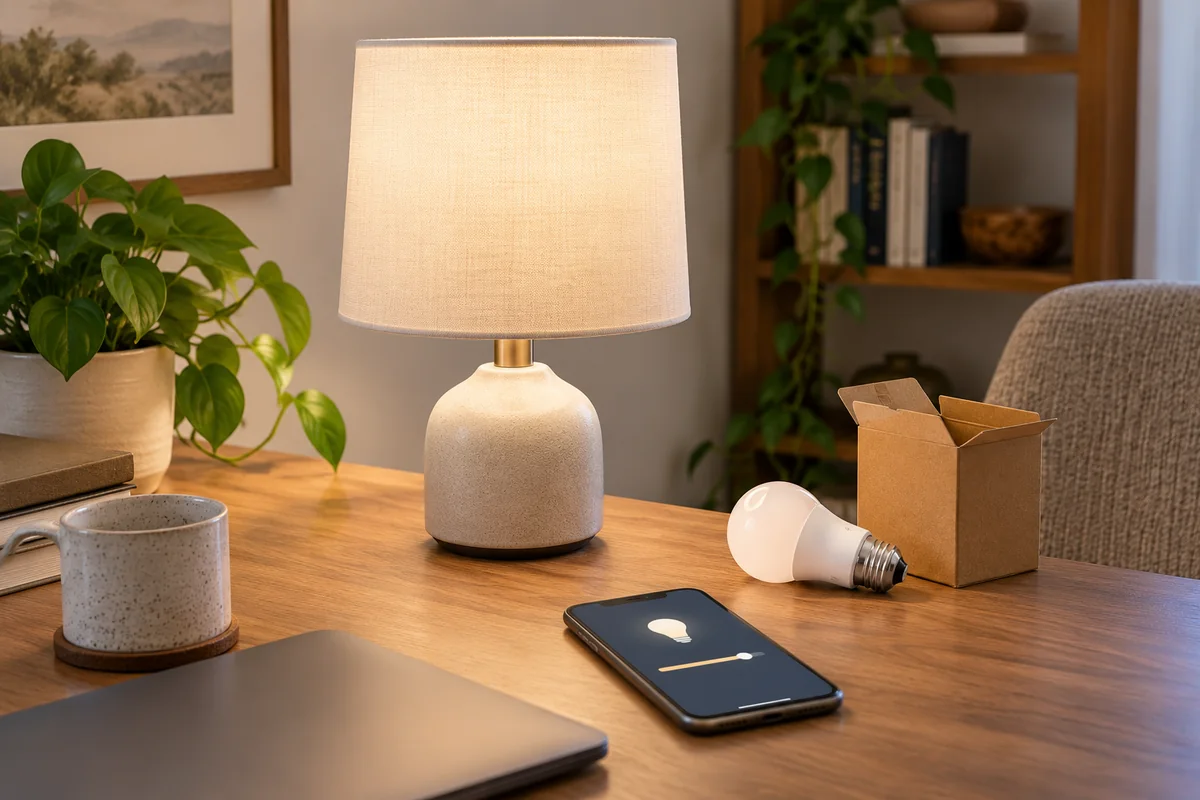
The app steps vary, but this sequence helps keep the first setup manageable:
- Install the official app or open the supported smart-home app for your chosen setup route.
- Add the exact device type or scan its setup code as instructed.
- Follow the model's discovery procedure and provide the permissions or network details it actually needs.
- Give the light a recognizable name and place it in the correct room.
- Test on/off and any supported brightness or color controls, then install available firmware updates.
TP-Link's Tapo bulb setup guide illustrates why model selection matters. Its L535E example uses Bluetooth during discovery before the bulb joins the home network; some other models use a temporary bulb Wi-Fi network instead. Bluetooth appearing during setup does not necessarily mean the bulb will use Bluetooth for all its everyday controls.
If the model requires 2.4 GHz Wi-Fi, confirm that the network provides it and follow the manufacturer's onboarding guidance. A phone using a different band is not, by itself, a reason to replace the router. Check the documented requirements before changing network settings.
Make Rooms, Names, and Groups Unambiguous
Name devices by their location or purpose: “Sofa Lamp” and “Desk Lamp” are easier to recognize than two devices named “Smart Bulb.” Use room assignments to make broad commands predictable, and check the room assignments in each app you actually use.
A group lets several lights respond together. A scene stores a chosen combination of settings, such as a bright desk light and dimmer background lamps. An automation decides when an action occurs. Keeping these roles distinct makes a room easier to troubleshoot: a scene can be correct even when the rule that triggers it is wrong.
Create a normal evening scene first, then one brighter scene for reading or cleaning. Test the result from the places where people sit and work. Identical brightness percentages across different models do not guarantee identical light output, so adjust the room by observation rather than chasing matching numbers.
Provide a Physical Way to Operate the Lights
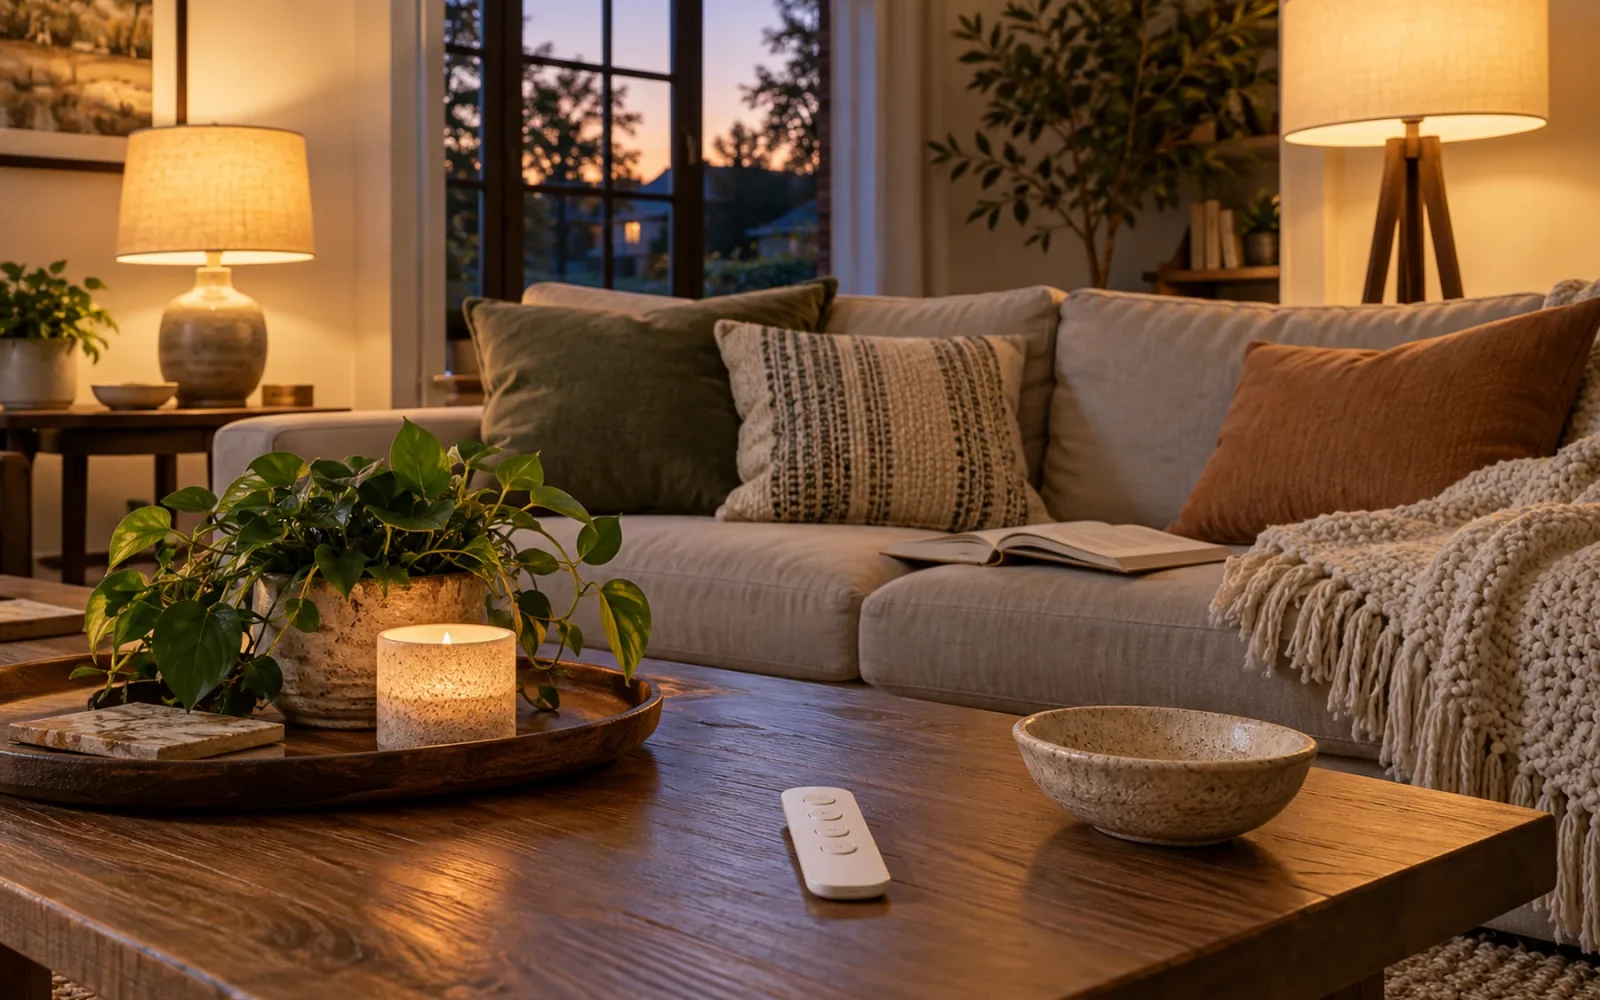
A supported battery remote or wall-mounted wireless button can send commands without cutting power to smart bulbs. A compatible installed controller may provide another solution, but verify its intended operating mode and have any wiring work performed appropriately. A product being called a “smart switch” does not mean it automatically preserves power for smart bulbs.
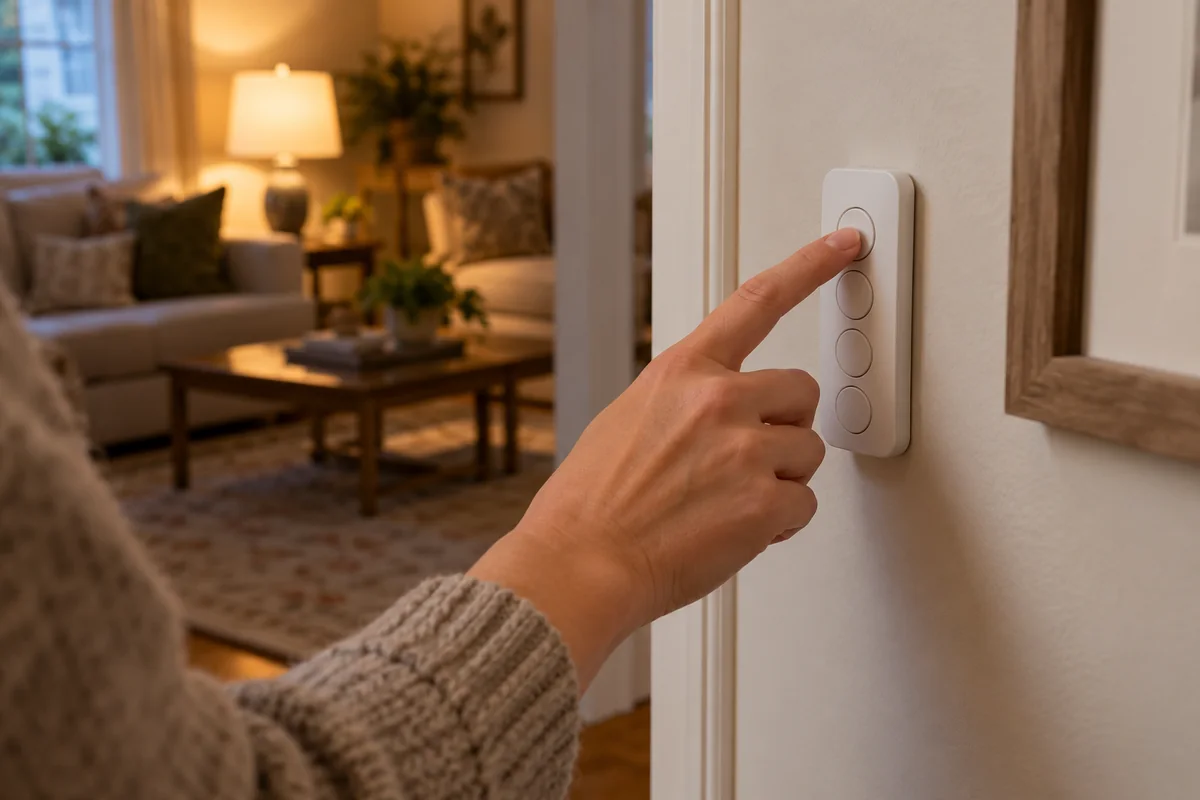
In a Reddit discussion about getting started with smart lighting, the homeowner described buying smart lamps for voice control while another household member continued using the wall switches. The lamps then became unreachable. Replies explored physical buttons and switches. The practical lesson from that individual situation is to choose a control everyone is willing to use.
Place the everyday control where people expect it, and make its behavior simple. One press should have a clear result. Show guests or family members how to operate the room without asking them to install an app or remember a special phrase.
Also test what happens when the lights regain power. Where the product supports a power-restoration setting, choose behavior appropriate to the room. Do not assume every bulb remembers its previous state or every controller handles an outage in the same way.
Build a Scene Before Adding a Schedule
Start by activating your chosen scene manually. Once it works, add one trigger, such as a time of day, sunset, or a compatible sensor. This separates a device-control problem from a timing problem.
For an illustrative living-room routine, you might activate a warm evening scene at sunset and switch the room off at a chosen bedtime. Check the system's location and time zone so sunset-based timing refers to the correct home. Then decide what should happen when someone is still reading past the scheduled off time.
Choose one platform to own each routine wherever practical. An off schedule in the bulb app, a second in a voice-assistant app, and a third sensor rule can fight one another. Document the few active rules so an unexpected change can be traced to its source.
Motion Rules Need an Off Condition
An entryway motion rule needs more than “turn on when motion occurs.” Decide when it is allowed to run, how bright the lights should be, and when they should turn off. Use a supported brightness or time condition if you do not want the light activating during the day.
Allow for people who stop moving. A short timeout may be acceptable in a passageway but frustrating at a desk or dining table. If you want a manual override to suspend the motion rule, verify that the platform supports that behavior and test how the override ends. Do not assume every sensor can reliably detect someone sitting still.
Add Voice Control Without Duplicating Devices
After control works in the original app, link the supported service or share the Matter device through the documented process. Confirm that the light appears in the correct home and room in the voice platform, then test a specific device command before trying a whole-room command.
If the same light appears twice, check whether it was added through two integration paths, such as a vendor service and Matter. Identify which entry controls the real device before removing an integration. Deleting and resetting the physical bulb can create more work when the problem is only a duplicate platform entry.
Voice control is optional. Keep the app and physical controls usable so a failed voice request does not become a reason the room cannot be lit.
Troubleshoot the Path That Failed
If a light stops responding, first check whether it has power. Then try the original control app. If that works but the voice platform does not, investigate the integration or room assignment before resetting the bulb.
If several bridge-connected lights fail together, check the bridge and its network connection. If only one fails, investigate that light's power, placement, and connection. Change one thing at a time and use the model's instructions for pairing recovery or reset.
Test an internet outage separately from a local-network or power outage. Depending on the products, a local control path may remain available when an online service is unavailable, while cloud commands may not. Confirm the controls you need in your own installation rather than assuming that “smart” means either always-online or entirely offline.
Conclusion
A useful smart-lighting setup combines dependable device control with an obvious way for people to use it. Pair and name one room, provide physical controls, and prove a simple scene before adding schedules or sensors. Expand after the room works comfortably with an app, with its normal controls, and under the failure conditions you expect it to handle.

Ethan Miller
Ethan Miller writes about home improvement, interior design, cleaning, and everyday living at Home & Living Daily. He shares practical tips and simple ideas to help readers create more comfortable and functional homes.