A small smart-home setup can start below $100 in hardware if you already have a compatible phone, a suitable home network, and lamps to use with it. A project that adds installed switches, door locks, climate controls, cameras, or custom programming needs a much broader budget. There is no useful single price for “a smart home” until you define what it must do.
The practical approach is to price a complete task, including its supporting equipment and installation, then add the costs of keeping it working. A pair of app-controlled lamps and a house with coordinated lighting, security, shades, and audio are different projects—even if both are advertised as home automation.
Define the Result Before Counting Devices
Write down the routines you want to improve. “Turn off the living-room lamps from bed” is a priceable task. “Make the entire house smart” leaves too many decisions unresolved.
For each task, identify what you already own and what is missing. A compatible speaker or controller may be reusable. A lamp may need only a smart bulb, while a ceiling circuit may need an installed switch. Three bulbs in one fixture are three purchases if you choose smart bulbs, but they may be one controlled circuit if an appropriate switch meets the same need.
Keep your first budget tied to a small set of outcomes. If remote guest access is essential, include the lock’s required connectivity. If adjustable white light is essential, a plug that only switches a lamp on and off does not meet that requirement, however inexpensive it is.
| Project scope | What you are pricing | What can expand the bill |
|---|---|---|
| One-room convenience | A few lights or suitable plug-in loads | Physical remotes, sensors, or a required bridge |
| Several household functions | Lighting plus selected climate, entry, or camera devices | Installation, additional zones, storage, and network coverage |
| Integrated whole-home control | A specified system, programmed scenes, and room-by-room controls | Wiring, motorized shades, commissioning, training, and service |
These are scope categories, rather than standardized packages. A contractor’s “basic” installation may include work that an online starter kit omits entirely.
What a Small Hardware Budget Can Buy
Two manufacturer listings illustrate why scope matters. The following US-dollar prices were checked on October 19, 2026. They are examples of listed equipment prices, not market averages, installation quotes, or a recommendation that these products suit every home. Promotions and availability can change.
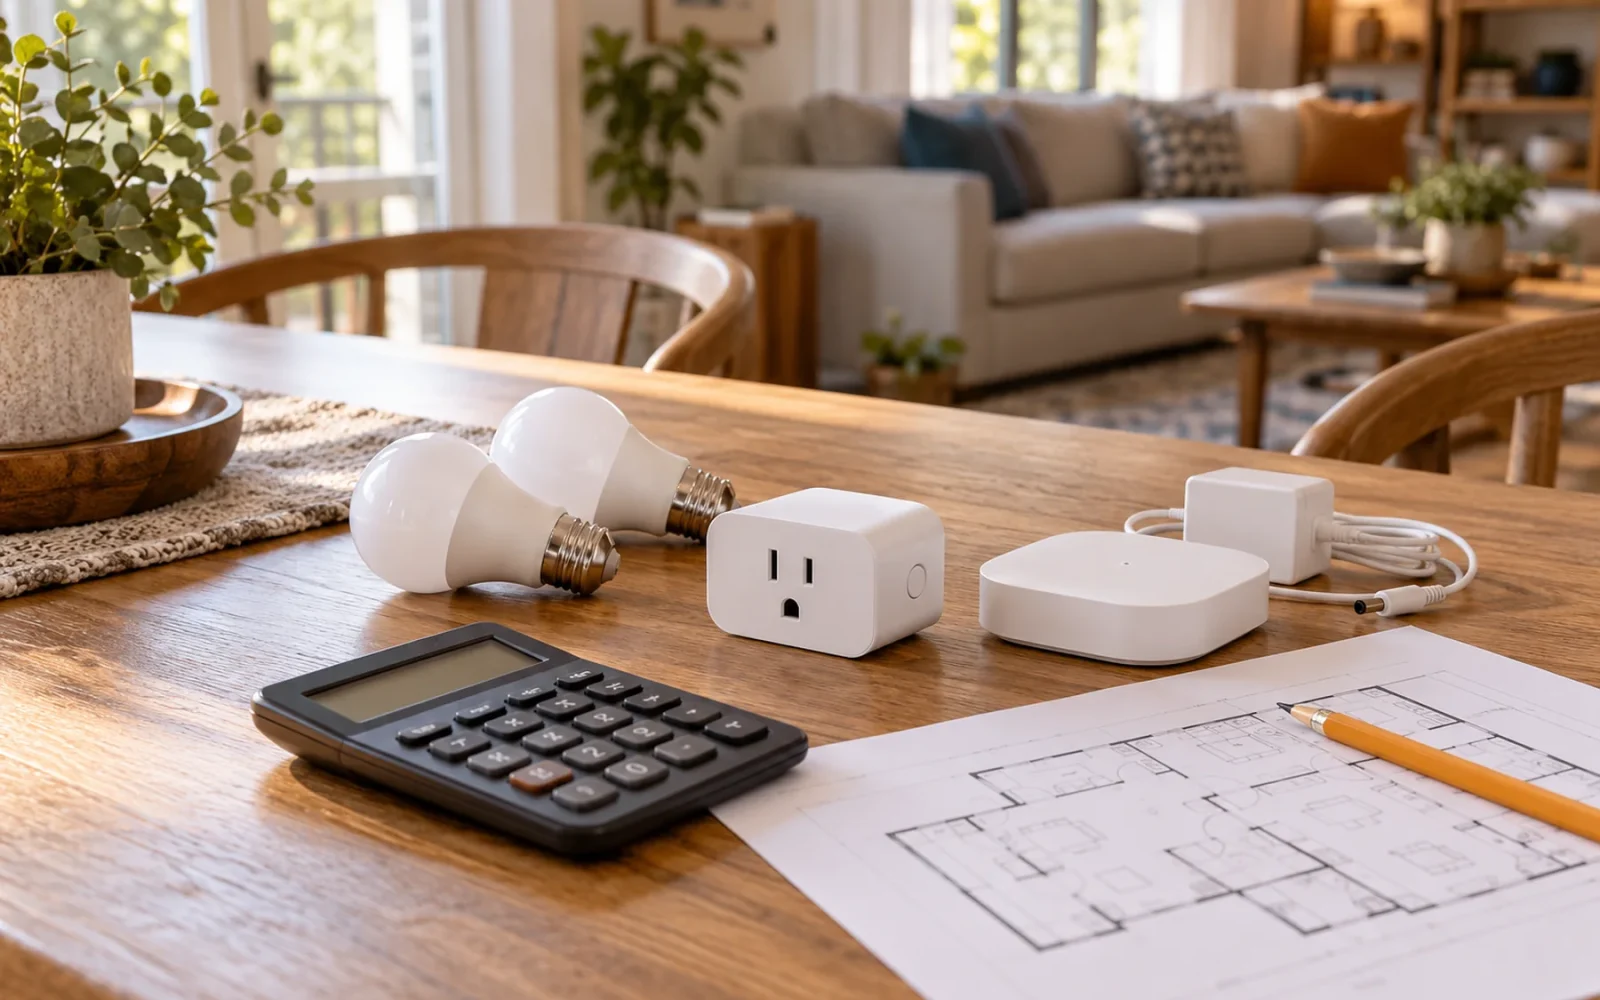
The Tapo bundle containing three P125M smart plugs and two L535E bulbs was listed at $44.98, reduced from $74.98. That is a useful reference for a limited lighting and plug-control project. It does not include new lamps, a smart speaker, or every accessory another platform might need. Tax and any shipping charge must be checked separately; a low equipment subtotal does not establish free delivery.
The Google Store’s Nest Thermostat specifications page listed the Nest Thermostat at $129.99. Combining that listed price with the Tapo bundle gives a hardware subtotal of $174.97. This is an arithmetic example involving two purchases, not the installed price of a finished, unified system.
The thermostat also needs a compatible heating and cooling system. Google’s specifications explain that some installations require a C wire or another power-supply accessory. If that work is needed, the device price is only part of the climate-control budget. Likewise, buying two compatible product categories does not by itself configure the scenes, voice controls, or shared access you want.
This is why a sub-$100 start is possible while another household’s apparently similar project costs much more. The first may reuse its phone, router, fixtures, and existing controls. The second may need those supporting parts, installation, and troubleshooting as well.
Include the Parts Around Each Device
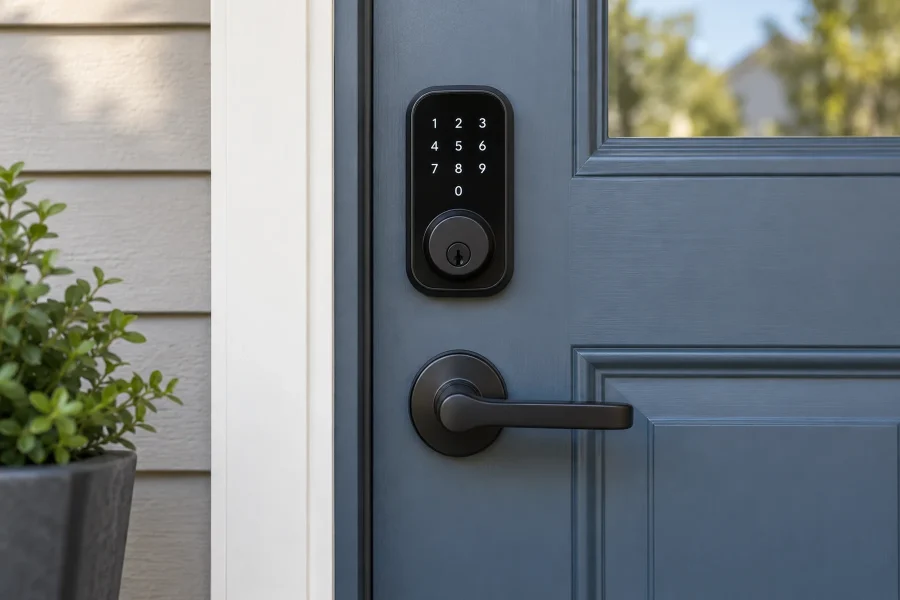
Price the control path from the person to the device. A wireless bulb might need a bridge for your intended integration. A sensor might need a compatible controller. A lock might require a separate keypad or connection accessory for the way your household wants to use it.
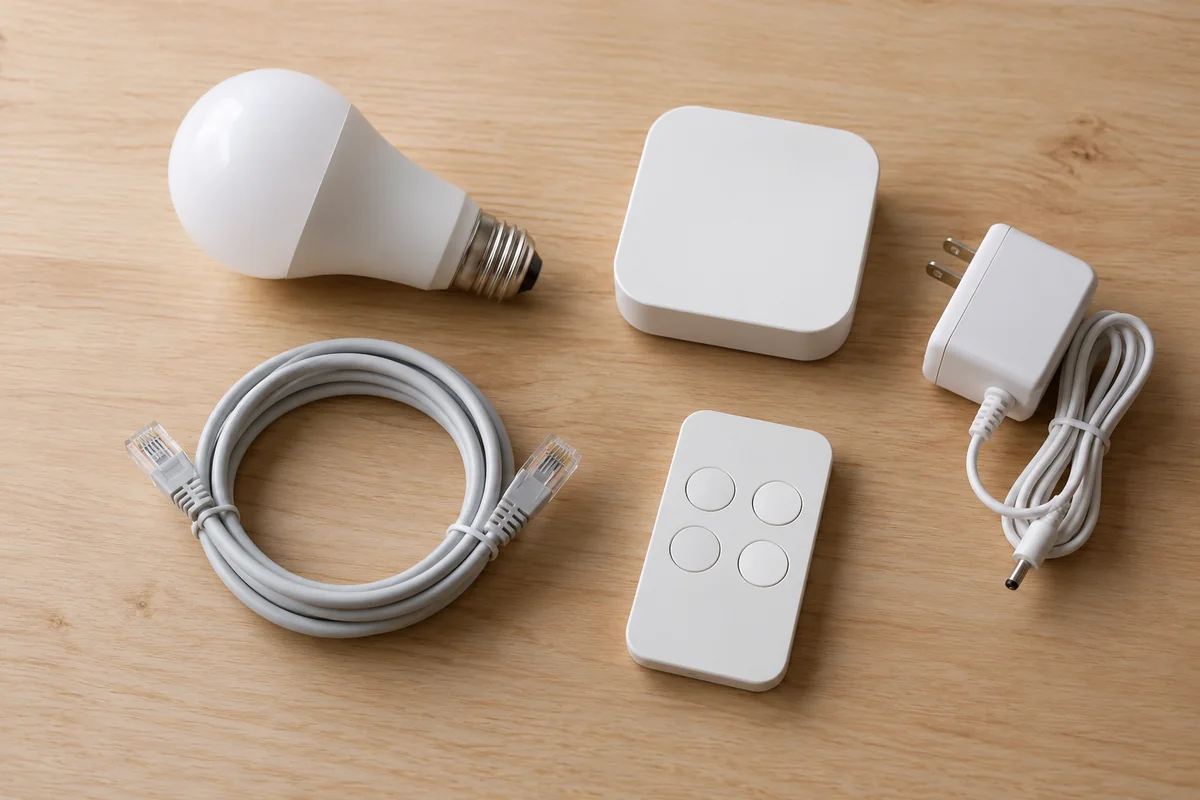
Check the package contents before adding another item to the cart. A starter kit can include equipment that separate purchases omit, but a larger bundle is not automatically a better value if several pieces will remain unused. Count usable functions, rather than the number of boxes.
Also distinguish a requirement from an upgrade. A smart display is optional if you are content with app control. A dedicated controller may be necessary for a particular local automation. A newer mesh network is worth budgeting for when coverage or capacity is inadequate, rather than treating it as an automatic purchase whenever you add a few bulbs.
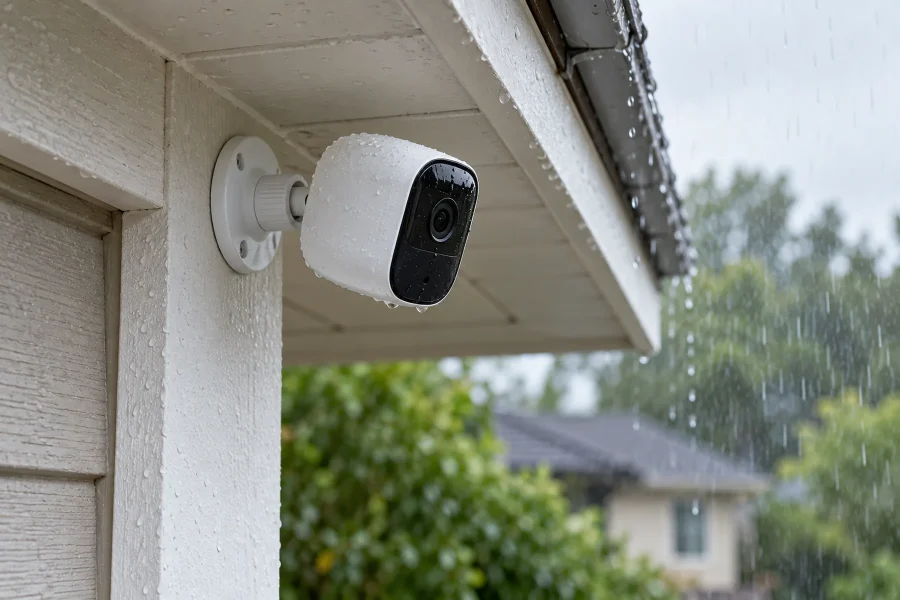
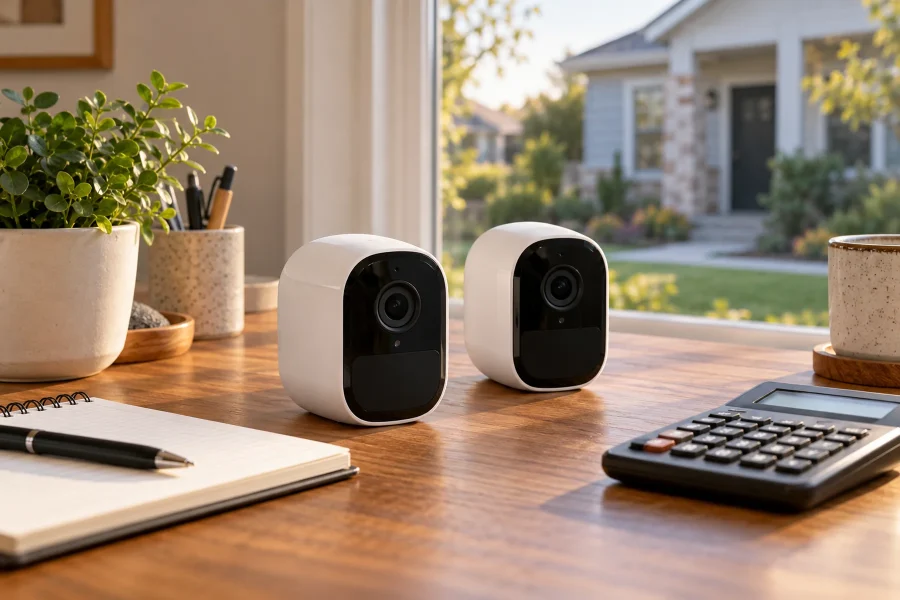
For cameras, include the intended recording method. Local storage may require a memory card, recorder, or other hardware. Cloud recording may have a recurring charge. Compare systems that deliver the history, retention, and remote access you actually need; a free live view and a paid recording service are different functions.
Installation and Setup Are Separate Line Items
Replacing a suitable screw-in bulb is different from changing an in-wall switch, adjusting a door, or installing a thermostat on an incompatible system. Separate the equipment estimate from labor so you can see what each installer is allowing for.
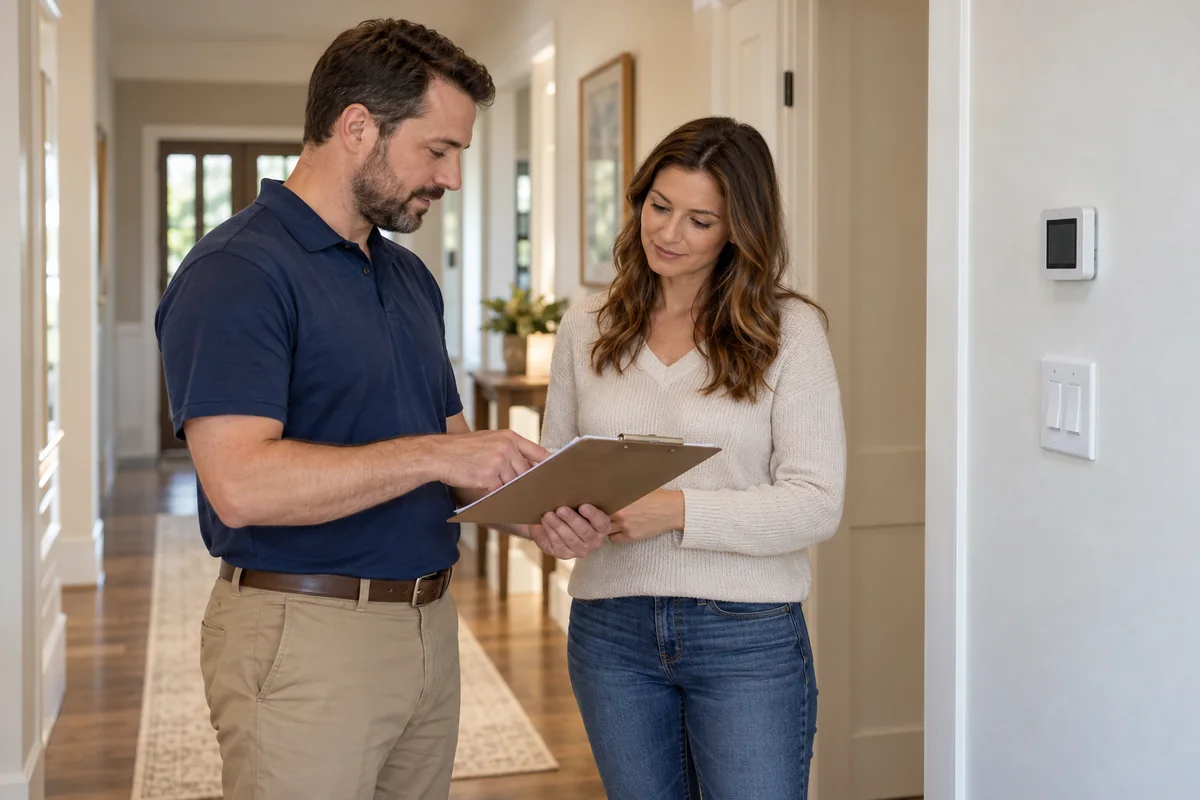
Ask for a written scope covering removal of old equipment, wiring or door preparation where needed, mounting, configuration, and testing. For a more involved project, find out who repairs wall finishes, labels cables, configures the network, and documents the system. Those tasks can be missed when a quote simply says “install smart devices.”
Commissioning matters as much as physical installation. A light that appears in an app may still have the wrong room assignment, a conflicting schedule, or a wall control that disables it. Ask the installer to demonstrate the promised routines and ordinary manual operation before considering the project complete.
There is no reliable nationwide labor allowance for every combination of doors, wiring, and equipment. Obtain local quotes for the actual work rather than multiplying a generic online installation fee by your device count. Keep any unknown labor amount marked as an open item, not zero.
Calculate the Cost Beyond the First Year
Recurring services can change the comparison between two systems. List the functions you lose if you stop paying, the number of devices each plan covers, the billing interval, and the renewal terms. A trial should not be treated as permanent free service.
For example, Ring’s US plan page listed Ring Solo at $4.99 per month or $49.99 per year, plus applicable tax, for one eligible doorbell or camera. At those unchanged prices, three annual payments total $149.97 before tax. Paying monthly for 36 months totals $179.64. This example is a subscription comparison only; it excludes the camera, installation, future price changes, and optional add-ons.
Keep consumables and support on the same worksheet. Depending on the system, you may need replacement batteries, storage media, a service visit, or eventual equipment replacement. These costs do not all occur every year, and their timing is uncertain, so note the assumption behind any allowance instead of presenting it as a fixed lifespan.
A useful ownership calculation is: upfront equipment and installation, plus the services and maintenance you expect over your chosen period. Compare the same period and the same functions. If one quote includes three years of support and another includes none, identify the difference before deciding that the cheaper number wins.
An Example of a Complete Planning Worksheet
Suppose you want the $44.98 lighting-and-plug bundle and the $129.99 thermostat described above. Your verified hardware subtotal is $174.97. The next step is to fill in the unfinished parts, rather than label $174.97 the project budget.
- Confirm that the intended lamps, outlets, and heating system suit the selected devices.
- Add any required power accessory, physical remote, controller, or installation work at its actual quoted price.
- Add tax and shipping from the relevant seller’s checkout estimate without committing to a purchase.
- Record any optional subscriptions separately, with the features they provide.
- Leave an explicit allowance for unresolved work and decide which optional additions to postpone if the total exceeds your limit.
For illustration, choosing a $300 spending limit would leave $125.03 above that hardware subtotal. That remainder is simply your available allowance. It is not evidence that installation, tax, accessories, and delivery will fit within it. If verified additions exceed the limit, reduce the first phase or choose a different approach.
Expand After the First Setup Works
Install a small, useful group of devices and live with it before buying the rest of the house. Check whether everyone can operate it, whether the physical controls make sense, and whether the automation continues to do the intended job. Discovering an awkward control method with two lamps is cheaper to resolve than discovering it after replacing every bulb.
For a professional installation, request the same room-by-room specification from each bidder. Compare device models, counts, necessary accessories, local and remote functions, ongoing charges, and support. Ask what happens if the installer changes business or the vendor ends a service, and who holds the administrator account and configuration records.
Treat energy savings, rebates, and insurance discounts as separate possibilities that need verification. A budget should still make sense without an unconfirmed incentive or a promised resale premium. Convenience can be a valid reason to buy a system without pretending it guarantees a financial return.
Conclusion
Set a budget for the household tasks you want completed, then price every link required to deliver them. Use a small hardware purchase as a starting point, add installation and ongoing services explicitly, and expand only after the first phase works for the people who use it. That produces a more dependable budget than any single average price for a “smart home.”
FAQ
Is Having a Smart Home Worth It?
It can be worthwhile when it solves a recurring problem at a cost you are comfortable paying. Compare the proposed setup with the simplest alternative: a regular timer, a keypad lock, or a manual routine may already meet the need. Value the convenience you will actually use, and evaluate any claimed cash savings separately.

Ethan Miller
Ethan Miller writes about home improvement, interior design, cleaning, and everyday living at Home & Living Daily. He shares practical tips and simple ideas to help readers create more comfortable and functional homes.