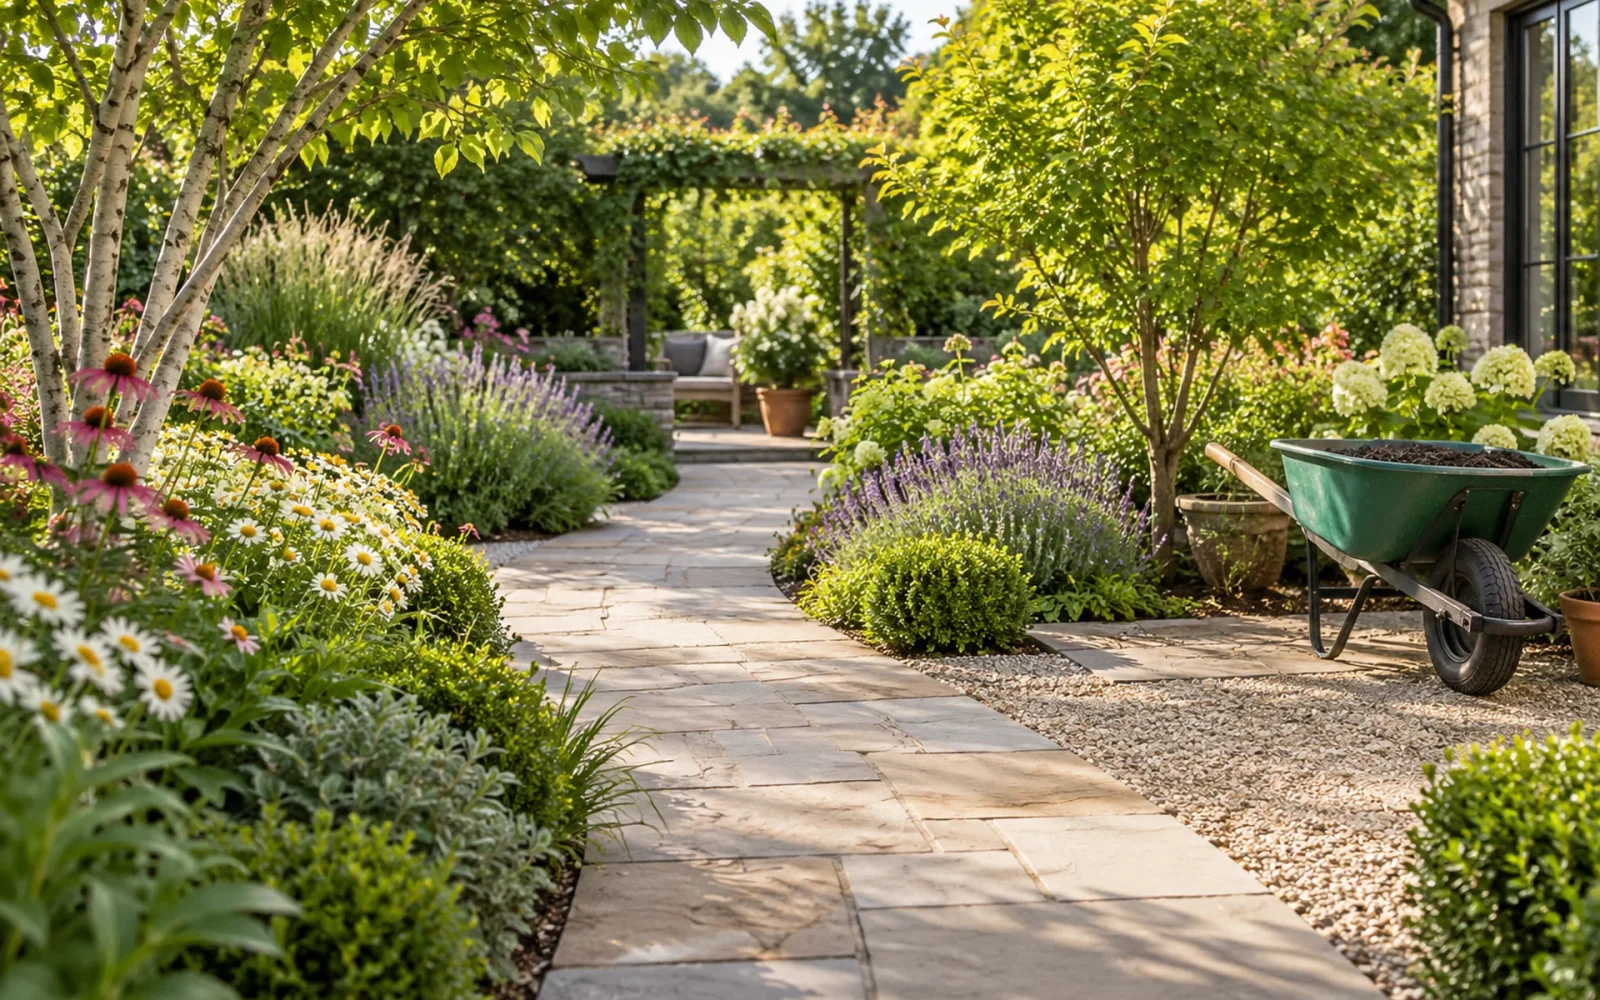
A garden path about 3 feet wide is a useful starting point for single-file walking. Consider 3 to 4 feet for a working route used with a wheelbarrow or mobility device, and about 5 feet for a main path intended for two people side by side. Treat these as layout starting points, then test the people, equipment, turns, and planting that will actually occupy the route.
Measure clear usable width, not just the paving or the gap between bed frames. Overhanging foliage, raised edges, fixtures, and a partly open gate can make a nominally wide path much narrower in practice.
Choose width for the route’s main job
The Clackamas County Master Gardener garden-design guide suggests at least 3 feet for single-file secondary paths and 5 feet for main routes used side by side. Oregon State Extension’s accessible-gardening guidance recommends 3-to-4-foot pathways for wheelchairs and wheelbarrows.
| Use | Initial layout to test | What may need more space |
|---|---|---|
| Single-file secondary route | About 3 feet clear | Carried baskets, bulky clothing, foliage, or a constrained edge |
| Garden work with a wheelbarrow | About 3 to 4 feet clear, checked against your equipment | Handle movement, turning, loading, and room to put the barrow down |
| Main path for two people together | About 5 feet clear | Different walking needs, seating, passing, or busy junctions |
| Route serving a mobility device | A person-specific access design using applicable requirements | Turns, passing, slopes, transitions, surfaces, and approach to the destination |
A very narrow maintenance gap can suit an occasional specific task, but do not mistake it for the main garden route. If you need to carry a watering can, kneel beside a bed, or turn with harvested produce, test that activity before reducing the width to save space.
Measure the narrowest usable section
Mark the finished edges and look for restrictions along the whole route. A gatepost, table corner, raised-bed brace, or spreading shrub can determine the usable width even when most of the path is generous.
For example, a 48-inch paved strip with plants overhanging 8 inches from each side leaves 32 inches of unobstructed width: 48 minus 8 minus 8. That arithmetic says nothing about whether 32 inches meets your needs or any requirements. It shows why the planting plan belongs in the width calculation.
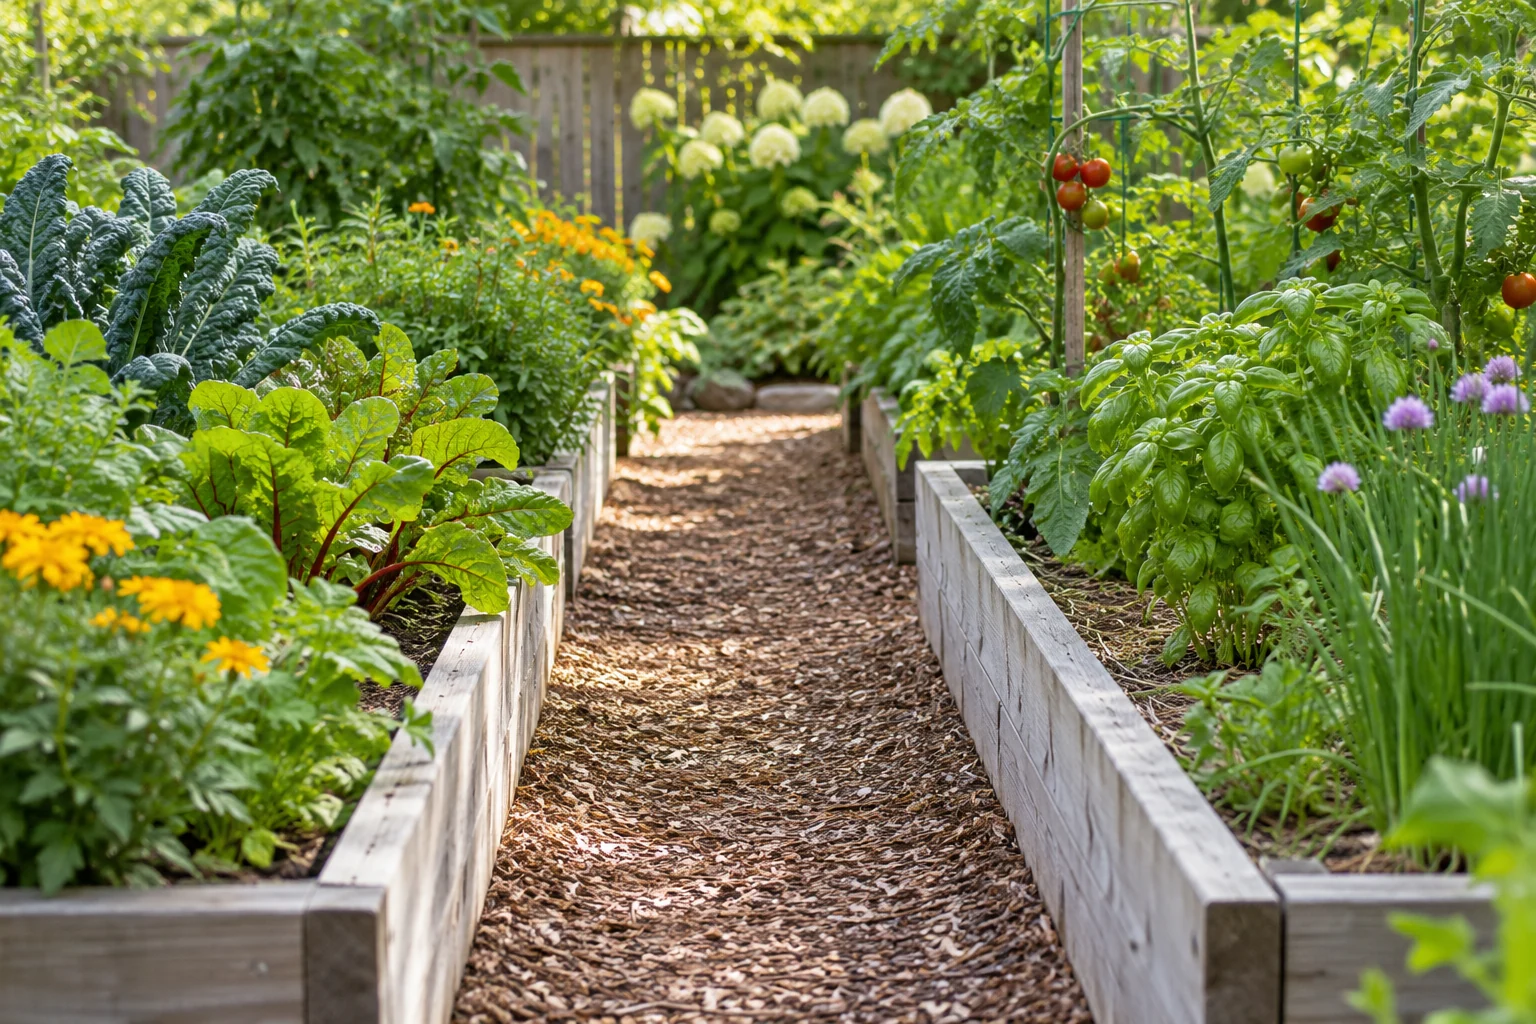
Measure at hand and shoulder height as well as near the ground where appropriate. A high branch or inward-leaning trellis may obstruct someone who can otherwise fit between the path edges.
Allow room for tools, turning, and stopping
Measure your widest regularly used equipment, including handles. Test it loaded if that can be done safely. A wheelbarrow that fits while moving straight may need more room to turn through a gate or approach a compost bay.
Check bends and junctions with temporary markers. Gentle curves can be easy to use, but a decorative tight turn may force wheels off the surface. Allow room to stop and set equipment down without blocking everyone else.
Where you garden from a stool or kneeling position, include the space occupied by your body and the tools beside you. A route between two beds may need a wider working bay even if its connecting sections remain narrower.
Treat accessibility as a whole design
Where the ADA Standards apply, the US Access Board identifies 36 inches as the usual minimum clear width for walking surfaces, with separate provisions for constraints, turns, and passing. Its accessible-route guidance also makes clear that scope and route components matter.
That is not a blanket rule declaring every private garden path legally accessible at 36 inches. Confirm which requirements apply to your property. Surface firmness and stability, cross slope, running slope, changes in level, gates, turns, and access to the actual destination all need attention.
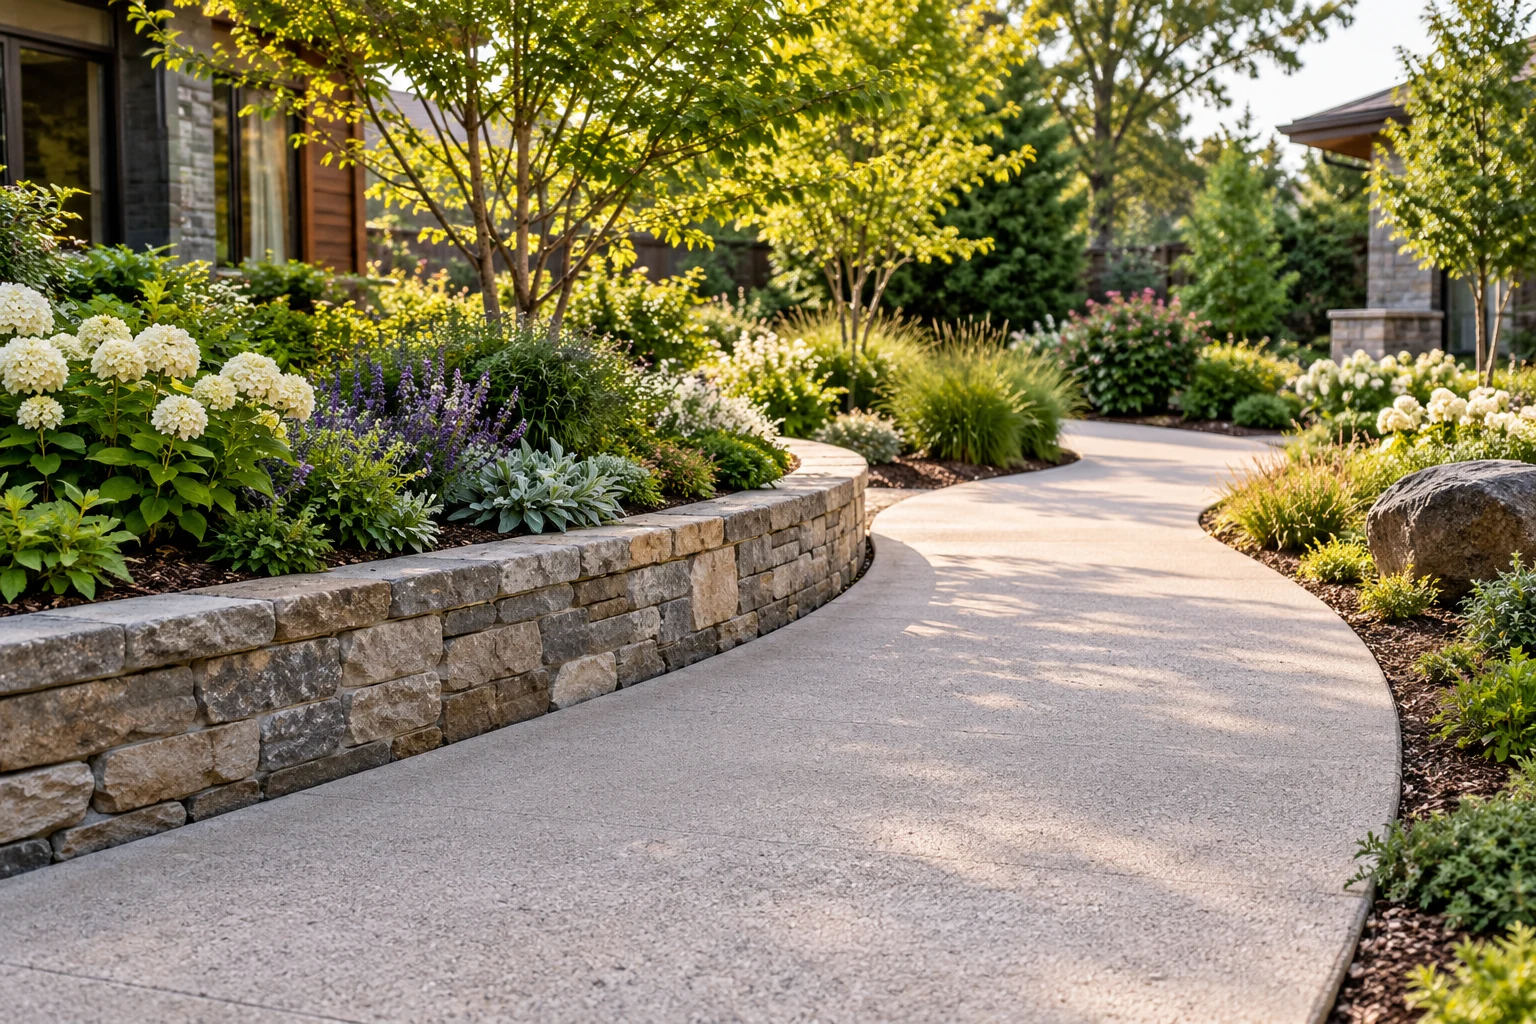
For personal access needs, test with the intended gardener and device and obtain suitable design advice. Loose stepping stones or gravel do not become an accessible route because their outside edges are far enough apart.
Test before building and preserve the width later
Use surface-safe tape, a hose, or movable markers to outline the route. Walk it side by side where that is intended, carry the normal tools, and test door and gate swings. Adjust the layout before committing to edging or paving.
Once the width works, our garden-path planning and preparation guide covers the next material and site decisions. Keep the chosen usable width clear through planting growth, seasonal storage, and maintenance. A path should remain the convenient route through the garden after the photograph is taken.

Ethan Miller
Ethan Miller writes about home improvement, interior design, cleaning, and everyday living at Home & Living Daily. He shares practical tips and simple ideas to help readers create more comfortable and functional homes.