To start a compost bin, choose an accessible outdoor spot, gather a supply of dry leaves or other “browns,” and mix them with smaller amounts of fruit and vegetable scraps. Keep the contents damp and aerated, and cover fresh food whenever you add it. You can begin with ordinary household materials; you do not need a powered machine or a purchased compost starter.
This guide covers a backyard bin that breaks down material with air. An indoor worm bin, a sealed fermentation system, and a countertop food dehydrator work differently. Pick one process first so you are not following incompatible instructions.
Set up a routine you can keep using
Before buying a bin, decide how scraps will get from your kitchen to the garden. Keep a small closed container where you prepare food, and empty it often enough that it stays manageable. A nearby container of dry leaves makes the outdoor step easier: each trip with scraps should also be a chance to add cover material.
Choose a site you can reach in wet weather, with room to open the bin and move a fork. Avoid a low spot that collects water. Leave working space around fences and buildings rather than squeezing the bin tightly into a corner. Having water nearby helps when summer weather dries the contents.
Sun or shade can work; the practical issue is managing moisture and access. In a hot, dry yard, a very exposed bin may need more attention. In a rainy setting, a suitable lid helps keep excess water out. Check local composting and nuisance rules before placing it near a boundary.
Choose a bin that gives you access to the contents
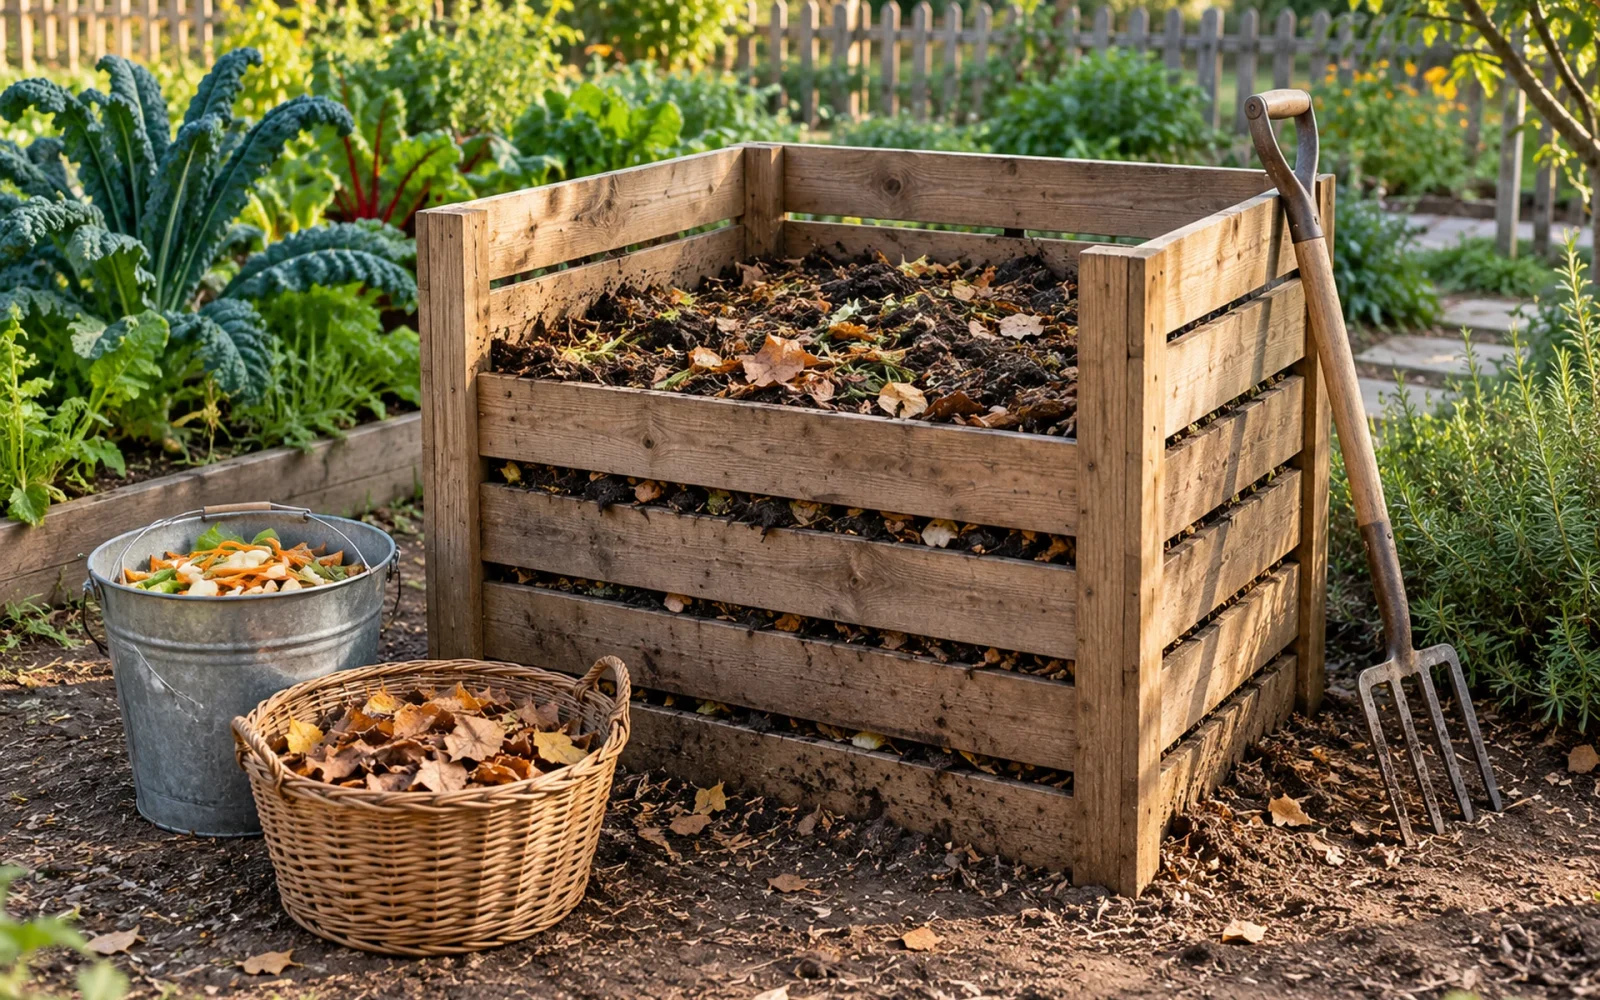
A stationary bin is straightforward for adding household scraps over time. An opening at the top lets you feed it, while a removable side or access door makes mixing and harvesting less awkward. A tumbler can make turning more convenient, but it has limited space and is usually easier to manage in batches.
An open-bottom bin can sit on soil. Where rodents are a concern, choose a secure lid and a rodent-resistant base or mesh arrangement that remains compatible with the bin’s ventilation and drainage. An open slatted structure can hold leaves, but it is not automatically suitable for exposed food scraps.
The first purchase should solve a handling problem: keeping material contained, turning it, or protecting it from animals. A complicated machine is not a requirement. The EPA also distinguishes countertop grinding and drying appliances from composting: the dry output still needs further processing in a suitable compost system.
Collect browns before you collect a lot of food
“Browns” are carbon-rich ingredients, such as dry leaves and torn plain cardboard. “Greens” are nitrogen-rich ingredients, including fresh plant scraps and coffee grounds. The names describe their role, not their literal color: coffee grounds are brown to look at but belong with the greens.
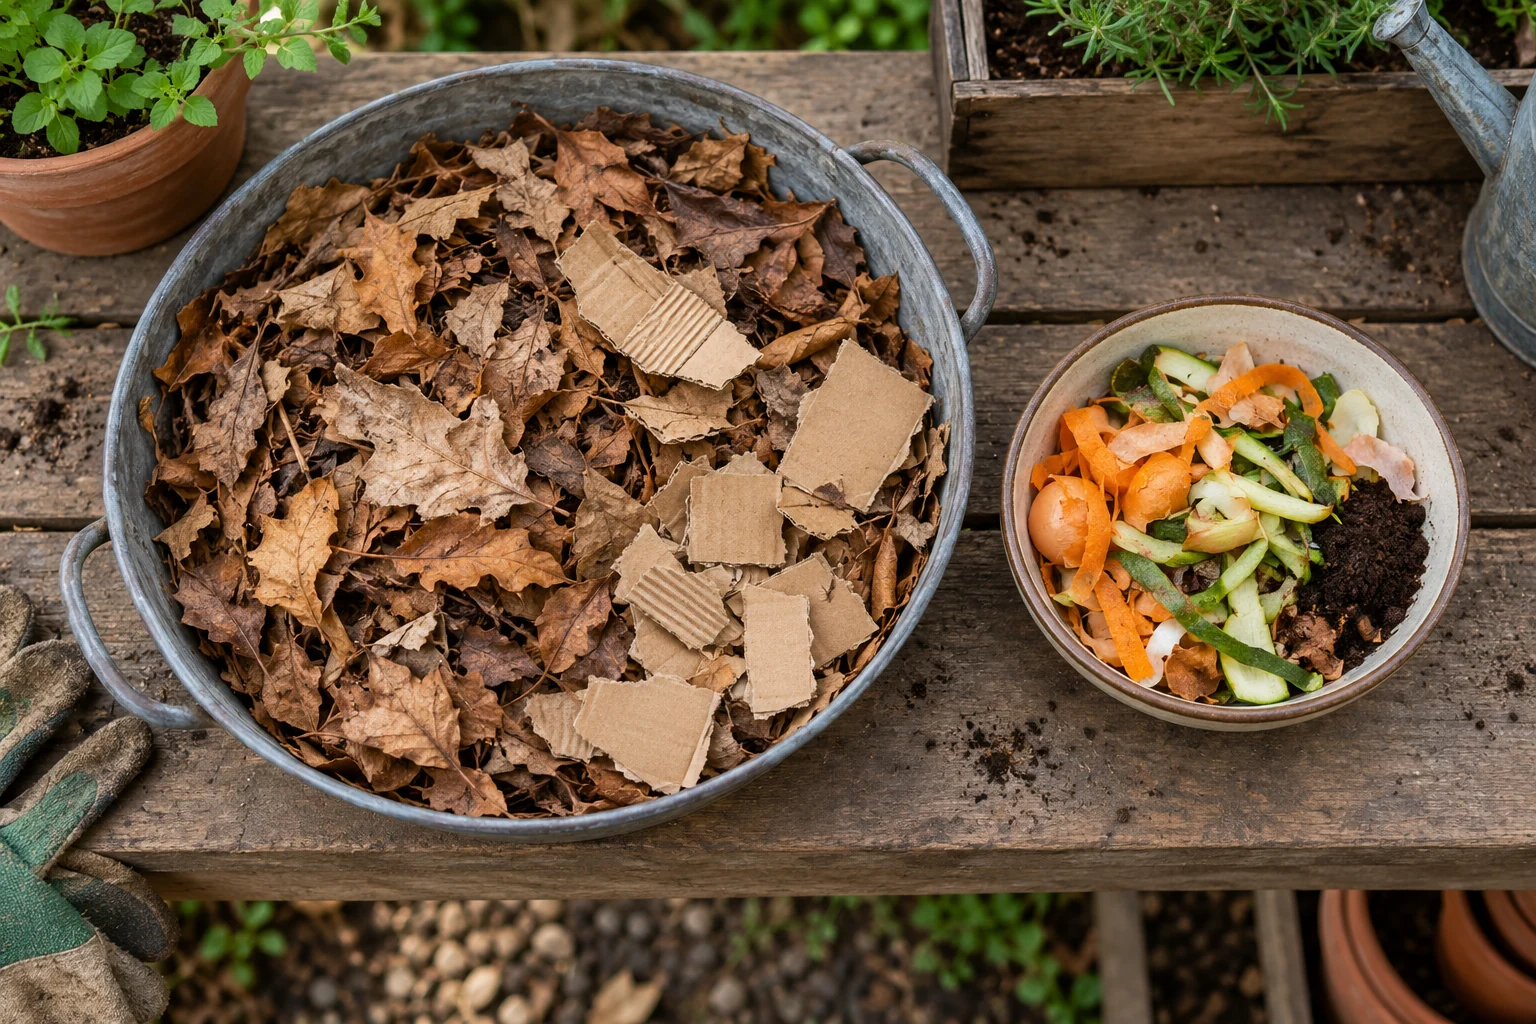
For a simple start, collect dry leaves, small pieces of plain uncoated cardboard with tape removed, fruit and vegetable trimmings, and coffee grounds. Break up large pieces. A whole cabbage core or a tightly packed clump of leaves gives you fewer mixing options than smaller, loose material.
Keep meat, fish, dairy, greasy leftovers, pet waste, treated wood, and plastic out of this beginner backyard system. Do not assume a cup or bag marked “compostable” will break down in your bin; some products require a commercial facility. This is one place where keeping the input list short makes maintenance easier.
Build the first mix, then cover it
Start with a loose base of coarse brown material, then add your collected greens with plenty of dry material around them. For an open-bottom pile, the Granger beginner guide describes a coarse base roughly 4–6 inches deep. Follow a manufactured bin’s own setup instructions where they differ.
- Put a loose layer of browns into the bin rather than compressing it flat.
- Add a modest batch of chopped plant scraps.
- Mix greens into the browns so food does not remain as a dense wet pocket.
- Add water gradually if the mixture is dry. It should feel damp like a wrung-out sponge, not release a stream when squeezed.
- Cover the fresh food with more browns and close the lid where the bin has one.
As a starting guide, the EPA recommends at least two to three volumes of browns for each volume of greens, with fresh food covered by 4–8 inches of dry material. Think of this as a practical volume guide, not a laboratory carbon-to-nitrogen calculation. A pail of fluffy leaves and a pail of dense shredded cardboard are not identical ingredients.
Do not worry about preserving beautiful permanent layers. As the contents break down, mixing brings wetter and drier areas together. Denver Botanic Gardens’ setup guide also includes mixing and watering as ongoing tasks rather than treating the first stack as a finished process.
Use each new addition as a quick check
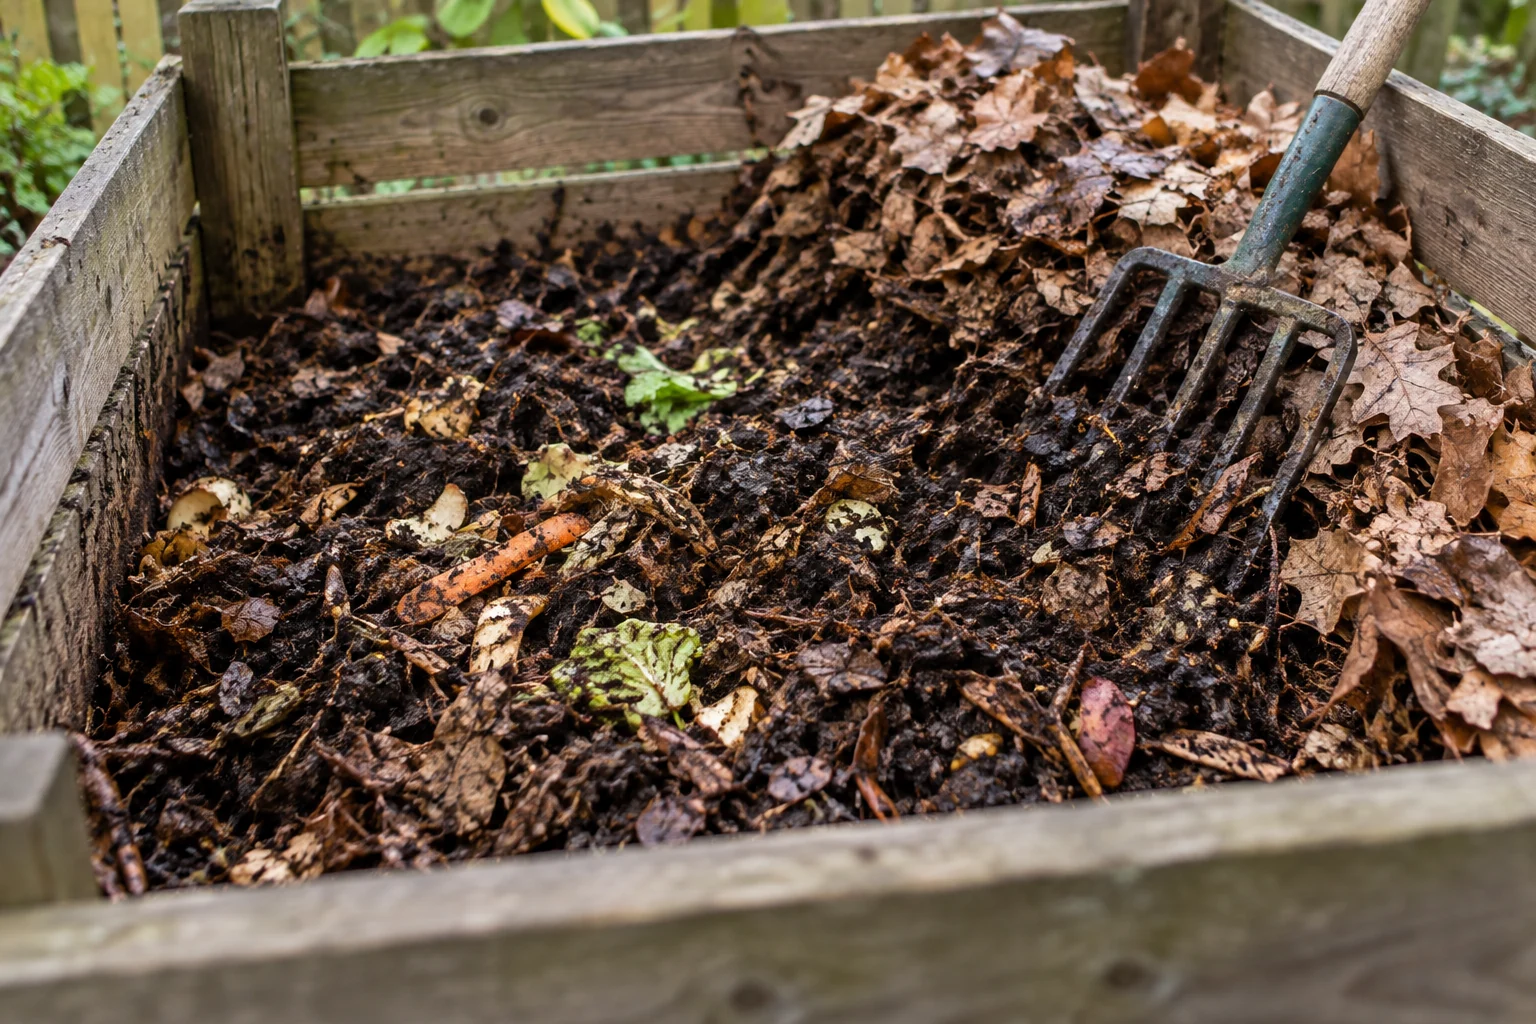
When you take scraps outside, look beneath the top cover before adding more. Is it soggy, very dry, compacted, or simply breaking down slowly? Adjust the condition you find instead of adding every ingredient in a fixed amount regardless of the weather.
| What you notice | A useful next step |
|---|---|
| Wet, matted contents or an unpleasant sour smell | Add loose dry browns and mix to improve air space; check whether rain is entering |
| Dry material that stays almost unchanged | Moisten gradually and mix; break up large pieces |
| Fresh scraps visible at the surface | Bury them in the active material and replace the brown cover |
| A bin filling faster than it breaks down | Reduce additions temporarily or start a second batch; do not force more into a compacted mass |
Turning helps introduce air, but a household bin does not need to be disturbed every day. Choose a routine you can sustain and respond to wetness or compaction. Recycle Now’s home-composting guidance emphasizes balancing ingredients and aerating the material as part of normal care.
Warmth can indicate active decomposition, but a small, gradually fed bin may not become noticeably hot. A cool bin is not automatically a failed bin. Avoid adding materials that need reliable high-temperature treatment just because a thermometer briefly rises.
Give older material a chance to finish
If you keep mixing fresh scraps into the whole bin, there will always be something unfinished in it. Eventually, stop feeding that batch or move older material to a separate covered space. Begin a new batch for incoming scraps.
Finished compost should be dark and crumbly, smell earthy, and contain little recognizable soft food material. Tough twigs may remain and can be screened out for another batch. Do not judge readiness by the calendar alone: temperature, ingredients, particle size, and attention all change the pace. Allow finished-looking material time to mature before using it around sensitive young plants.
You can start collecting ingredients in any season, although cold weather may slow decomposition. The best first goal is a bin you can feed without exposing food, water without soaking, and mix without a struggle. Once that routine works, you can decide whether faster batches or a larger system would actually improve it.

Ethan Miller
Ethan Miller writes about home improvement, interior design, cleaning, and everyday living at Home & Living Daily. He shares practical tips and simple ideas to help readers create more comfortable and functional homes.