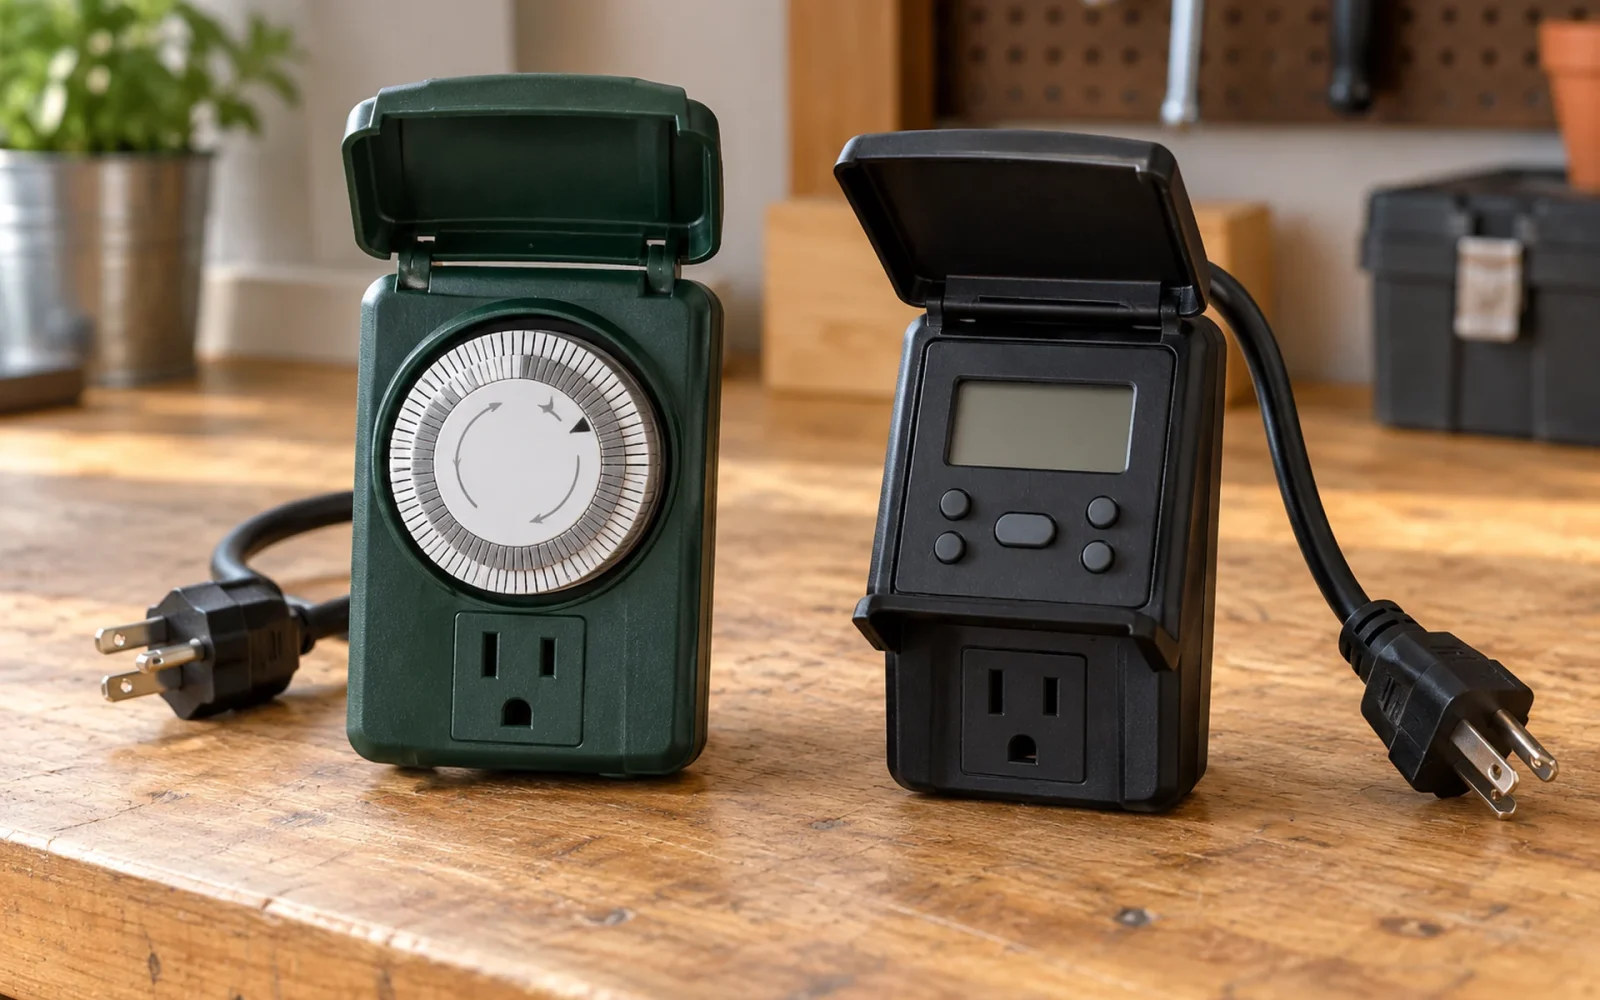
To set an outdoor light timer, identify whether it uses a rotating clock, a digital schedule, or a dusk sensor. Set the current time where the model requires it, enter the on and off period, then select the timer’s automatic operating mode. Finally, test that the lights respond to both transitions.
Button names, pin directions, backup features, and load ratings vary. Keep the model’s instructions beside you rather than forcing a generic sequence onto a different control. This guide covers an existing plug-in timer, not installing or rewiring a hardwired switch.
Identify the type of control
- Mechanical clock timer: a 24-hour dial with small segments or movable trippers sets a repeating schedule.
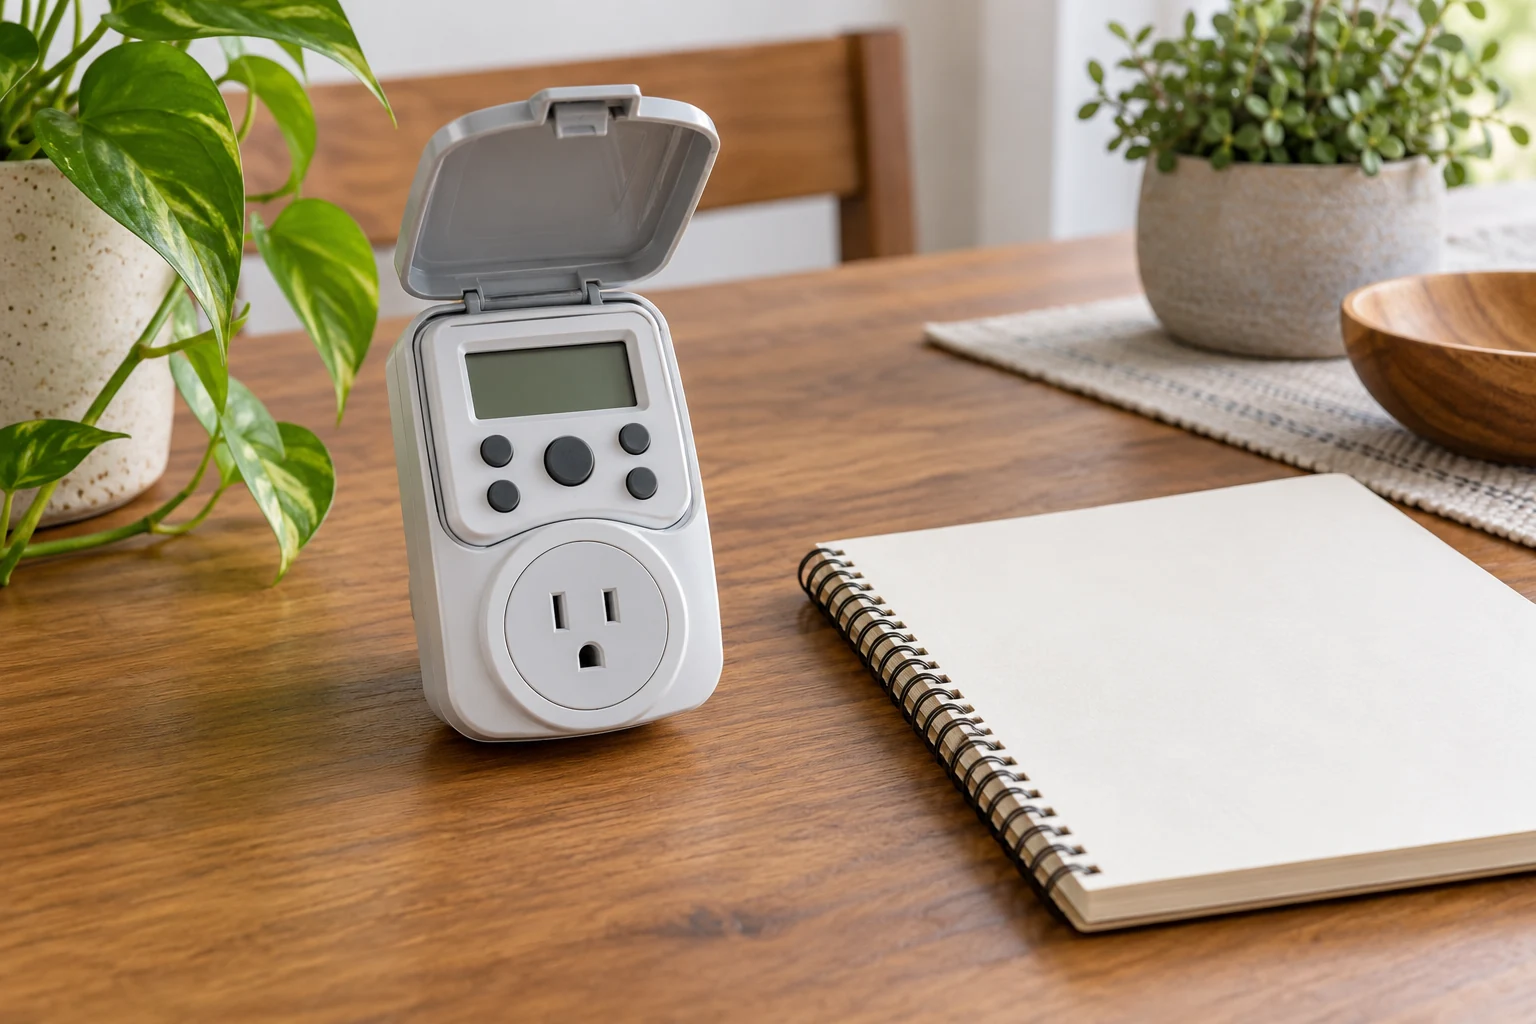
- Digital timer: a display and buttons set time and one or more programs. Some repeat daily; others offer weekday groups or seven-day schedules.
- Light-sensing timer: a photocell starts the lights at dusk, often with a chosen duration. A numbered hour dial may select duration rather than clock time.
- Astronomical timer: calculated sunset and sunrise depend on correctly entered location, date, and related settings.
Check the model number and whether another control is also involved. A wall switch, transformer timer, smart plug, or photocell elsewhere in the system can stop the lights even when this timer is set correctly.
Confirm the connection is suitable before programming
Use a timer rated for the actual outdoor conditions and lighting load. Check the combined load across its controlled outlets and any separate LED, motor, or other load limits. Multiple receptacles do not each receive the full shared rating.
Follow the instructions for mounting, outlet protection, plug orientation, and permitted cords. Keep connections away from standing water, drainage routes, and places where they can be damaged. Do not use a timer with a cracked housing or damaged cord, or treat an indoor timer as outdoor-rated because it is under a roof.
Make adjustments under the conditions the manual specifies, with dry hands and safe access. Do not open the housing or bypass a protective device to make a schedule work. Repeated tripping or signs of water inside require a fault assessment.
Set a mechanical clock timer
Read the dial’s AM/PM or 24-hour markings first. Rotate it only in the permitted direction until the current time lines up with the fixed pointer. Do not move the pointer itself unless the instructions explicitly identify it as adjustable.
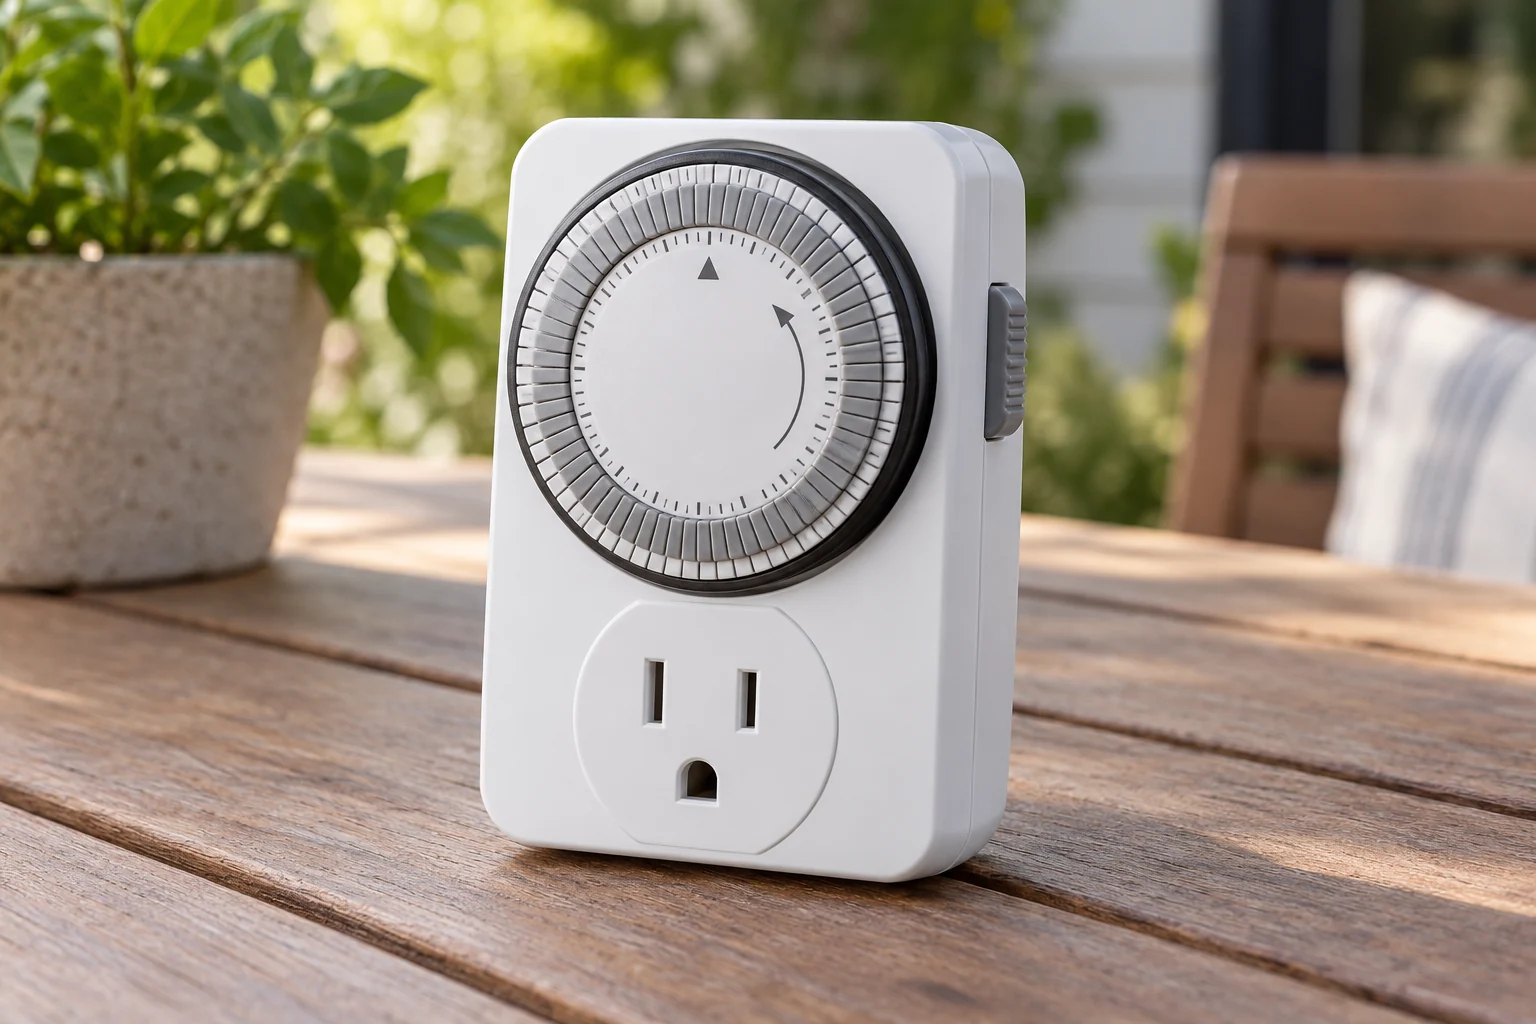
Find which segment position means ON. Some models use depressed pins, others use separate on/off trippers or a different arrangement. Check how much time each segment represents; not all use the same interval.
For a hypothetical daily schedule from 6 p.m. to 10 p.m., place every segment in that interval in the ON position and leave the remaining periods OFF, according to the manual. If segments represent 30 minutes, four hours spans eight segments. With 15-minute segments, it spans sixteen. Those counts explain the arithmetic, not which direction to press your pins.
Select TIMER, AUTO, or the model’s clock-symbol setting. A constant-ON override may power the lights continuously while ignoring the programmed pattern. Leave the connected light’s own switch in the position required for timed control.
Program a digital timer
- Set the clock. Enter current time and, where provided, day, date, location, and daylight-saving settings. Check AM and PM.
- Enter an ON event. Choose the intended day or day group and time.
- Enter the matching OFF event. Check its day group as carefully as its time.
- Review other programs. Remove or disable unwanted events using the manual’s method, especially on a previously used timer.
- Activate the schedule. Select the automatic state or enable the event indicators required by that model, then return to the normal clock display.
A midnight-crossing program needs particular care. An ON event on Monday evening followed by an OFF event early Tuesday may require different day selections. Daily repeating models can handle this differently from weekday-programmable ones.
Do not reset a working timer merely because a tutorial begins with reset. Reset can erase the schedule and other settings. Use it when the manual calls for initial setup or troubleshooting, after recording anything you need to restore.
Check dusk sensing and override behavior
A dusk-to-four-hours setting starts from detected darkness, not automatically at 4 p.m. or 6 p.m. Keep the sensor exposed as instructed, away from the connected lamp or another light that can confuse its reading. Follow any delay or test procedure rather than rapidly covering and uncovering it.
A manual override may last until the next programmed event or remain active indefinitely, depending on the timer. Confirm the status indicators and return it to its intended schedule after testing.
Test the transitions and revisit after a power cut
Use the approved test method or a short temporary schedule, then restore the real program and correct clock. Observe an actual on/off cycle; a successful constant-ON test proves the lamp has power, not that the schedule works.
After an outage or clock change, check the time, active programs, and operating mode. A mechanical clock may have lost time while power was off. Digital backup varies by model and condition. A brief check now is easier than discovering that the lights run through the day.

Ethan Miller
Ethan Miller writes about home improvement, interior design, cleaning, and everyday living at Home & Living Daily. He shares practical tips and simple ideas to help readers create more comfortable and functional homes.