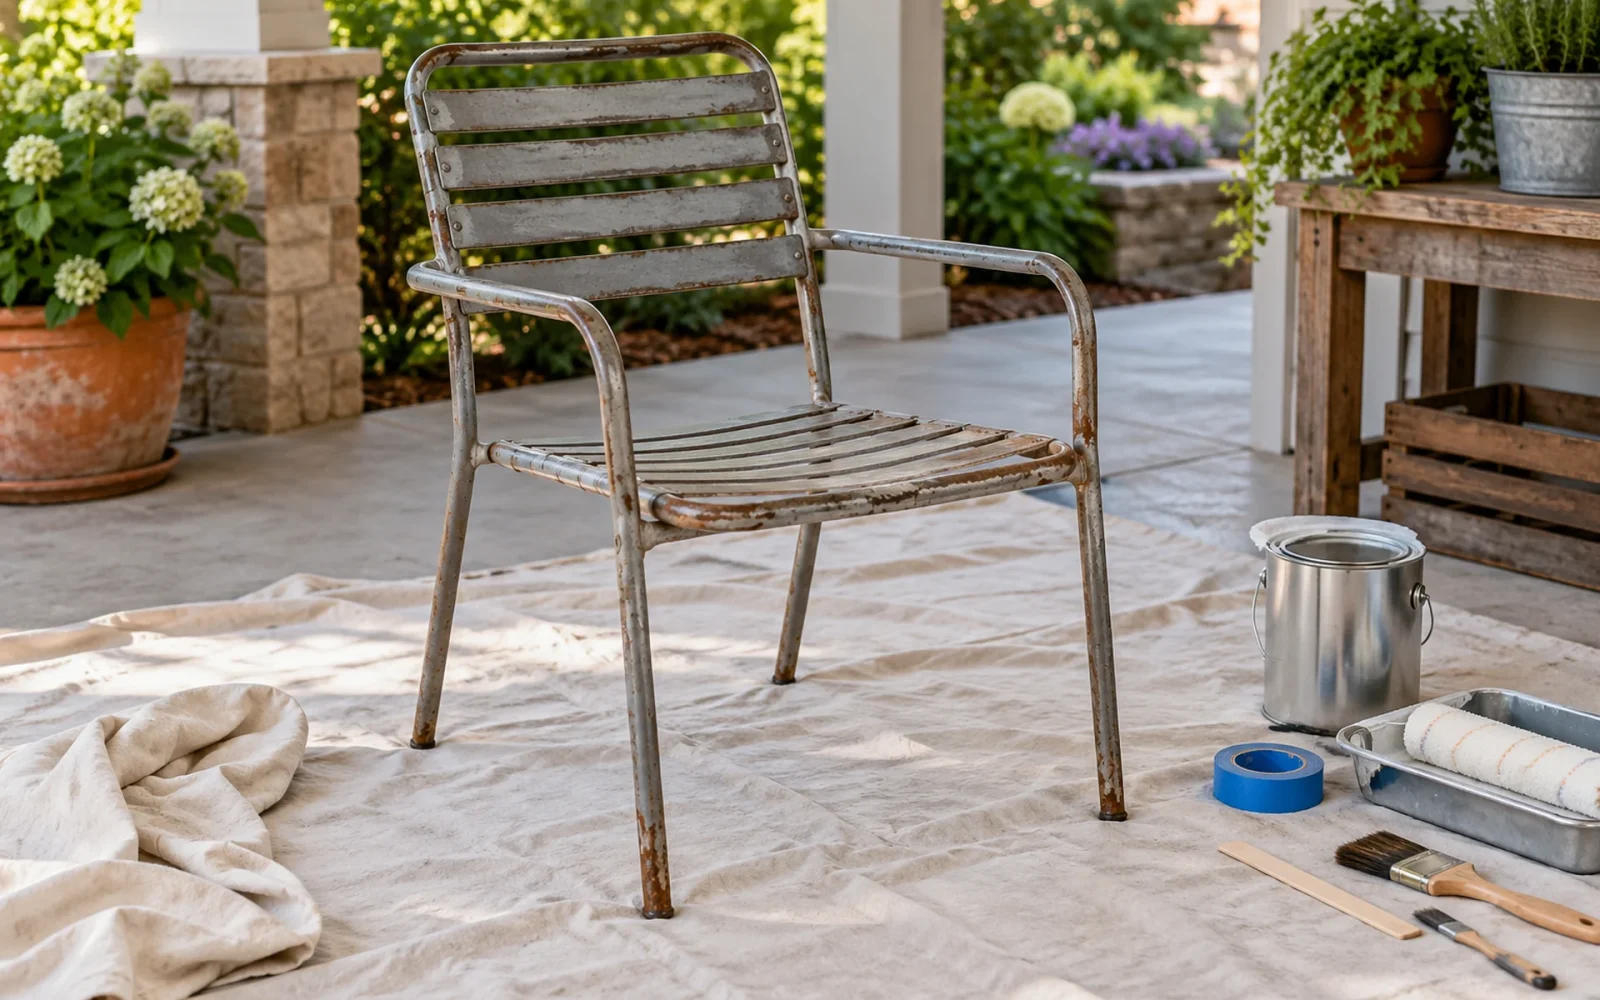
Paint metal outdoor furniture by identifying the metal and existing coating, cleaning away grease and dirt, removing unsound paint and corrosion, and applying a compatible exterior primer-and-paint system. Give it the specified drying and curing time before returning it to use.
Preparation should respond to the actual surface. A rusty steel chair, an aluminum frame with white oxidation, and sound powder-coated furniture should not all receive the same wire-brush treatment.
Identify the metal, old coating, and damage
Check the product label or manufacturer information first. A magnet can help identify many iron-containing parts, but it is only a clue: furniture may combine several metals and other materials. Do not rely on weight or color alone.
Inspect welds, fasteners, seat supports, and legs. Perforation, a cracked weld, or a badly weakened connection calls for a repair or replacement assessment. Paint does not make a corroded chair structurally sound.
For old furniture with an unknown paint history, assess possible hazardous coatings before scraping or sanding. The EPA identifies scraping and abrasive sanding as activities that disturb paint and produce dust or chips. Do not assume a loose furniture item is lead-free because your house is newer, and do not automatically apply a housing-age rule as a diagnosis of the furniture.
If the coating may be hazardous, get appropriate testing or professional advice before creating dust. The ordinary preparation steps below are for a surface already assessed as suitable for that work.
Choose a compatible coating system before preparation
Select products specifically intended for exterior use on the identified substrate and the type of contact the furniture receives. Read both the label and technical instructions for preparation, primer requirements, application conditions, recoat window, and full-use time.
For steel or iron, the system may require a rust-inhibiting primer on prepared bare metal or remaining tightly adherent rust. For aluminum, galvanized metal, or another nonferrous surface, it may need a different adhesion primer and preparation. A direct-to-metal claim applies only under that product’s stated conditions.
Sound factory powder coating may be retained if the chosen system permits overcoating it and a test confirms adhesion. Widespread failure or an uncertain coating can be a reason to use a professional refinisher. Do not assume all old paint must come off, or that any paint-and-primer combination can go over it.
Clean and remove only unsound material
Remove cushions, loose fabric, and accessories, or protect components that cannot be removed. Follow the furniture’s assembly instructions rather than dismantling tensioned sling seats or mechanisms casually. Work in a suitable protected area and collect preparation debris.
Degrease with a compatible cleaner, then rinse or wipe as instructed and dry thoroughly. Remove loose paint and corrosion using tools suitable for the substrate. Feather sound coating edges and dull glossy areas only as the selected system requires. Protect thin tubes, mesh, welds, and decorative details from excessive abrasion.
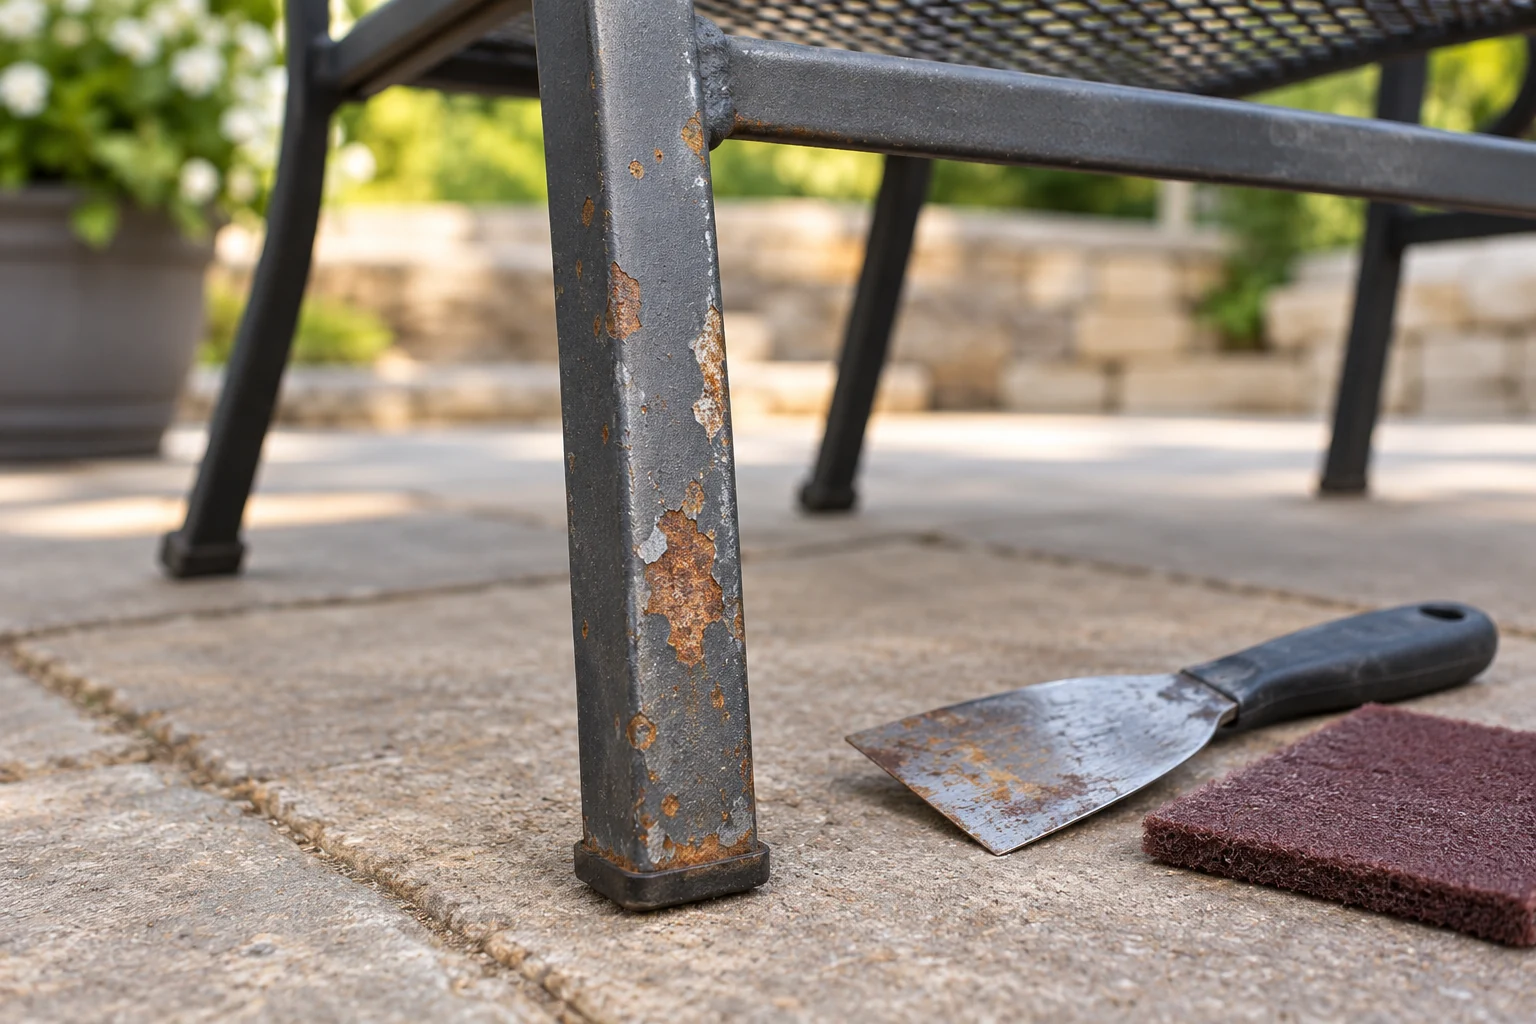
A steel wire brush suitable for one iron frame may scratch aluminum or leave unwanted contamination. Choose the abrasive and tool for the actual metal. Do not aggressively grind a lightly damaged surface because a tutorial shows a heavily rusted item.
Remove sanding dust and preparation residue by the coating system’s specified method. Let water leave joints and openings. Do not paint over a damp crevice simply because the visible armrest feels dry.
Prime where the system requires it
Mask threads, moving interfaces, glides, fabric, and other parts that should remain unpainted. Keep intended drainage holes open. Confirm any filler, rust converter, primer, and topcoat are compatible before putting them in the same layer sequence.
Apply primer at the stated coverage and thickness, including vulnerable edges and accessible undersides. Do not flood joints. Allow the required drying time and follow any sanding instructions before topcoating.
If a test area lifts, wrinkles, or stays unexpectedly tacky, stop and diagnose the compatibility or preparation problem. Another coat will not reliably correct a failing layer underneath it.
Apply controlled coats and follow the recoat window
A brush can give control on broad slats and small repairs. A suitable spray product may reach mesh and curves more evenly, but it also requires an appropriate spray area and overspray control. Pick the method your coating permits and the furniture shape supports.
Follow the product’s ventilation, personal-protection, and ignition-source precautions. Keep other people and animals out of the work area. Avoid wind that carries spray onto adjoining property, vehicles, or planting; also avoid temperatures, moisture, or humidity outside the stated application limits.
Use the specified brush or roller, or the stated spray distance and motion. There is no single correct can distance for every aerosol. Apply the recommended coats and coverage instead of one heavy coat that runs or bridges mesh openings.
Read the recoat timing carefully. Some systems permit another coat within one window and require a longer wait after that window closes. Do not substitute the drying time from a different paint or a general video.
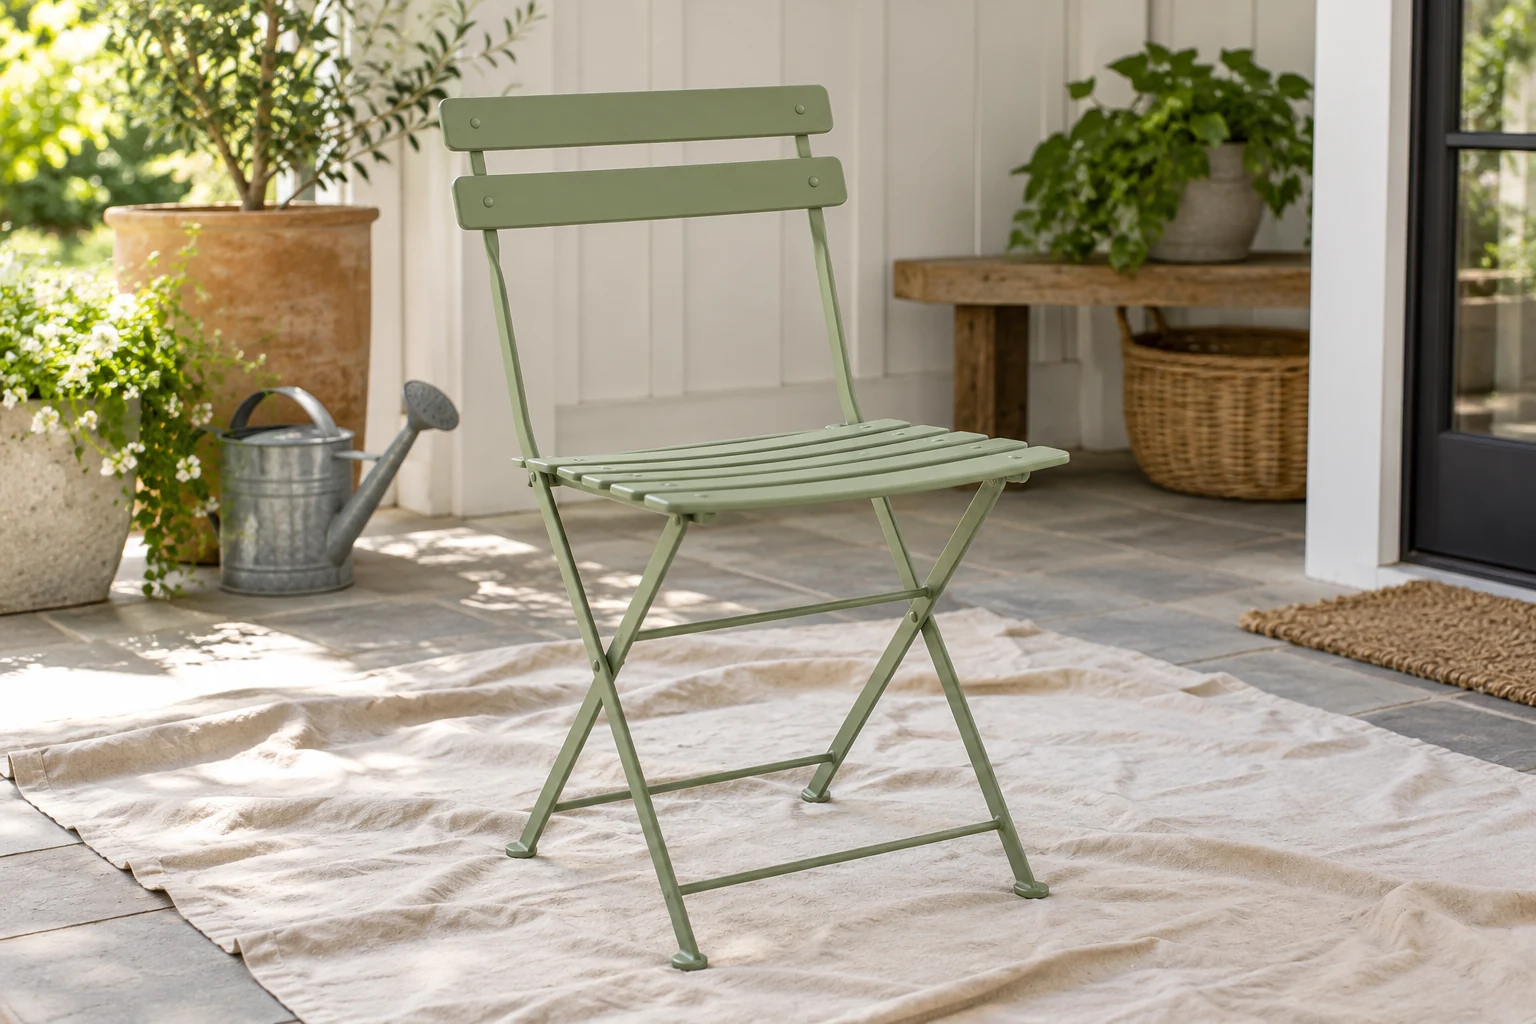
Wait for cure, then check the vulnerable details
Keep the furniture in the required conditions while the coating dries and cures. Touch-dry is not the same as ready for cushions, stacking, covering, or someone sitting on the seat. Follow the coating’s full-service instructions.
Once ready, inspect edges, feet, mesh intersections, and joints for missed coverage or runs that affect movement. Refit components as instructed and confirm the chair or table is stable. Manage used paint, solvents, and contaminated materials according to their labels and local disposal requirements.
During use, clean gently and repair new coating damage before it spreads. Our outdoor furniture cleaning guide covers care after refinishing. A lasting result depends on sound metal, a compatible coating, and continued attention to damage, not just the number of coats applied.

Ethan Miller
Ethan Miller writes about home improvement, interior design, cleaning, and everyday living at Home & Living Daily. He shares practical tips and simple ideas to help readers create more comfortable and functional homes.