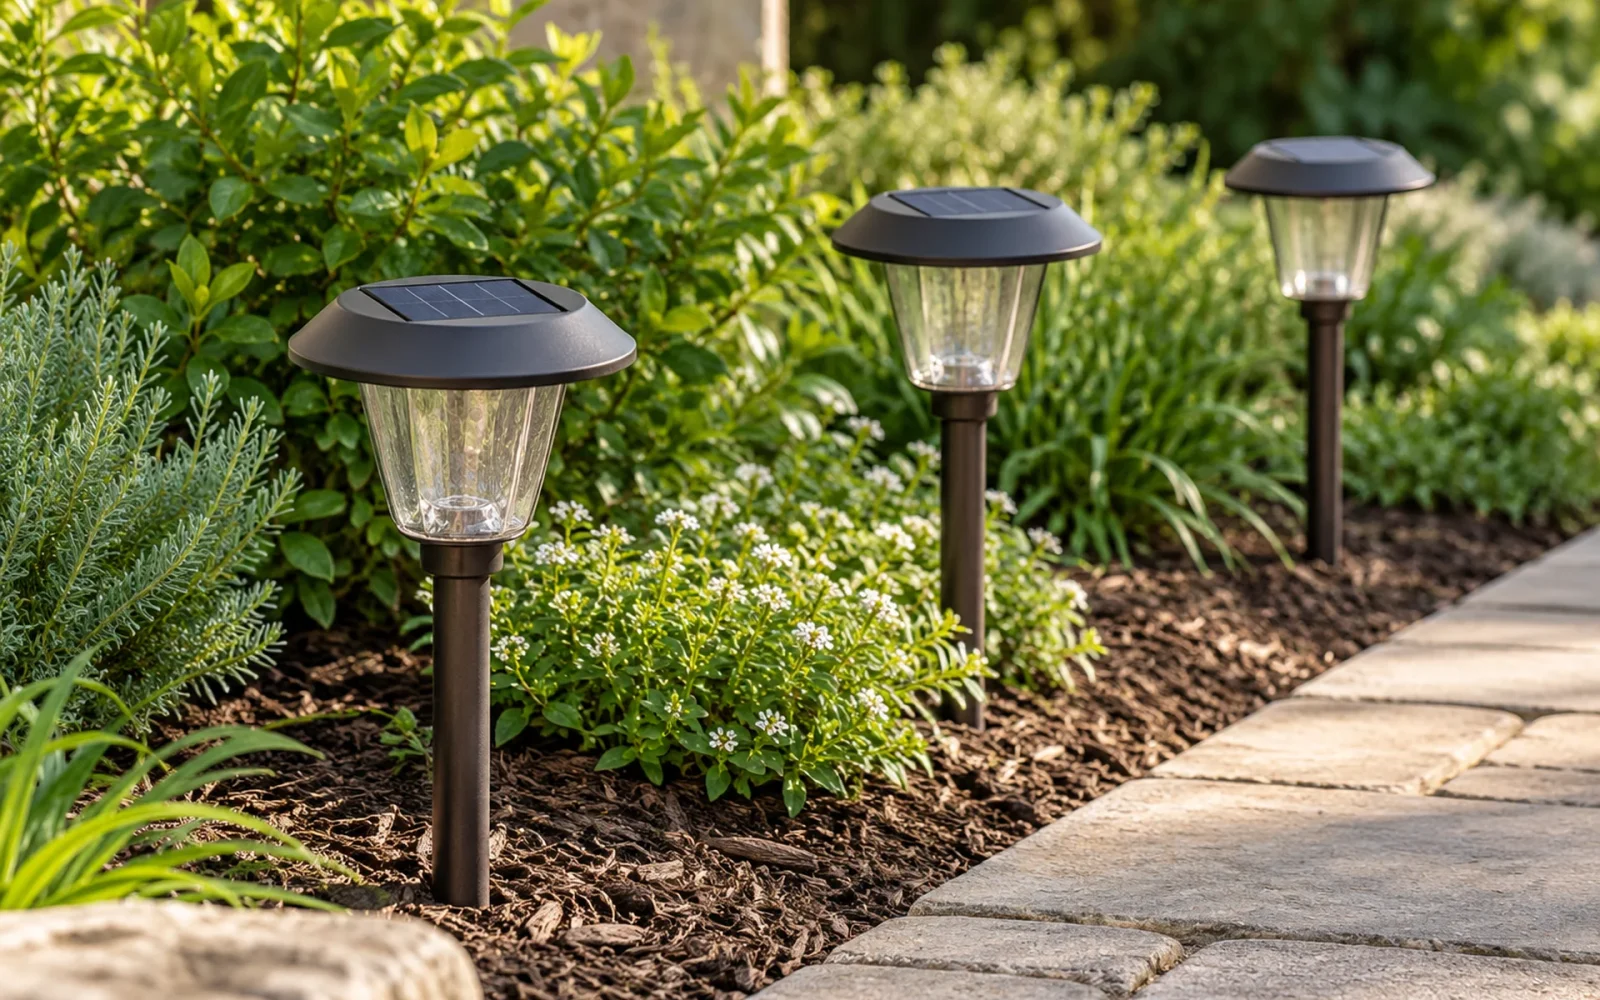
Clean outdoor solar lights by removing loose grit, wiping the panel with the soft-cloth method allowed by the manual, and cleaning the lens and housing without flooding the electronics. Let the parts dry, then check the light after the recommended charging period. A clean panel helps light reach the solar cell, but cleaning cannot reverse an exhausted battery or repair a cracked housing.
Separate the panel on top from the lens through which the lamp shines. Dirt on the first affects charging; dirt on the second can obscure the light you see. They may have different surfaces and cleaning instructions.
Inspect the light before washing
Find the model’s instructions and turn it off as directed. Disconnect any auxiliary charging supply before maintenance. Let a warm unit cool and work somewhere dry, particularly if the manual permits opening a battery compartment.
Check for cracked panel covers, loose lenses, damaged cables, corrosion, and standing water inside the unit. Stop using a damaged fitting and obtain the appropriate repair or replacement advice. Do not try to make it waterproof by painting over a crack or sealing every opening.
Where the head can be removed for cleaning, follow its release method. Pulling a garden light out by a fragile cap can separate it from the stake. Avoid twisting against a cable or forcing parts that may be bonded rather than screwed together.
Clean the panel without polishing it
Remove loose dust and grit gently. Follow the maker’s dry-cloth or slightly damp-cloth method; instructions differ even among small solar products. Use a clean soft cloth and light pressure, supporting the light rather than bending its stake.
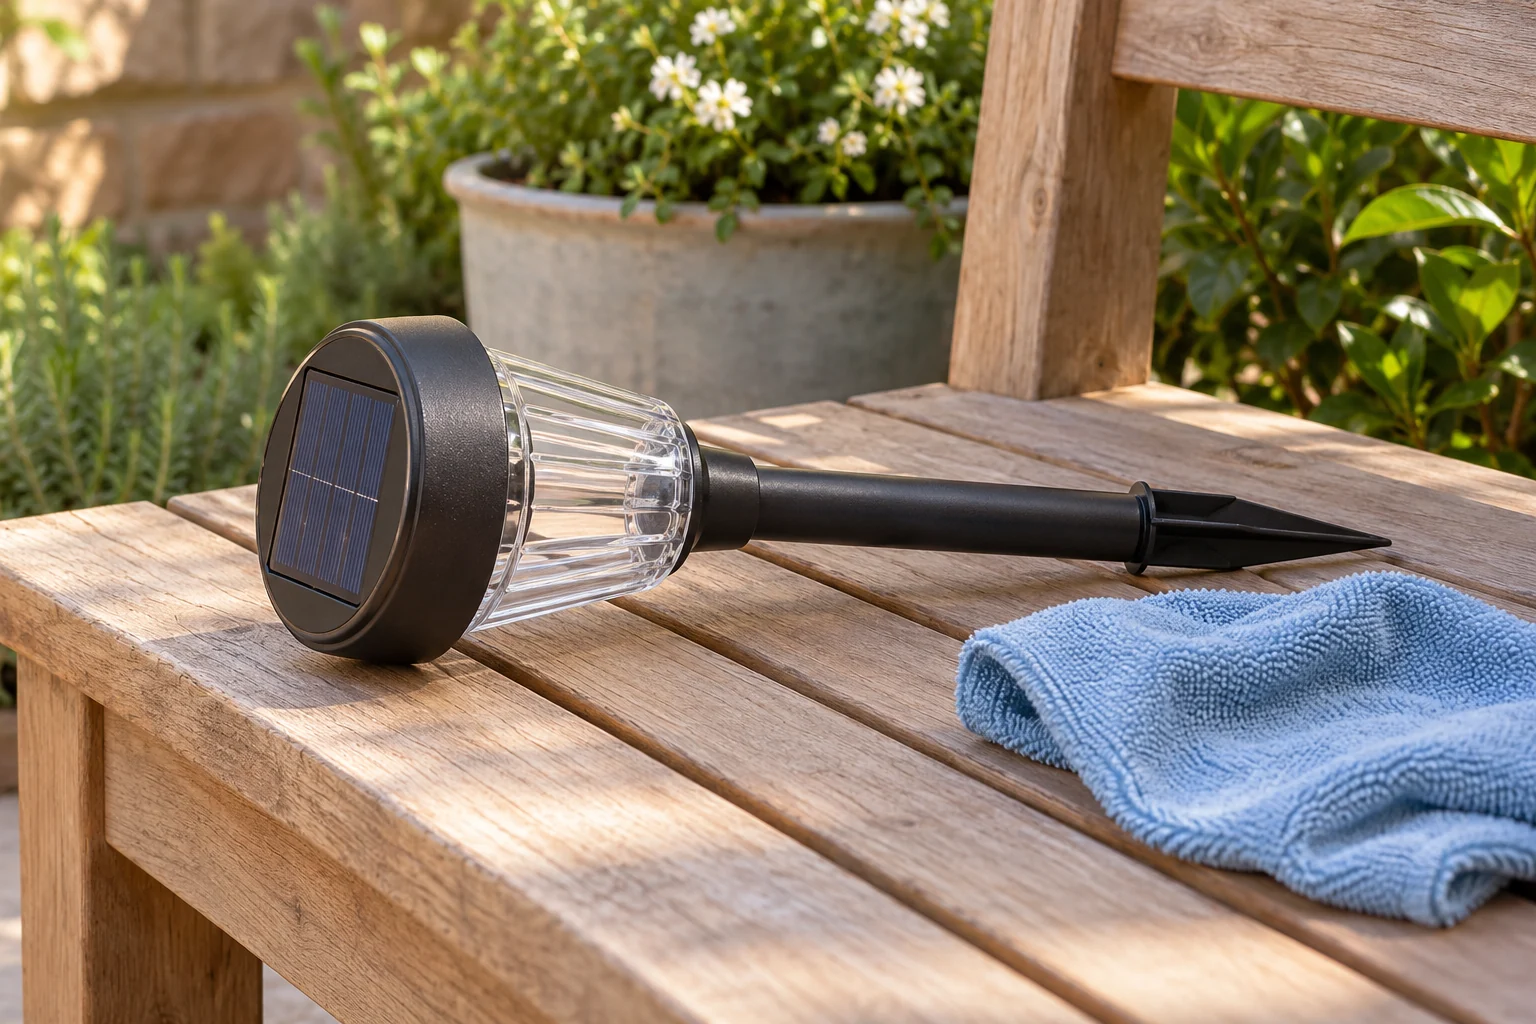
If water or mild soap is allowed, apply it to the cloth in the permitted amount. Remove residue as directed and avoid leaving a film. Do not spray the whole light simply because its housing is sold for outdoor use.
Do not use toothpaste, abrasive pads, scouring powder, or a sanding routine to restore a dull panel. Avoid solvents, nail-polish remover, and clear-coat tricks. The protective surface can be different from ordinary window glass, and an apparently shiny finish is not evidence of restored charging performance.
For stubborn mineral deposits, seek a cleaner approved for that panel rather than defaulting to vinegar or descaler. A scratched, yellowed, delaminated, or cloudy cover may need a part replacement. Cleaning cannot always return an aged polymer surface to its original condition.
Clean the lens and housing separately
Wipe the light-emitting lens or diffuser using its approved method. Lift dirt from seams and around the sensor without forcing a tool into the opening. Decorative facets and coated finishes may be more easily scratched than they look.
A removable lens can be cleaned separately only if the manual permits that removal. Keep track of seals and small parts, and let everything dry before reassembly. Do not immerse the light, put it in a dishwasher, or pressure-wash it.
Check intended drains and accessible ventilation openings for debris. Preserve their function. A hole is not automatically a defect to fill with sealant, and a wet interior is not a reason to drill a new drain.
Inspect battery areas only when access is permitted
If the product has a user-serviceable battery compartment, follow the switch-off and opening instructions. Look for moisture, damaged seals, and contact problems without pulling on wires. Clean accessible contacts only by the approved method and avoid bridging terminals with a metal tool.
Do not open a sealed pack or scrape away leaked material as a routine cleaning step. A leaking, swollen, hot, or damaged battery requires the battery or light maker’s handling guidance. The necessary response depends on the chemistry and damage.
If replacing a permitted cell, match chemistry, voltage, size, connection, and the manufacturer’s capacity requirements. Similar-looking rechargeable and single-use batteries are not interchangeable. A larger capacity or a familiar AA shape does not prove compatibility with the charging circuit.
Check sunlight and sensor conditions after cleaning
Return the unit to the correct operating or charging state under its manual. Some products charge with the switch on; others specify a different initial charging procedure. Give it the recommended opportunity in suitable sunlight before judging the result.
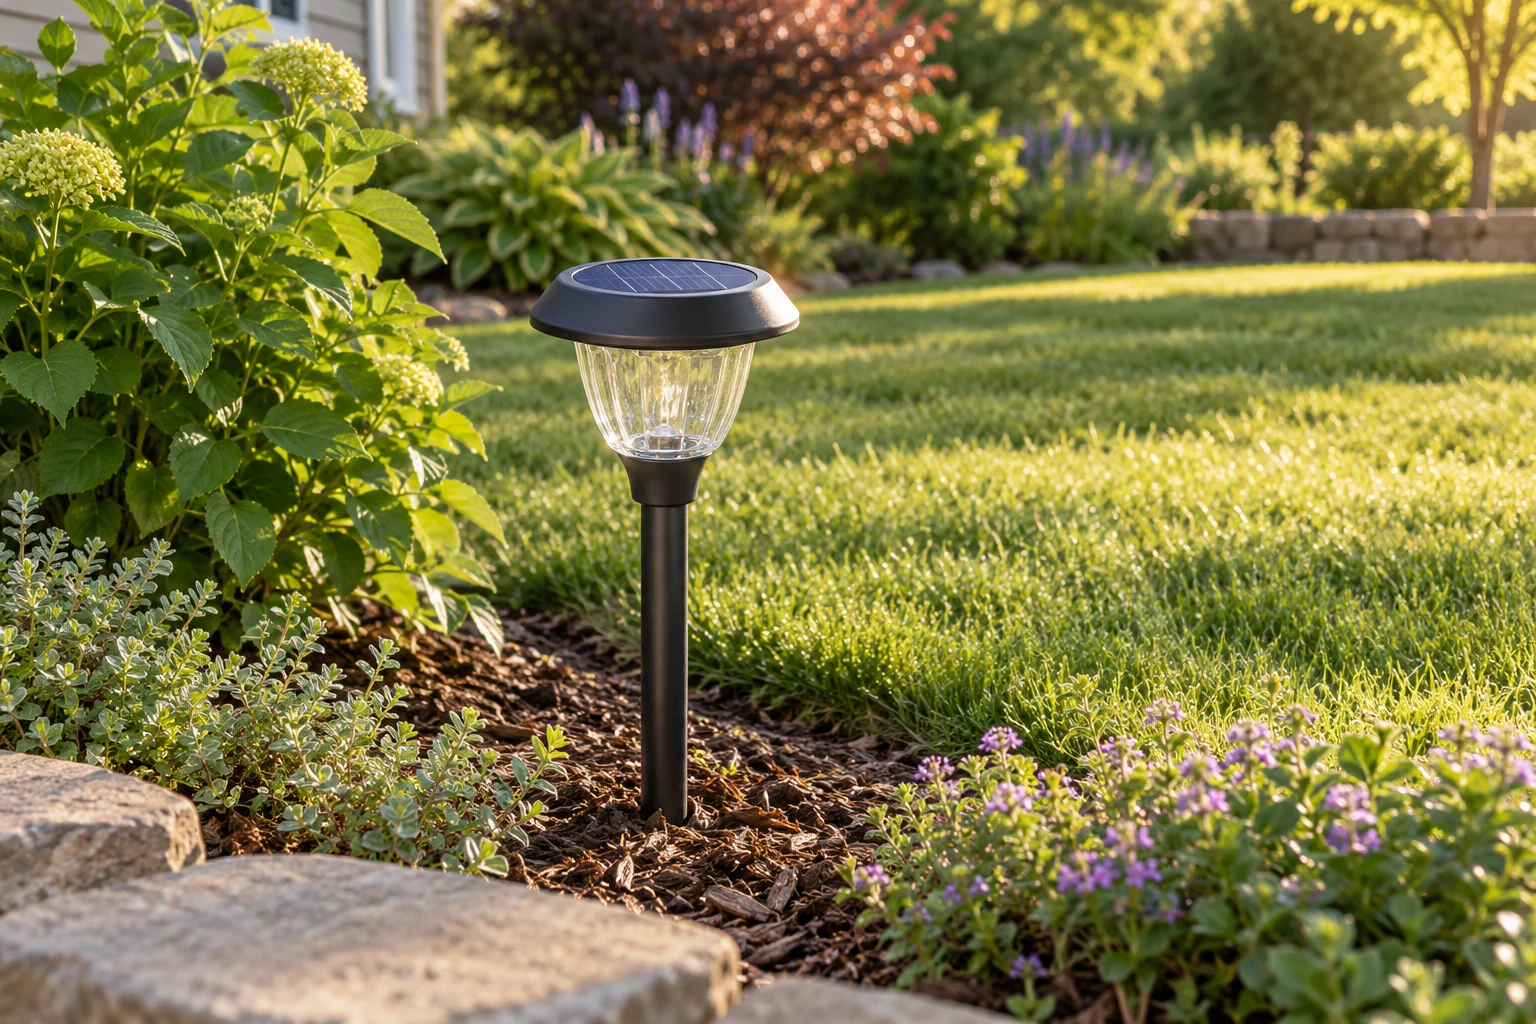
Watch the location through the day. A panel may be sunny when installed but shaded later by a fence, tree, or seasonal sun angle. At night, nearby porch or street lighting may affect a dusk sensor and prevent normal operation.
Compare performance over suitable charging conditions using the same light mode. If the panel and lens are clean but the light still fades much earlier than before, investigate battery condition, settings, and the rest of the fitting. Repeatedly polishing the panel is unlikely to solve a problem elsewhere.

Ethan Miller
Ethan Miller writes about home improvement, interior design, cleaning, and everyday living at Home & Living Daily. He shares practical tips and simple ideas to help readers create more comfortable and functional homes.