Choose outdoor lighting lumens for the area and task, rather than buying one large output for the whole yard. A path usually needs much less light than a work area, while a porch needs useful light at the threshold without a glaring bulb in your eyes.
As a restrained starting reference, DarkSky International’s home-lighting assessment suggests 300 lumens or less for pathways and 300 to 800 lumens for work areas outside a garage. Those are planning recommendations, not installation guarantees or a substitute for applicable lighting requirements.
Use numbers as a starting point
The DarkSky home assessment pairs lower output with shielding, careful aiming, and controls. Use that combination when comparing fixtures. A low-output exposed lamp can still be uncomfortable to look toward.
| Area | What to look for first | How to judge the result |
|---|---|---|
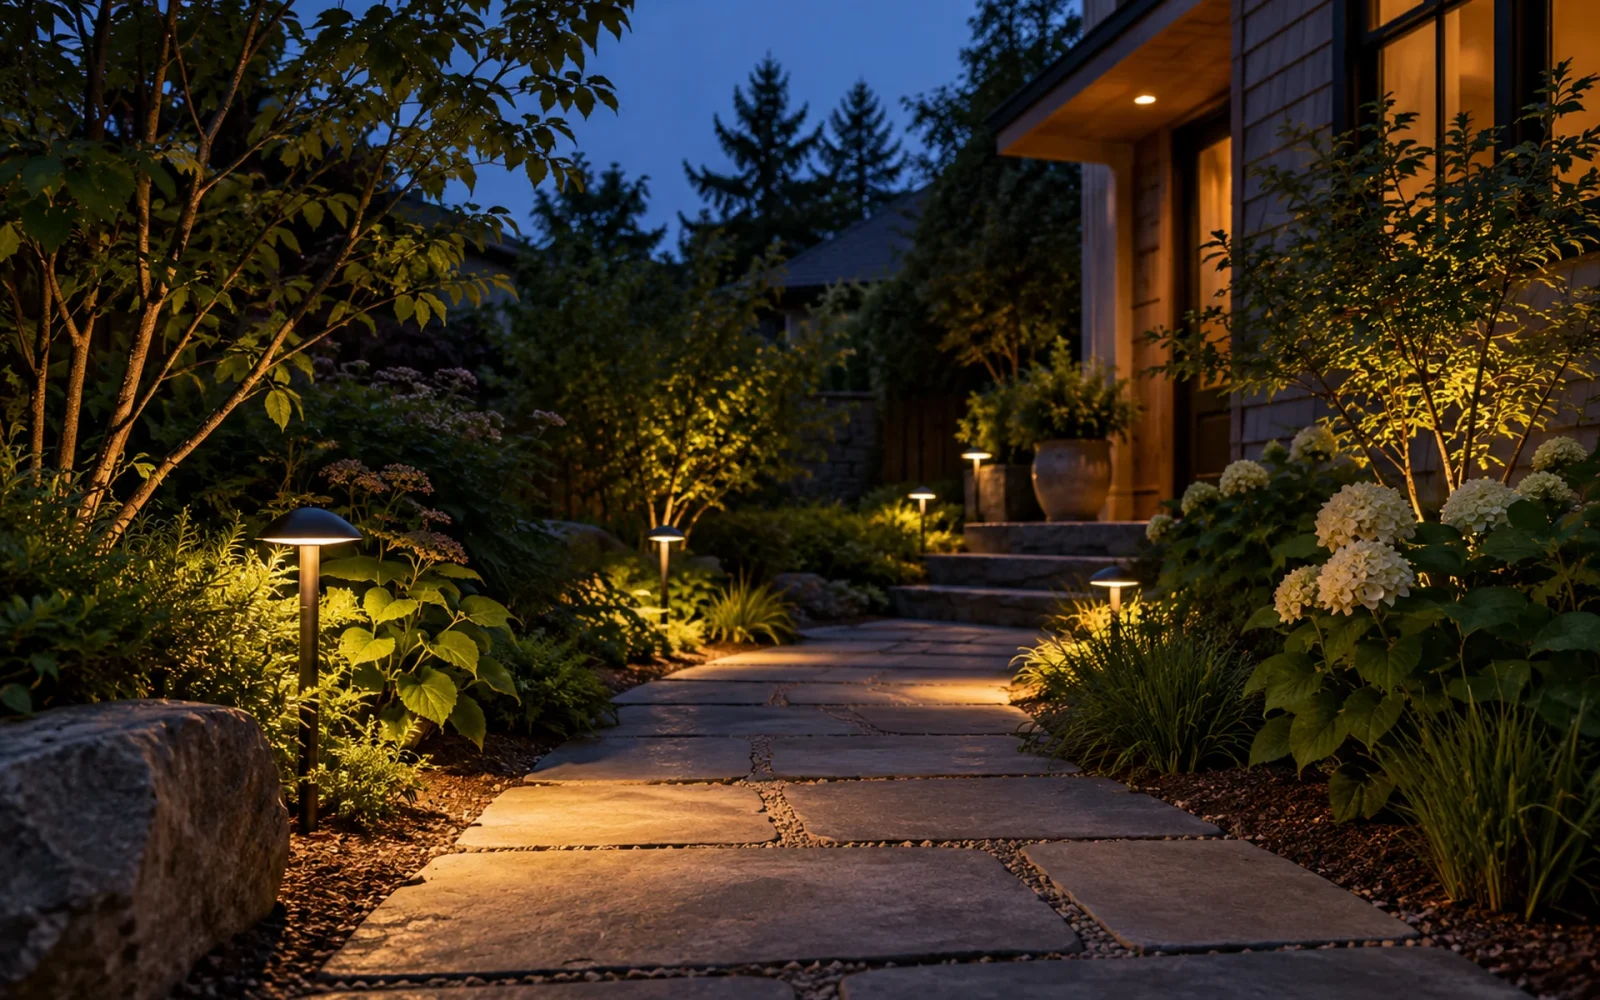
| Garden path | A shielded fixture; 300 lumens or less is a useful advisory reference | The walking surface and changes in level are visible without bright points at eye level |
| Doorway or porch | Light directed at the entrance, handle, and threshold | You can approach and use the door without the source obscuring the route |
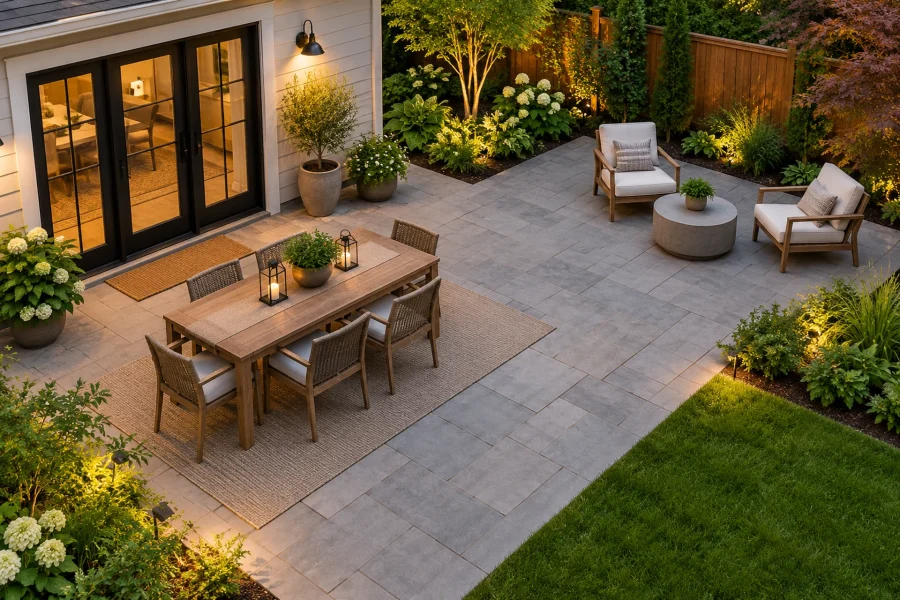
| Outdoor dining | Modest, controlled light on the table plus a visible route | People can see their place settings without looking directly into an exposed bulb |
| Small garage work area | Task-directed lighting; the assessment suggests 300 to 800 lumens | The intended work surface is adequately lit, with shadows and glare checked |
| Motion-controlled coverage | A defined target area, suitable beam, shielding, and controls | The relevant approach is visible without flooding adjacent windows or the sky |
Do not multiply these examples by the total yard area. Nor does a fixture within a suggested range automatically light a long path or meet a requirement for an entrance or stair. The location, beam pattern, and surrounding conditions change the result.
Read lumens separately from watts and color
Lumens describe light output; watts describe electrical input. The FTC’s light-bulb shopping guide explains that distinction and the Lighting Facts label. Use the actual lumen figure rather than an old incandescent wattage habit.
Color temperature, expressed in kelvin, is a separate choice. A cooler-looking lamp is not necessarily producing more lumens. A warm lamp can still be too bright, and a high-output lamp does not become restrained simply because it is warm white.
Check whether a listing gives bulb output, total fixture output, or a figure for a pack. Four lights advertised together at a combined output are not four lights each producing that number. Integrated fixtures and replacement bulbs also need to be compared on a consistent basis.
Check the beam and mounting position
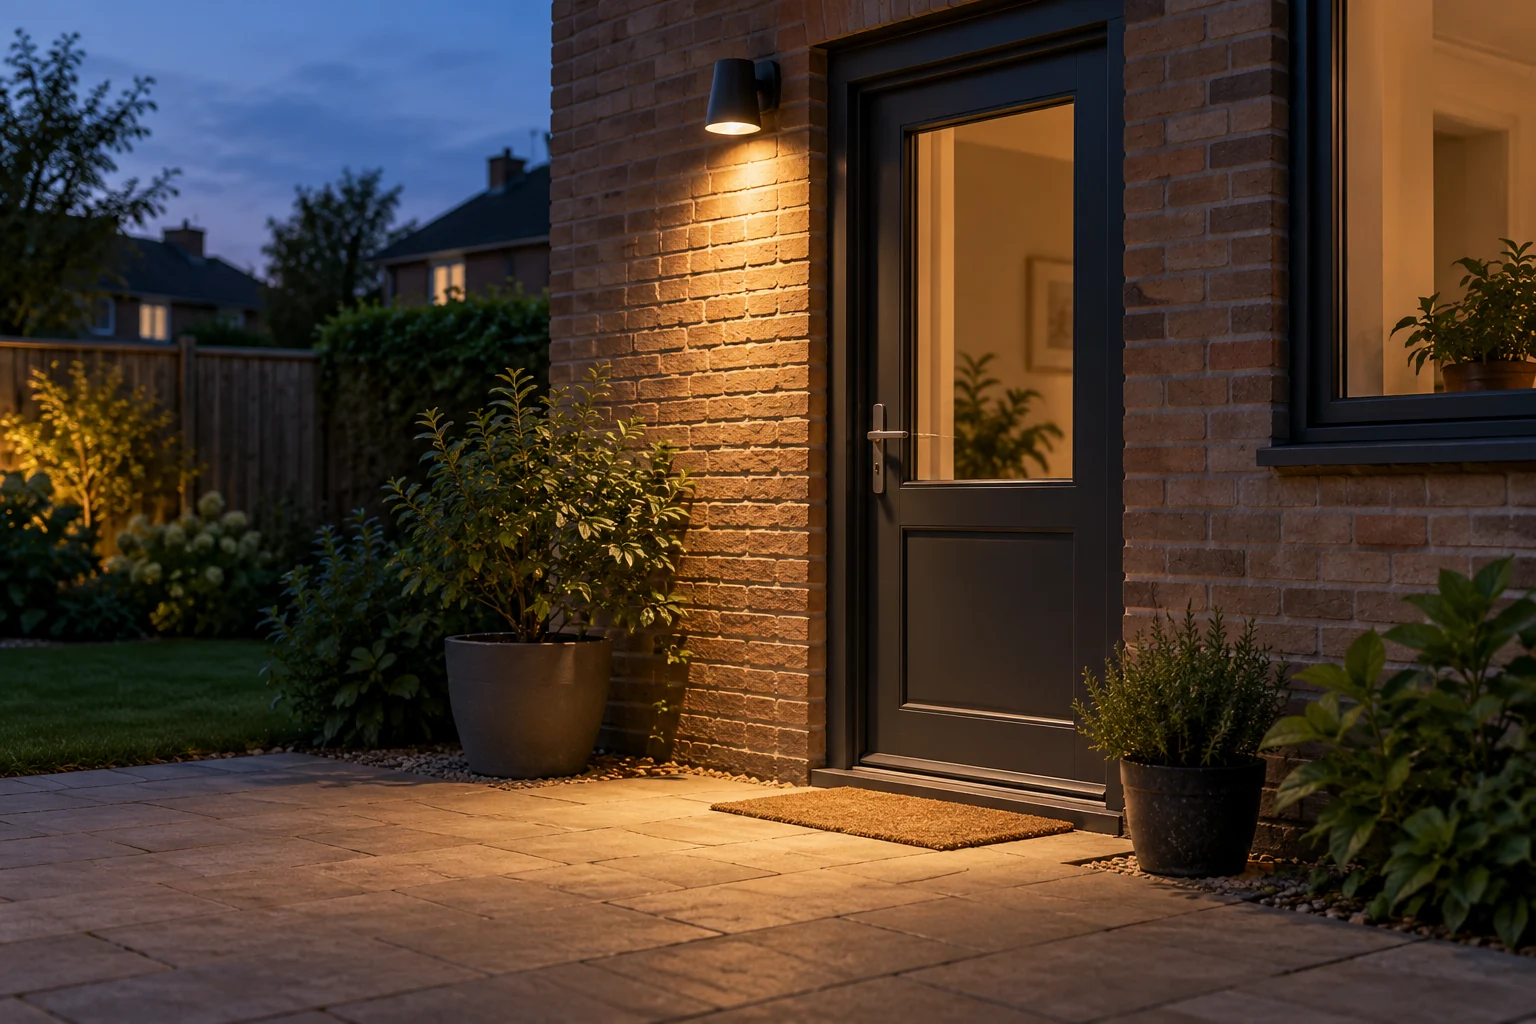
A narrow beam concentrates light differently from a wide distribution. Two fixtures with the same lumen output can produce very different patterns on the ground. Raising, lowering, or tilting a light changes where that output lands.
Look for the manufacturer’s beam information, recommended mounting arrangement, and, for a larger project, photometric data. Check the proposed spacing as part of the design rather than applying one distance to every path light.
Shielding should keep the source out of normal sightlines while directing useful light downward. Stand where a seated person, an approaching visitor, and a neighbor would see the fixture. A fitting that looks attractive from above may still expose a bright LED from those positions.
Output is not the same as light reaching the surface
Illuminance describes light arriving at a surface and is commonly measured in lux or foot-candles. Lumens alone do not tell you the illuminance on a step, door handle, or table.
For a purely illustrative calculation, if 200 lumens reached a 10-square-meter surface evenly, the average would be 20 lux. A real fixture loses and redirects light, and the distribution is not perfectly even. That arithmetic is not a method for selecting a 200-lumen lamp for every 10-square-meter patio.
Dark paving, pale walls, overhanging plants, and existing nearby lighting also affect what you can see. Avoid solving a shadow caused by poor aiming by simply increasing the output everywhere.
Test the result and control when it runs
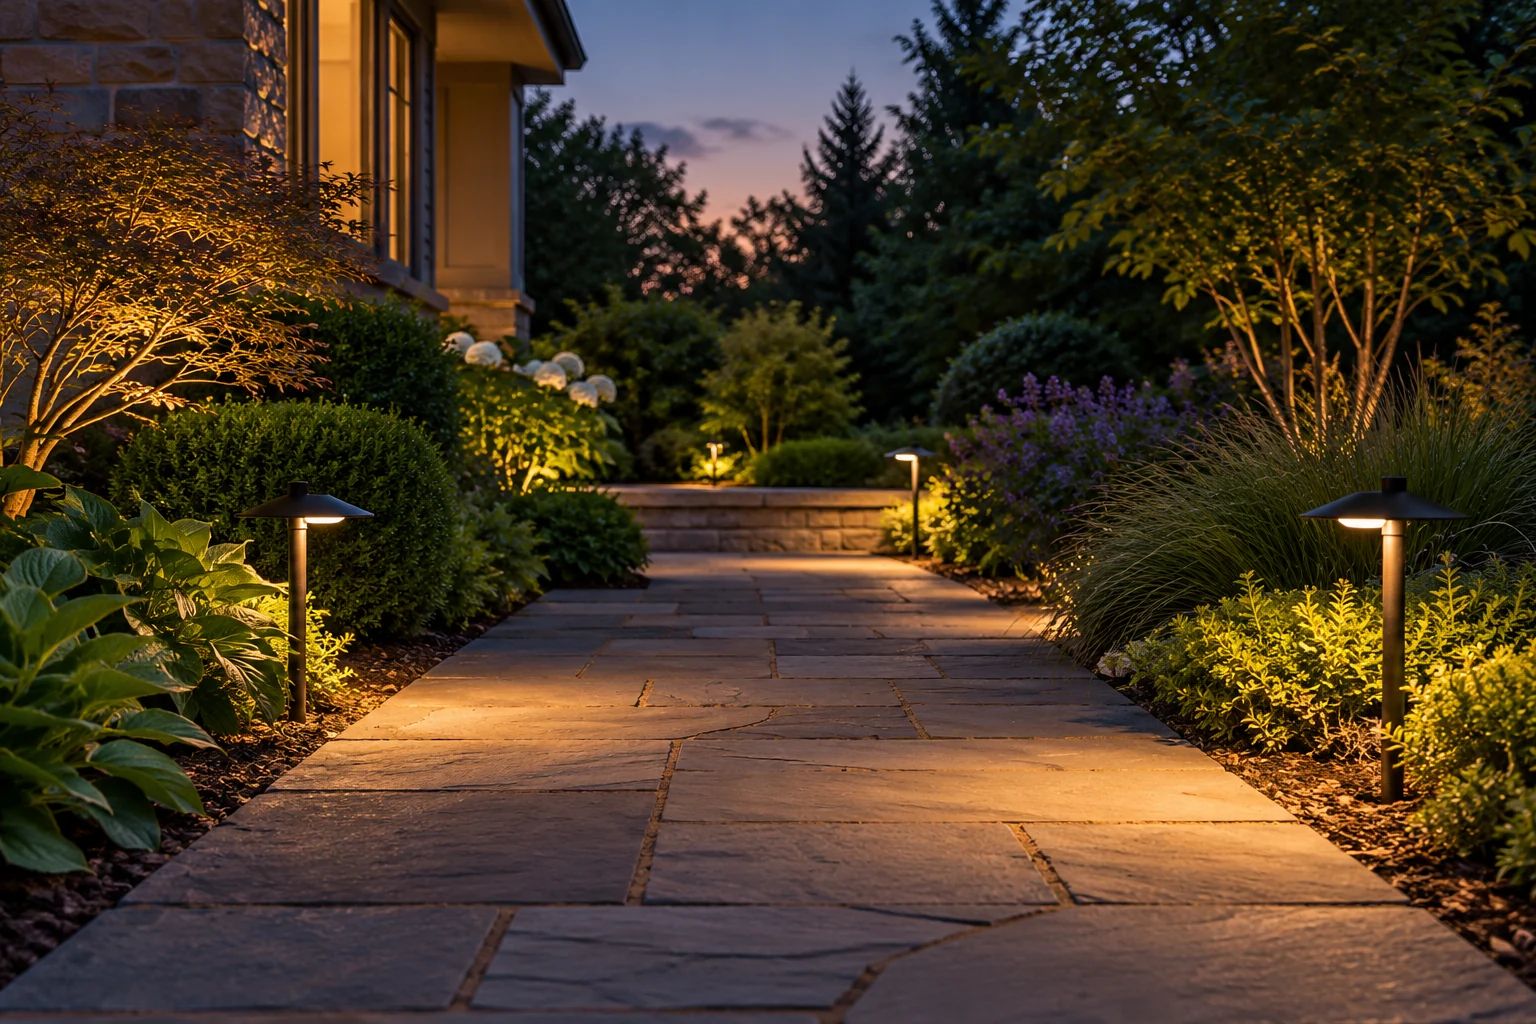
Evaluate the layout after dark before committing to additional fixtures where practical. Walk the complete route, look at each change in level, sit at the table, and check the view from inside. If a test uses a dimmer, confirm the lamp, control, and fitting are compatible.
Use timers, motion sensors, or manual control for the actual need. More output left on all night is not automatically a better safety arrangement. For required access lighting, complex stairs, larger areas, or uncertain local requirements, have the design assessed rather than treating a product’s lumen number as proof of adequacy.
Start with well-directed light and a defined task. Increase output only when the installed result shows why it is needed.

Ethan Miller
Ethan Miller writes about home improvement, interior design, cleaning, and everyday living at Home & Living Daily. He shares practical tips and simple ideas to help readers create more comfortable and functional homes.