
Clean outdoor light fixtures with the power safely disconnected, the lamp cool, and a method suited to the glass and finish. Remove loose debris first, then use a soft cloth and the mild cleaning method the manufacturer permits. Avoid spraying water or cleaner into sockets, controls, seals, and electrical compartments.
Ordinary cleaning should not become a rewiring or refinishing project. A cloudy lens, a peeling coating, and water inside a housing need different decisions.
Make the fixture safe and reachable
Unplug portable or plug-in lights before cleaning. For a hardwired fitting, safely isolate its supply at the appropriate breaker; an automatic sensor or timer can turn a circuit back on, so do not rely on it remaining inactive. If you cannot identify or safely isolate the supply, have an electrician handle the work.
Allow hot bulbs and housings to cool. Work in dry conditions with suitable access. A high fitting, awkward ladder position, damaged mounting, or proximity to overhead wiring is a reason to arrange professional help rather than stretch across the area.
Inspect before adding moisture. Stop if you find damaged insulation, loose electrical components, scorching, a broken socket, or water in a sealed compartment. Cleaning the exterior does not resolve those faults.
Identify the finish and removable parts
Look up the model’s care guide. Powder-coated metal, lacquered brass, unfinished copper, painted glass, clear glass, and plastic lenses should not receive one universal treatment. A natural patina may be intentional, while a decorative coating can be damaged by polishing intended for bare metal.
Remove only the parts intended for routine user access. Photograph their position and keep small screws in a tray. Support glass as instructed; do not assume loosening one screw will leave a heavy panel safely held by the others.
Leave sealed LED modules, wiring connections, and electrical boxes intact. A cleaning guide is not permission to open a weather seal or dismantle a fitting beyond its user-maintenance instructions.
Lift dirt before damp wiping
Use a soft dry cloth or suitable soft brush to remove loose dust, pollen, leaves, and cobwebs. Work gently around decorative details and lens edges. Avoid pushing dirt into openings.
Test the approved mild cleaner on an inconspicuous part of the finish. Assess it after drying before working across the visible face. For finishes that permit it, a lightly damp soft cloth with a mild soap solution can remove ordinary surface soil.
Apply cleaner to the cloth rather than spraying the installed fixture. Keep the cloth damp rather than dripping and change it when gritty. Remove residue with the approved clean-water wiping or rinsing method. Do not transfer another manufacturer’s hose-rinsing advice to a fitting whose instructions do not allow it.
Abrasive pads, scouring powders, pressure washers, and strong solvents are poor default choices. They can turn a removable mark into a damaged coating or introduce water where it does not belong.
Clean glass according to its construction
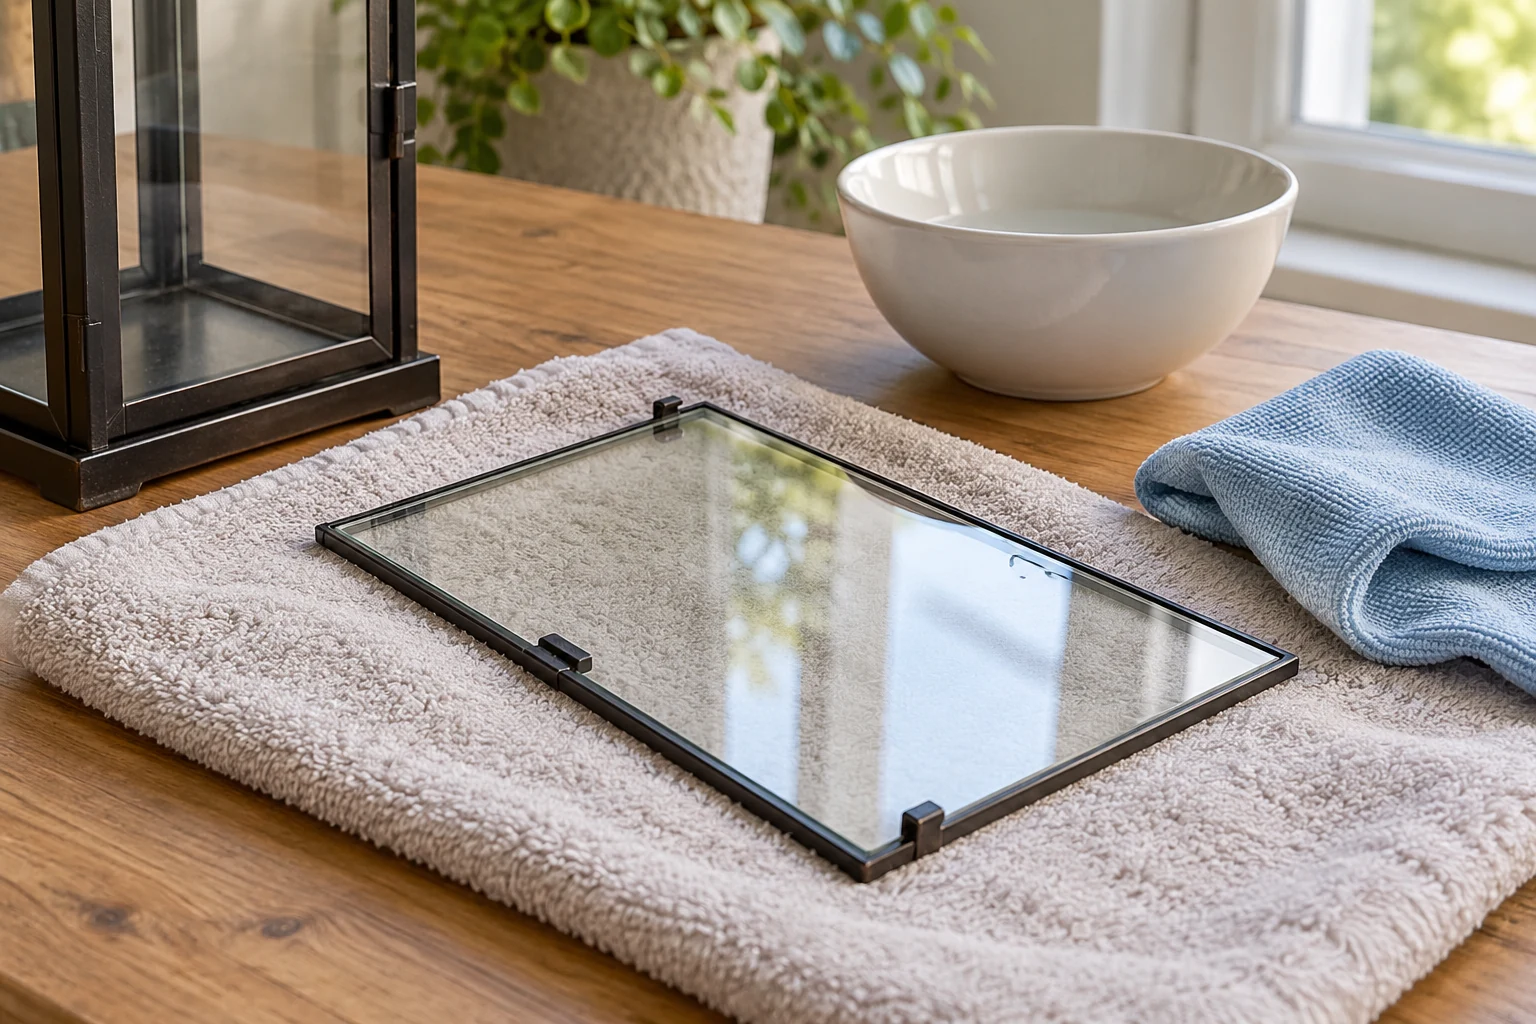
Plain removable glass may allow gentle washing with mild soap and water on a protected surface. Decorative painted or treated glass can require much lighter wiping. Do not assume every pane can be immersed, put in a dishwasher, or cleaned with the same window spray.
Keep glass cleaner away from metal finishes and seals unless the care guide specifically approves the contact. Some products that clean a bare pane well can affect the adjacent coating. Use soft cloths and support fragile pieces without pressure on an exposed corner.
For a plastic diffuser, identify the material and approved cleaner. Haze may be aging, surface damage, or a coating problem rather than dirt. Abrading it until it appears clear can alter the part rather than repair it.
Distinguish oxidation from a dirty finish
When gentle cleaning leaves a white, green, brown, or reddish mark, identify the substrate before escalating. White deposits on coated aluminum are different from rust on steel or a developing patina on copper.
Do not apply metal polish to every outdoor lantern. A polish can remove lacquer or change an intentionally aged surface. Ask the manufacturer about a compatible repair or replacement part if the finish is peeling or corrosion is spreading from beneath it.
Clear only accessible, intended drainage openings as the guide allows. Do not drill additional holes, scrape seals, or fill openings with caulk as part of routine cleaning.
Dry, reassemble, and inspect
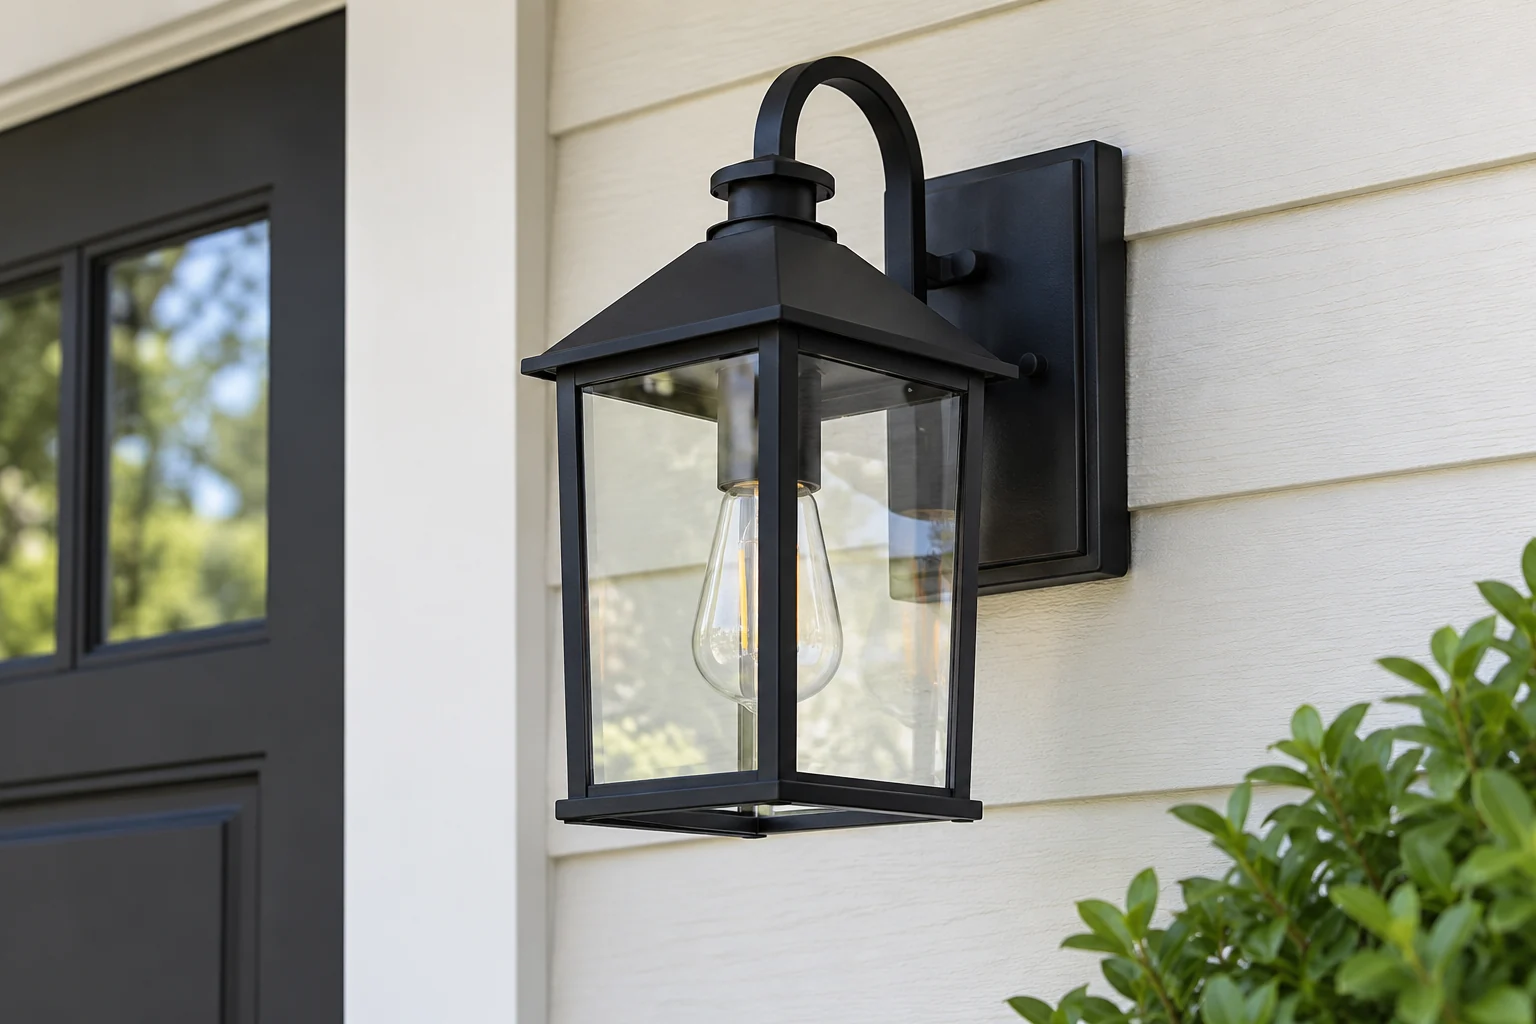
Let permitted wet-cleaned parts dry completely, including edges and recesses. Refit glass, gaskets, and retaining hardware in their original arrangement, using the specified method without overtightening against glass. Replace a damaged seal with the correct part instead of improvising.
Confirm the bulb type and actual wattage remain within the fixture’s instructions. Restore power only after reassembly is complete and the fixture is dry and sound. Observe operation from a safe position.
Set the next cleaning check by exposure: nearby trees, sprinklers, coastal deposits, insects, and dust change how quickly debris returns. Inspect after unusual weather, and address an ongoing leak or coating failure as a maintenance issue rather than repeatedly washing its symptoms.

Ethan Miller
Ethan Miller writes about home improvement, interior design, cleaning, and everyday living at Home & Living Daily. He shares practical tips and simple ideas to help readers create more comfortable and functional homes.