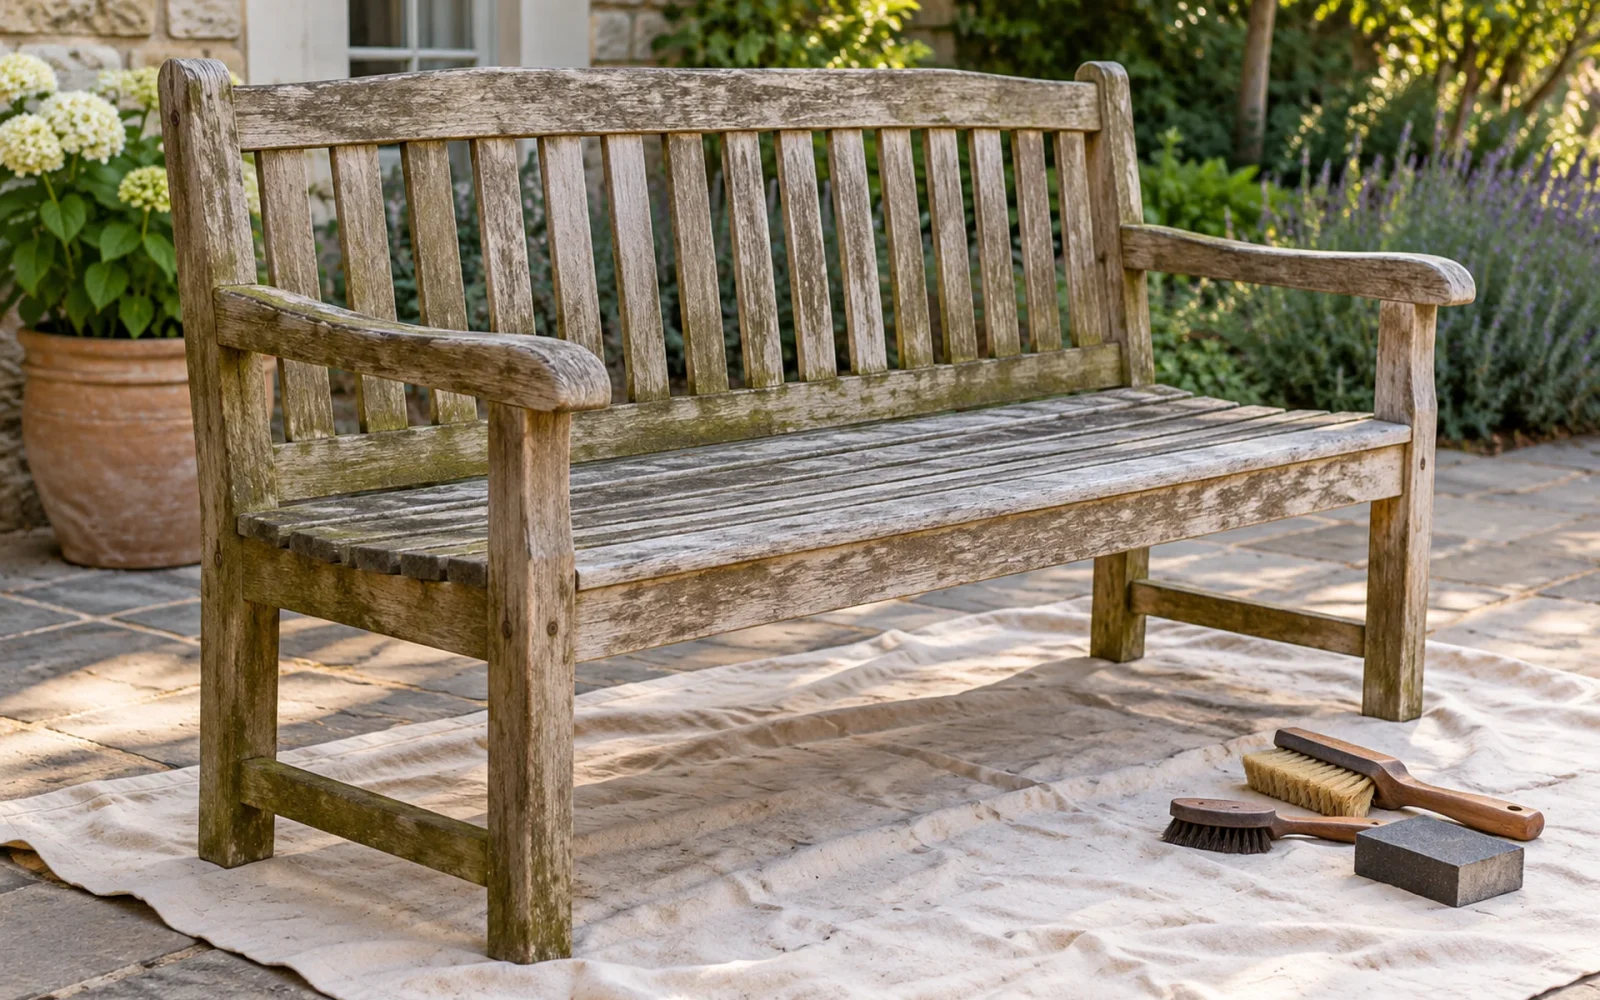
Restore weathered teak outdoor furniture by checking its structure and existing finish, cleaning it thoroughly, and assessing the dry surface before deciding what to remove or recoat. Some pieces need only cleaning and light smoothing. Others need a finish-specific repair, and damaged joints need attention before appearance work.
The goal matters. Keeping a sound silver-gray bench comfortable requires less intervention than returning a weathered tabletop to a warmer color. Neither goal justifies sanding away useful wood until every board matches.
Decide what restoration needs to fix
Separate the problems into dirt or growth, rough surface fibers, worn coating, stains, and structural damage. Photograph them before beginning, including the undersides and joints. Check whether the furniture is solid teak, teak veneer, or a mixed-material construction; do not assume a thick-looking edge proves the top is solid wood.
Loose joints, broken slats, significant splits through loaded parts, or softened wood require a repair decision. Stop using an unstable chair until the cause is resolved. A new finish cannot restore missing strength.
For a sound piece, choose the desired appearance now: clean and naturally weathered, or a compatible treatment intended to retain a warmer color. You can revise that choice after cleaning, but it helps avoid buying several products with incompatible purposes.
Identify the old treatment before removing it
Find the model’s care information and any record of oil, stain, sealer, or coating applied later. A tinted factory finish can be mistaken for dirt, while a peeling film needs different preparation from unfinished wood.
If the history is unknown, test discreetly and ask the manufacturer or a qualified refinisher for a compatible approach. Do not assume a new product will adhere because it includes “teak” in the name. Products marketed as teak oil, brightener, protector, and sealer do different jobs.
Older, valuable, intricately shaped, or veneered furniture warrants particular restraint. A thin veneer or a carefully fitted joint can be damaged by the same sanding that a thick solid slat might tolerate.
Clean first, then judge the dry surface
Remove loose debris and use the approved cleaning method for the existing finish. Work on a protected surface, control runoff, and shield nearby materials. A dedicated teak cleaner may be appropriate, but follow its dilution, order of application, rinsing, and protective-equipment directions exactly.
For routine grime, our material-specific outdoor furniture cleaning guide provides a gentler starting point. Do not introduce a pressure washer or aggressive brush simply because the furniture looks old.
Keep chemical steps separate. Do not mix cleaners or invent a stronger formula. If a system contains multiple products, follow that system’s specified sequence rather than combining a cleaner from one brand with a brightener from another.
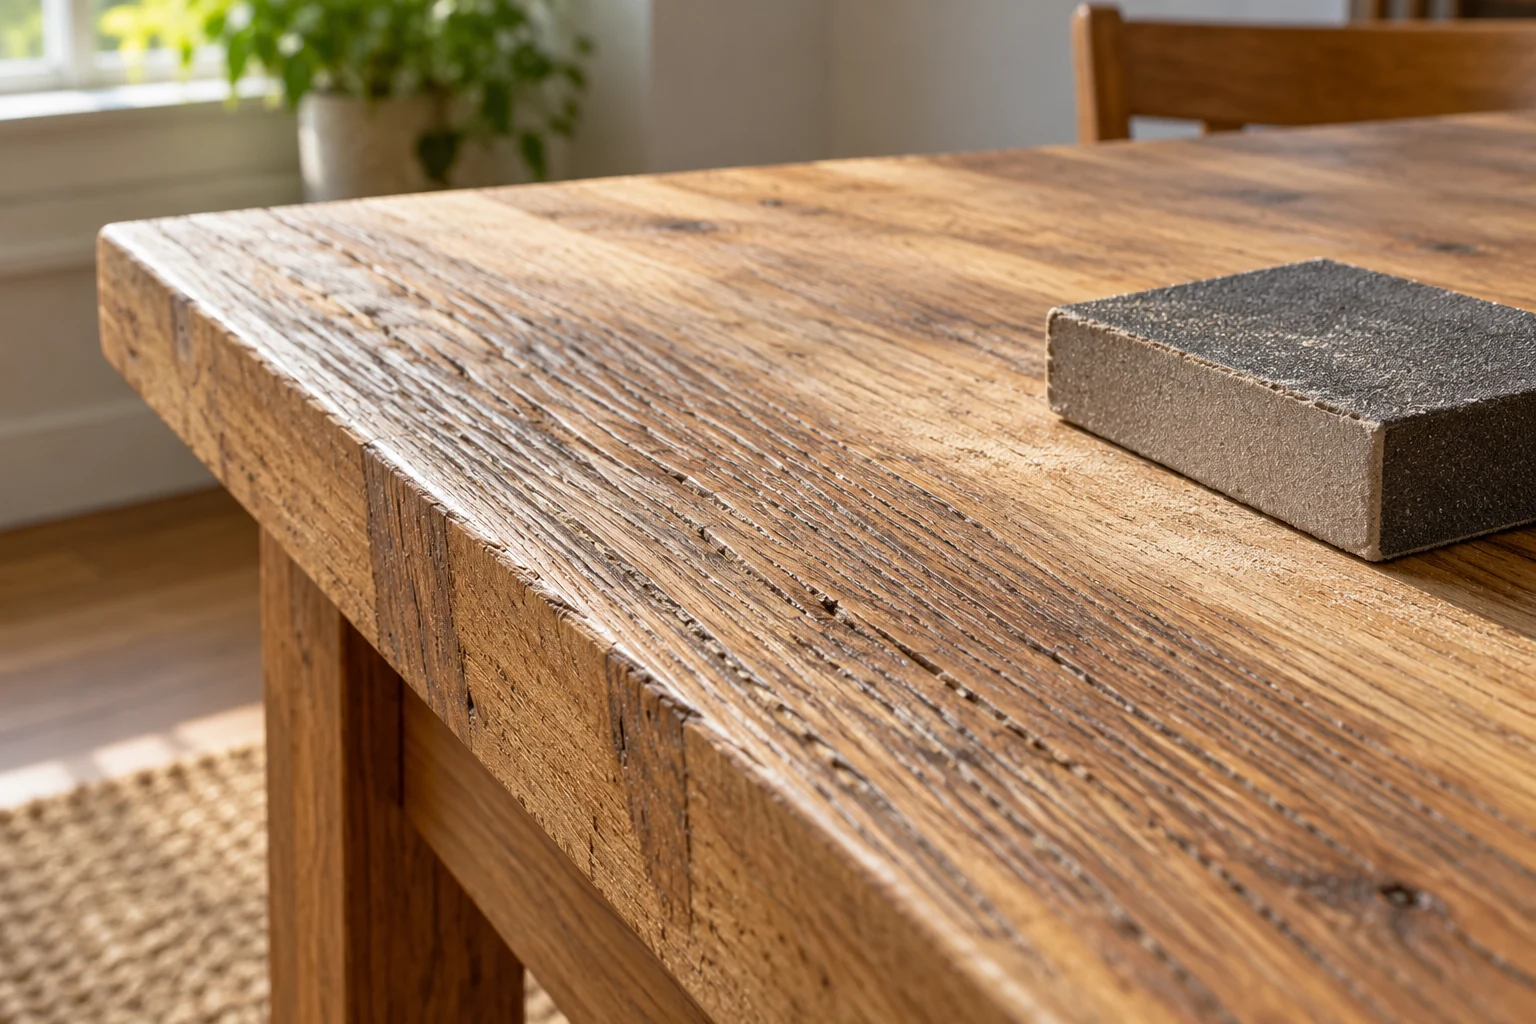
Let the cleaned furniture dry before assessing color, texture, and finish adhesion. A wet surface temporarily changes appearance and can conceal defects. Drying time depends on the weather and construction, so use the selected product’s moisture and application requirements.
Smooth only the material that needs it
If the maker allows sanding and sound solid wood remains rough, use the least aggressive method that achieves a comfortable surface. Begin with a small test area and the grit appropriate to the wood condition and intended coating. Do not start with coarse paper just because a general restoration guide does.
Work with the grain and maintain the original shape. Hand sanding gives control around edges, profiles, and joints. Protect nearby rope, metal, and fabric from abrasion. Avoid rounding over slat edges unevenly or thinning a surface in pursuit of a deep stain.
Use appropriate dust control and personal protection. Remove dust using the coating system’s approved method; a random solvent wipe may leave residue or affect another component. If a stain persists below the level you can remove conservatively, accept some variation or seek refinishing advice.
Choose natural weathering or a compatible finish
A smooth, clean, sound piece can return outdoors without a color-restoration coating when the product permits natural weathering. If maintaining a warmer appearance is the goal, choose an exterior treatment compatible with the timber and any remaining finish.
Check a sample after it dries. Some products add substantial pigment or sheen, and areas with different weather exposure can absorb differently. A “clear” product does not necessarily preserve the exact dry, bare-wood color you see before application.
Prepare and apply the chosen system as directed, including conditions, coat thickness, excess removal where required, and any renewal schedule. Do not assume more oil or a thicker layer produces better protection.
Handle finishing cloths according to the product label and local disposal guidance. Oil- or stain-soaked rags can self-heat if handled improperly, a hazard explained by the National Park Service’s guidance on spontaneous combustion. Do not leave them bunched in the work area or ordinary rubbish.
Return the piece to use after it is ready
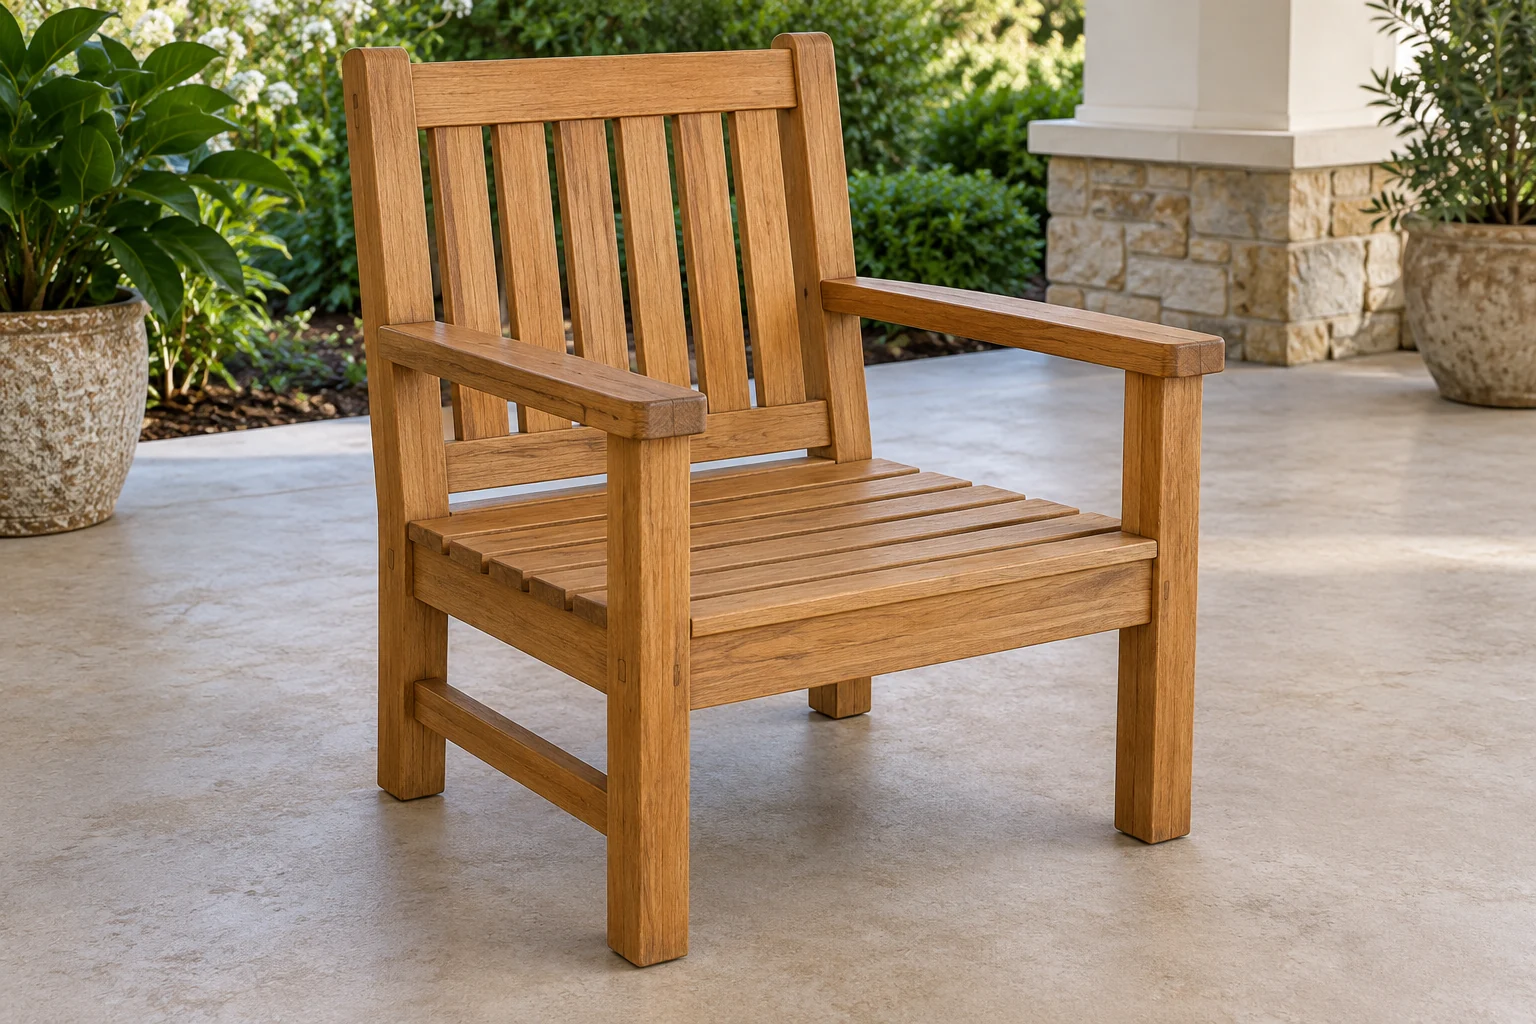
Touch-dry is not necessarily ready for cushions, covers, or sustained contact. Follow the finish’s full-use instructions and keep the furniture protected from unsuitable weather during that period.
Once ready, inspect the joints and supports again, replace only appropriate parts, and keep the care information with your project record. If the restoration leaves a sound, comfortable piece with some natural color variation, further stripping may offer little benefit. Maintain the result you actually want rather than restarting an aggressive restoration every time the surface changes outdoors.

Ethan Miller
Ethan Miller writes about home improvement, interior design, cleaning, and everyday living at Home & Living Daily. He shares practical tips and simple ideas to help readers create more comfortable and functional homes.