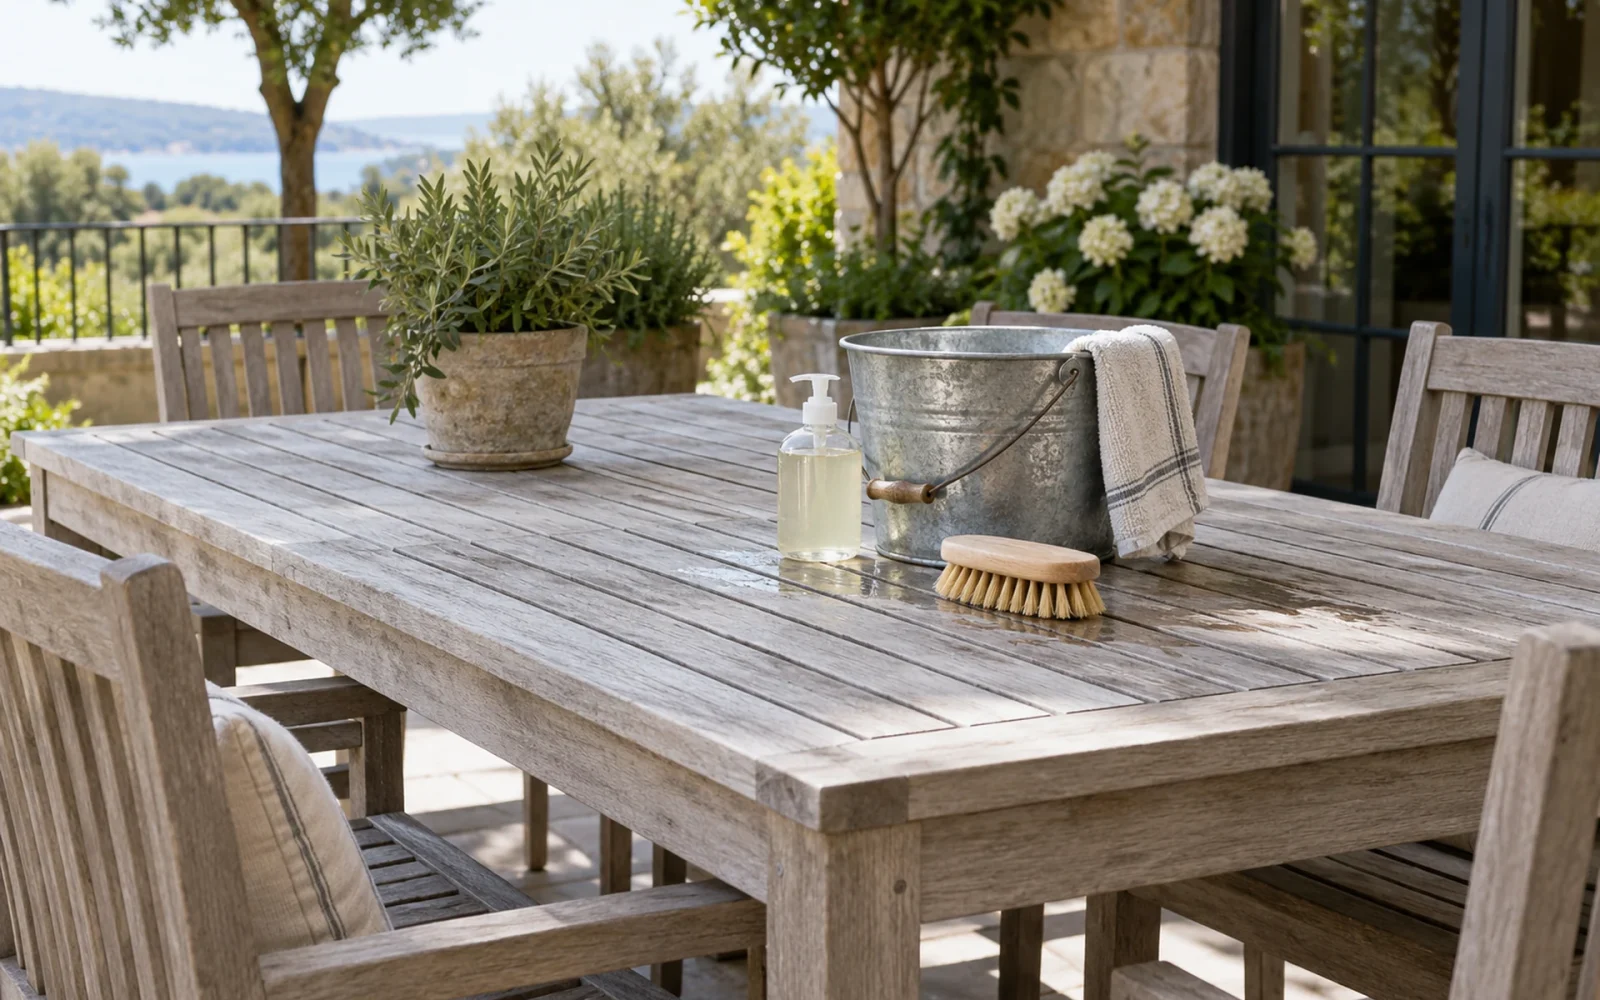
Clean teak outdoor furniture by lifting loose debris, washing with a gentle cleaner approved for its finish, rinsing or wiping away the residue, and allowing the whole piece to dry. Use a soft cloth or suitable soft brush. Strong pressure and aggressive scrubbing can change the wood surface instead of simply cleaning it.
Decide whether you want clean teak or a different color. Silver-gray weathering on otherwise sound, unfinished teak is not dirt that must be removed after every wash.
Identify the surface before wetting it
Check the furniture’s care instructions and purchase details. Natural unfinished teak, oiled teak, a sealed surface, and a factory gray finish may look similar in a small photograph but require different treatment. Cleaning a decorative gray coating back to bare wood would be damage, not successful stain removal.
Inspect the joints, feet, undersides, and seat slats. Set an unstable piece aside for repair. Note whether a mark is loose grime, a food spill, a patch of surface growth, or a worn coating. Do not select one strong chemical for every type of discoloration.
If the goal is to remove weathered surface material or renew a failed finish, plan that as a restoration project. Routine cleaning should not involve stripping every surface or sanding the whole set.
Prepare a gentle cleaning setup
Remove loose cushions and accessories. For mixed-material furniture, protect metal fittings, sling fabric, rope, and other components from a wood cleaner they may not tolerate. If they also need washing, use the separate methods in our outdoor furniture cleaning guide.
Choose a shaded or sheltered working area with suitable drainage. Avoid a hot tabletop that dries the solution before you can remove it. Set out clean cloths, a soft brush, clean water, and the specified mild cleaning product. Keep the original product container so the dilution and precautions remain available.
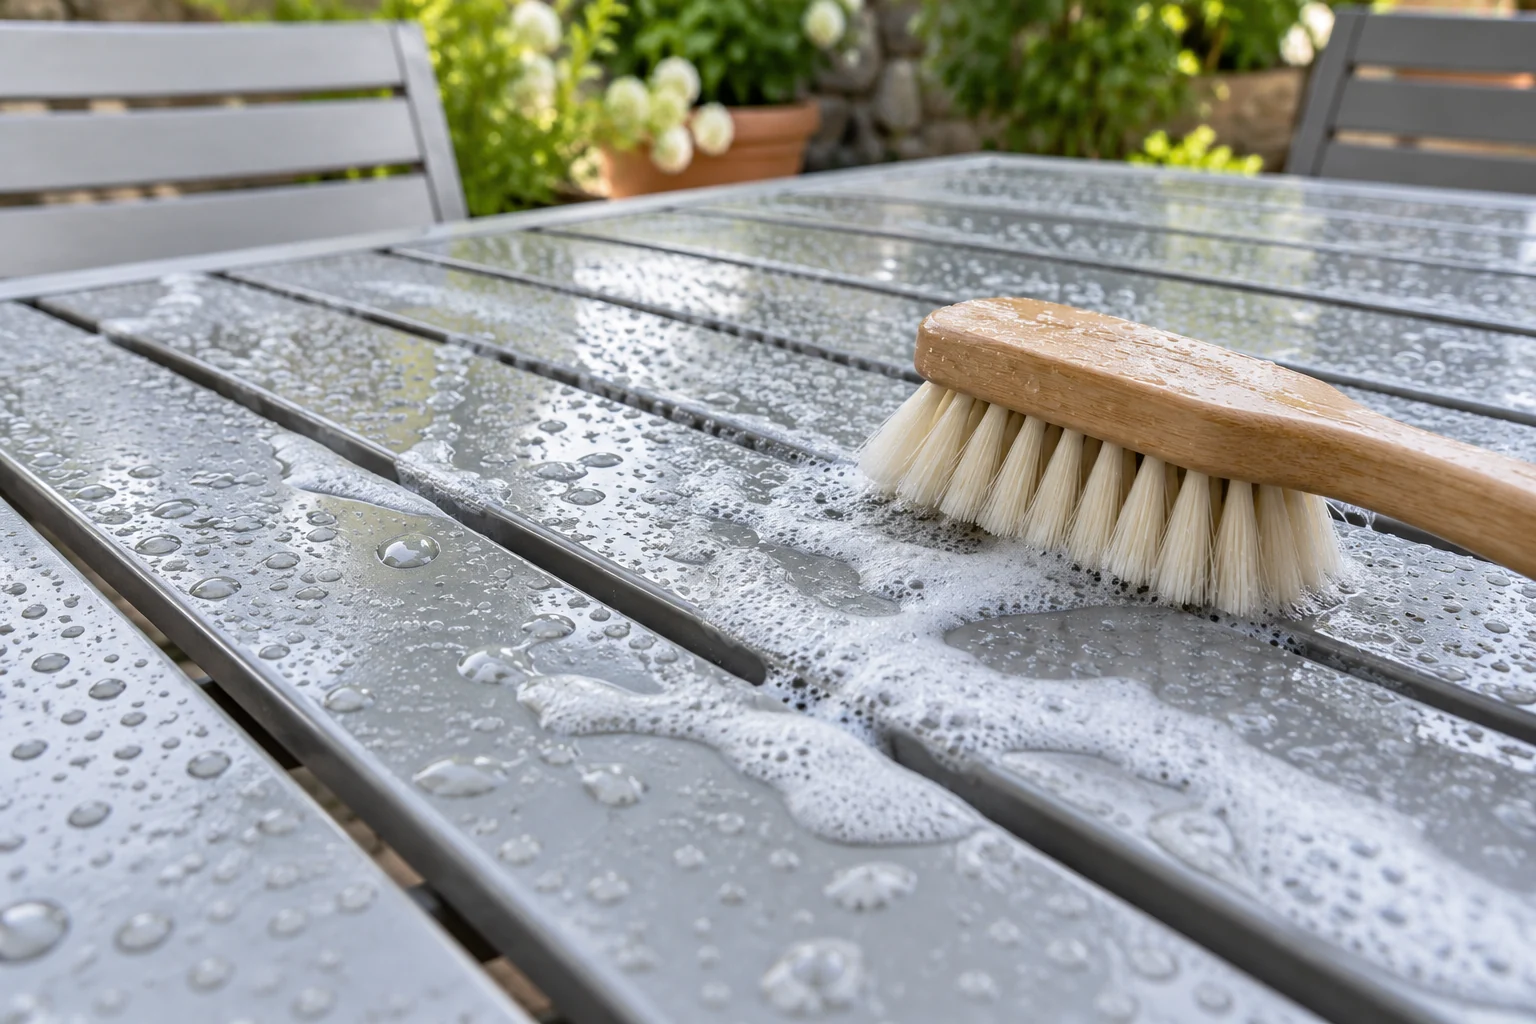
Brush away dry leaves, crumbs, pollen, and grit first. Pay attention to the gaps between slats and the underside of arms. Wet grit is still abrasive, so removing it now reduces the temptation to scrub harder later.
Test, wash, and remove the residue
- Test a hidden patch. Apply the approved cleaner at the correct dilution. Remove it as directed, let the patch dry, and check color and texture.
- Work in manageable sections. Use light pressure with a soft cloth or suitable soft brush. For ordinary wiping, follow the grain and avoid grinding grit across the surface.
- Keep the solution under control. Follow any wetting or dwell-time instructions without letting cleaner dry on the wood. More concentrate is not a substitute for the correct method.
- Rinse gently where permitted. Remove cleaner from slat gaps, joints, and undersides as well as the tabletop. If the furniture’s instructions call for wiping instead of hosing, change to clean damp cloths and fresh water.
- Reassess after drying. A wet surface can temporarily look darker or more even. Judge the result when the color and texture have settled.
Do not use a pressure washer as the default shortcut. Do not use a wire brush, steel wool, or an abrasive pad to force a uniform color. A damaged surface can remain rough even after the dirt has gone.
Change the treatment only for an identified problem
Blot a fresh spill and remove surface food residue before washing. For oil, grease, or a persistent ring, consult the maker’s stain advice or a cleaner specifically compatible with that teak finish. Repeatedly scrubbing one small spot can create a pale or rough patch larger than the original mark.
For suspected algae or mildew, use the approved treatment for the actual furniture. Do not transfer a boat-deck recipe, bathroom cleaner, or another brand’s bleach formula to an unknown finish. Avoid mixing cleaning products; in particular, never combine bleach with acids, vinegar, or ammonia.
Some marks extend below the surface or come from coating failure. If a gentle wash leaves them unchanged, stop and identify the cause. Uniform color is not a reason to keep removing wood.
Dry the joints and underside before covering
Leave the furniture in an airy location with its normal drainage paths unobstructed. Wipe excess water where appropriate, then let the joints, undersides, and areas around fittings dry. The time needed changes with weather and construction, so do not promise readiness after a fixed afternoon.
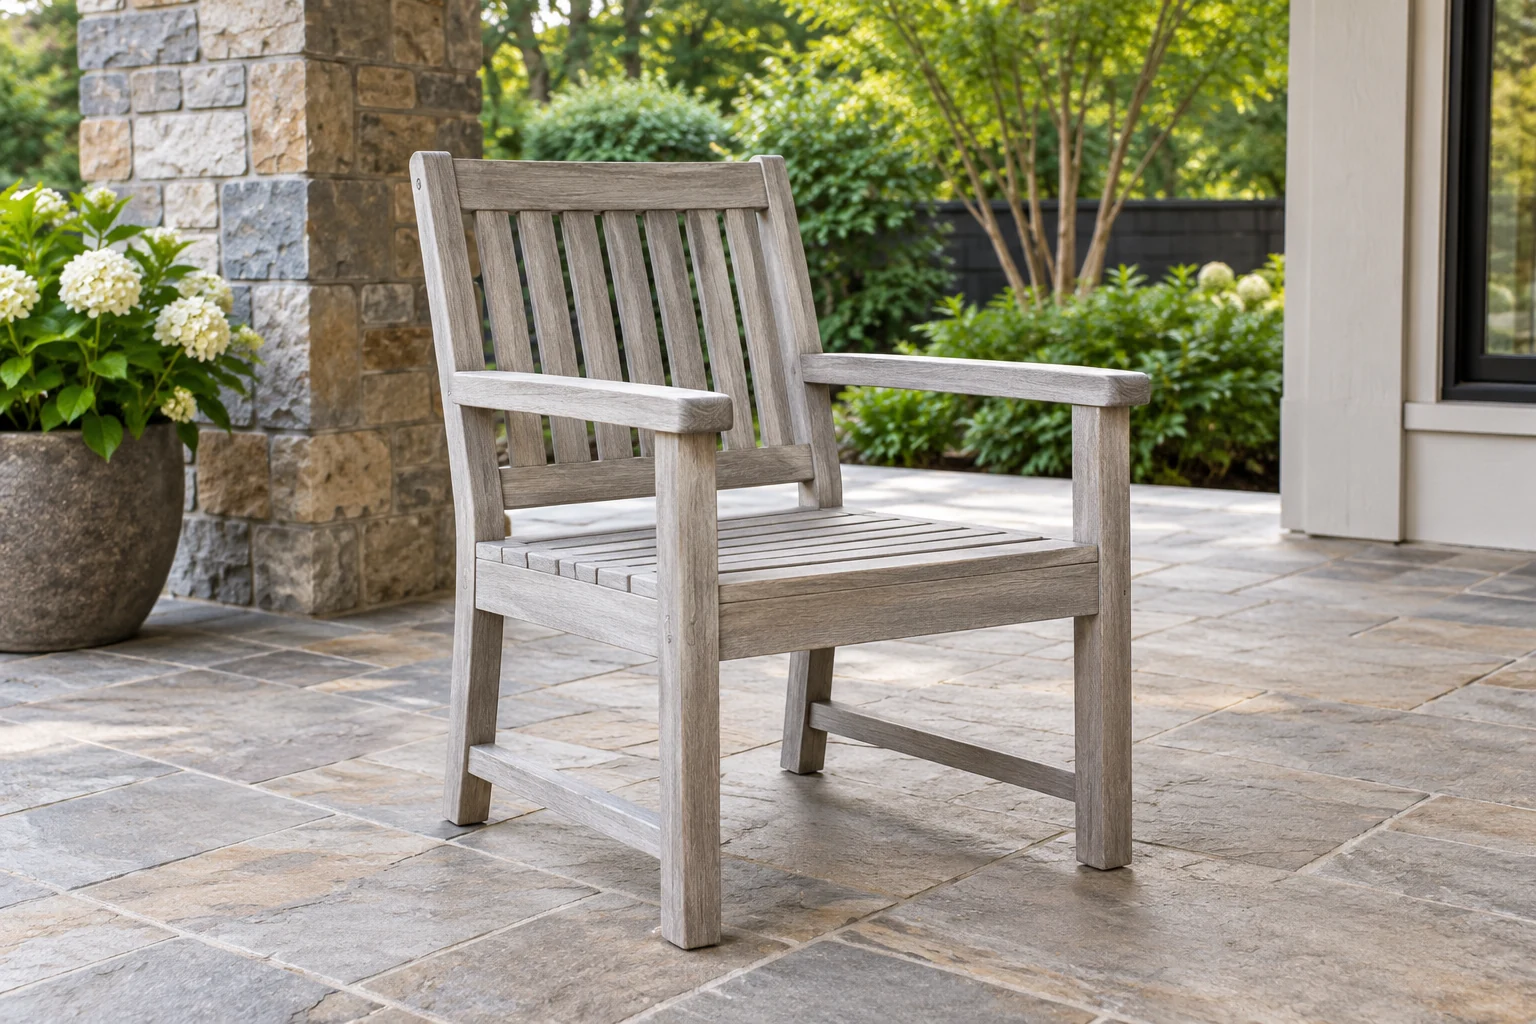
Return only dry cushions to a dry frame. Keep the piece out of rain while it finishes drying, without sealing it in plastic. If the seat feels rough after drying, check whether the maker permits light smoothing; that is a separate operation, not a reason to scrub the next wash more aggressively.
Decide whether the clean surface needs another treatment
Sound unfinished teak can be left to weather naturally if that appearance suits you. Keeping a warm brown color is an optional finish-maintenance goal. A piece already treated with an oil or sealer may need compatible renewal under its own instructions, but washing does not make oiling a mandatory final step for every teak chair.
Keep loose debris off the furniture and deal with spills promptly between washes. Clean according to exposure and condition rather than repeatedly trying to make a gray garden set look newly delivered.

Ethan Miller
Ethan Miller writes about home improvement, interior design, cleaning, and everyday living at Home & Living Daily. He shares practical tips and simple ideas to help readers create more comfortable and functional homes.