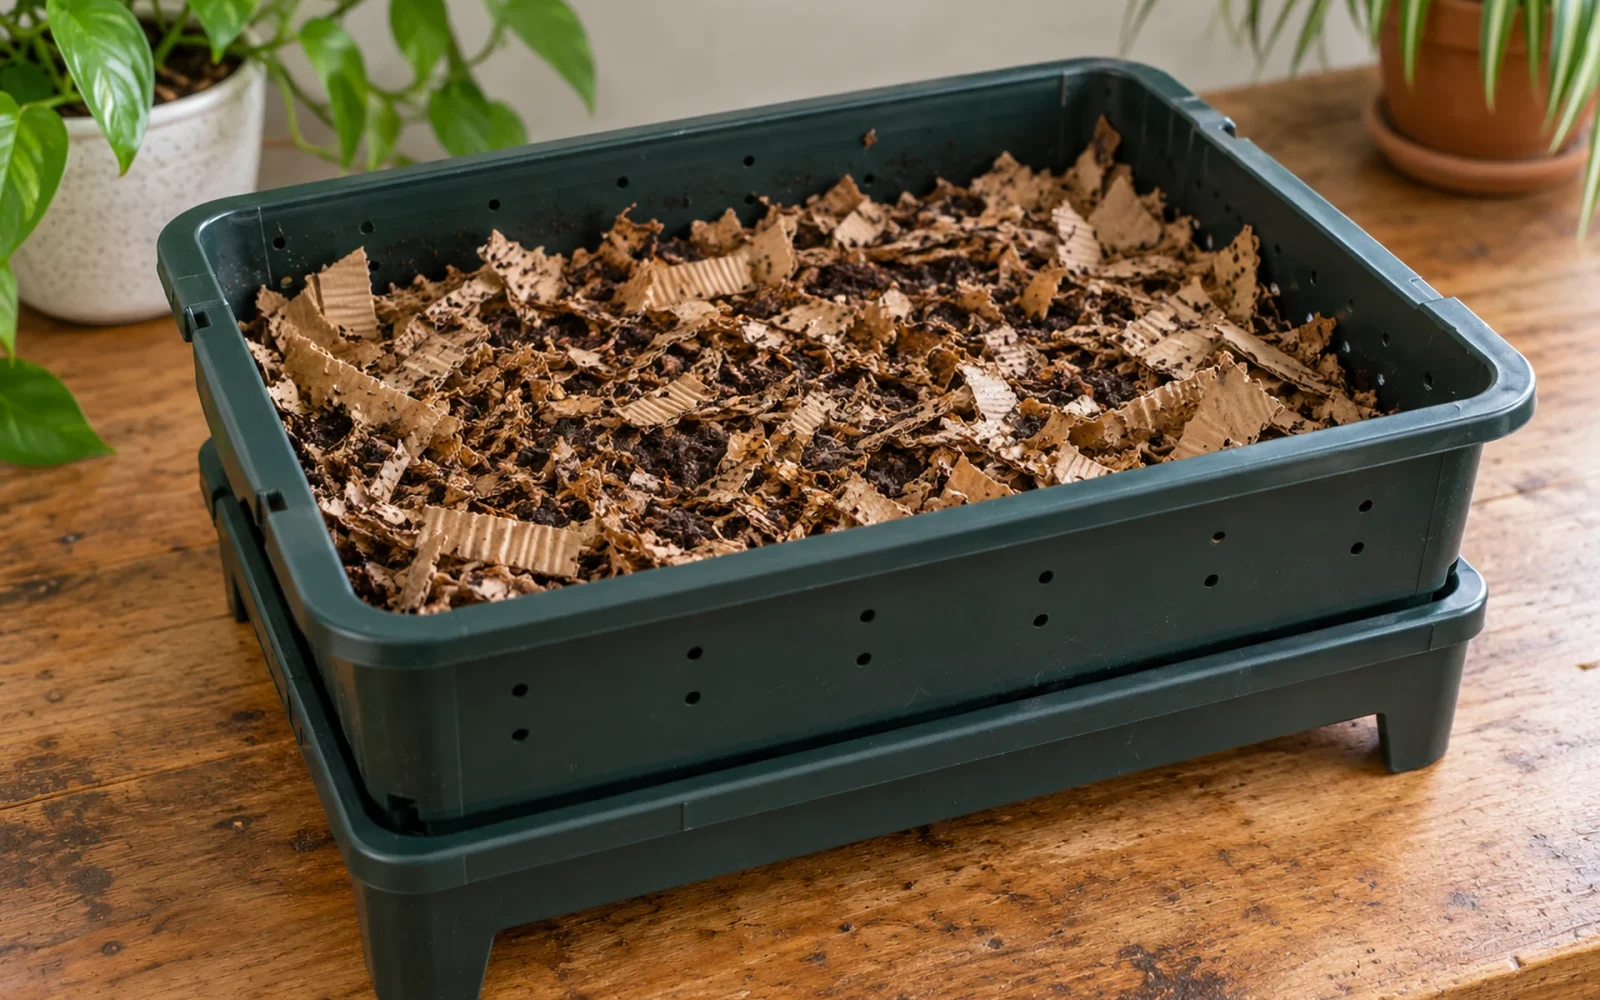
Set up a worm compost bin by preparing a ventilated container, adding damp loose bedding, introducing suitable composting worms, and beginning with small feedings. Build the habitat before you try to process all your kitchen scraps. Air, moisture, temperature, and feeding capacity matter more than adding a large amount of food on day one.
A worm bin is a different system from a hot garden compost pile. It should provide comfortable conditions for the worms, not be managed to generate high heat.
Choose a manageable container and location
Use an opaque container with access for feeding and harvesting. It must allow air exchange and should not have held toxic chemicals. Place it where conditions remain suitable and you can inspect it easily, protected from direct sun, heaters, freezing, and temperature extremes.
Use the worm supplier’s guidance for the species and system. For common composting red wigglers, NC State’s worm-bin guidance identifies 55 to 77°F as a suitable range when correcting temperature problems. A garage that freezes at night is not equivalent to a stable indoor room.
Keep a washable tray or other appropriate floor protection beneath the setup, and allow access to check it. Liquid collecting below the bin needs attention, not a plan to ignore it until harvest.
A simple nested-bin option
One DIY approach uses two compatible opaque plastic bins, a lid, and stable supports between them. The upper bin holds the worms and bedding; the intact lower bin catches any drainage. Surfrider’s nested-bin example uses an eight-gallon starter size and ⅛-inch holes.
- Wash and rinse the containers.
- With the bins empty, drill ventilation holes in the lid and near the upper rim of the working bin, plus drainage holes in its bottom, following the chosen design.
- Remove burrs and collect every plastic shaving.
- Fit stable supports in the lower bin and nest the working bin so its upper ventilation holes remain exposed.
- Check that the assembled unit is stable and that you can lift or inspect the lower container.
Use appropriate tools and protection for the container material. Do not seal the working bin airtight or nest it so tightly that the ventilation is blocked. A purchased system should follow its own assembly instructions instead of having this design’s holes added to it.
Make bedding the main living space
Torn plain cardboard and shredded uncoated paper can provide loose bedding. Remove tape, labels, and plastic. Moisten the material evenly and let it absorb water, then drain or squeeze out excess. It should be damp without standing water or a compressed, dripping mass.
Fluff the bedding into a generous layer suited to the bin design. Leave air spaces and working room above it. Do not make garden soil the main bedding or pack the container like a plant pot.
A small amount of suitable established vermicompost from a healthy system can help introduce a working environment, if available. You do not need to collect unknown manure or add several starter products to begin.
Introduce suitable worms and give them time
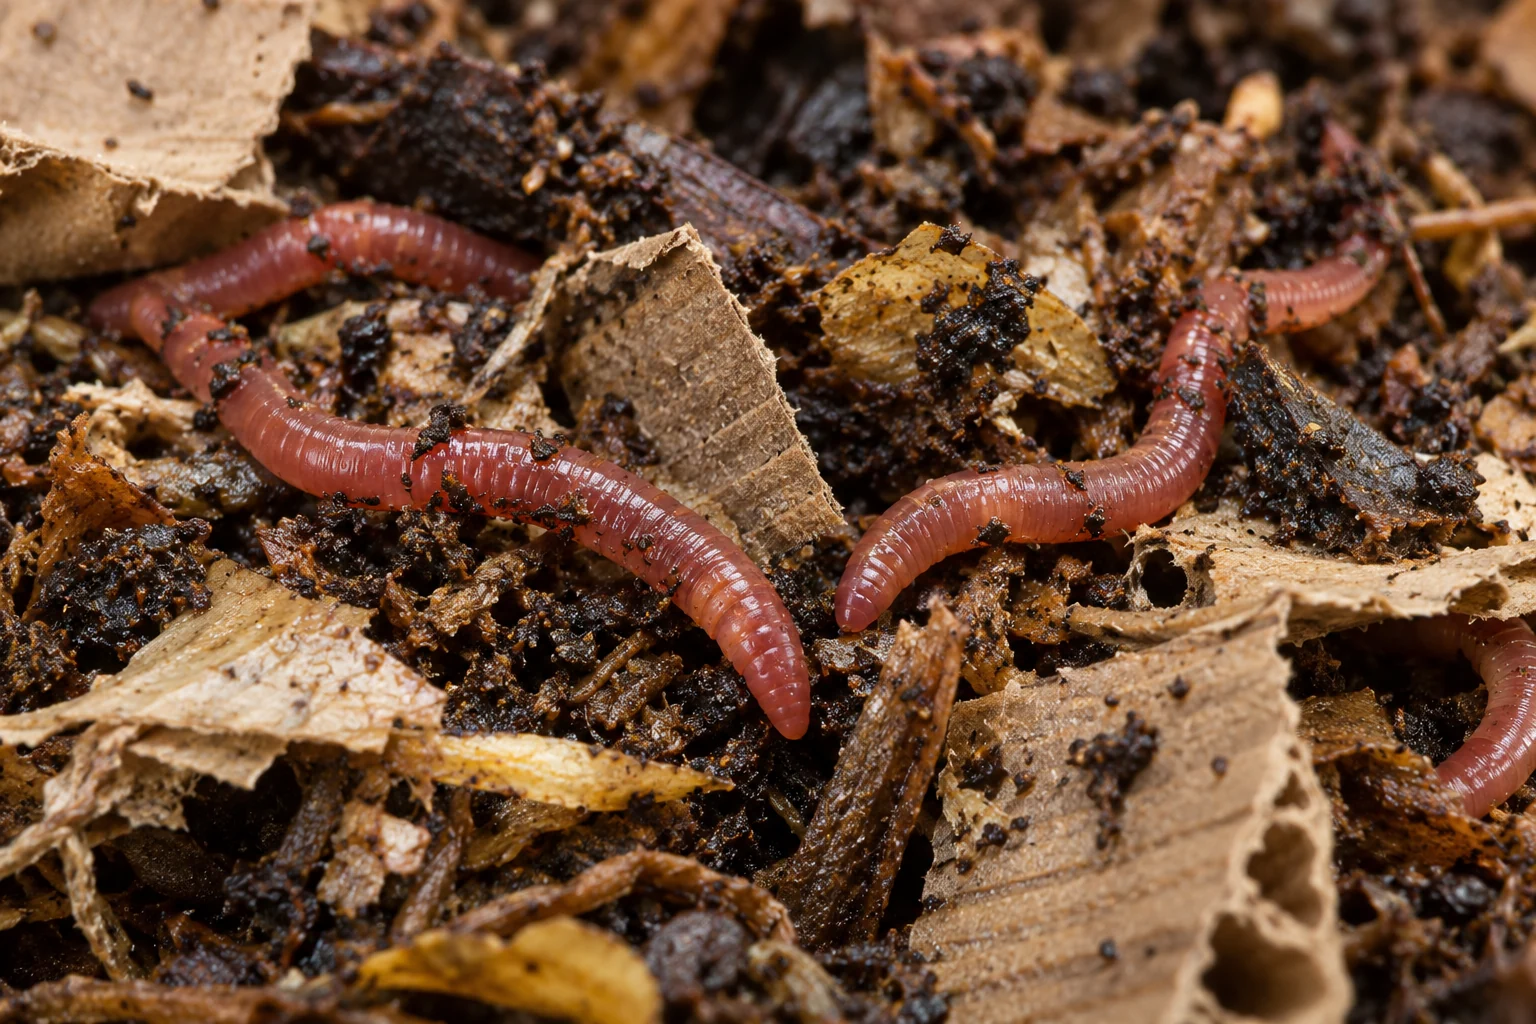
Obtain composting worms from a reliable supplier rather than digging random garden earthworms. Place them with their supplied bedding into the prepared habitat and let them move into it.
Check conditions without constantly excavating the bin. If worms repeatedly collect at the edges or try to leave, investigate moisture, airflow, temperature, and inputs. Keeping a light on is not a substitute for correcting unsuitable living conditions.
Feed one small area first
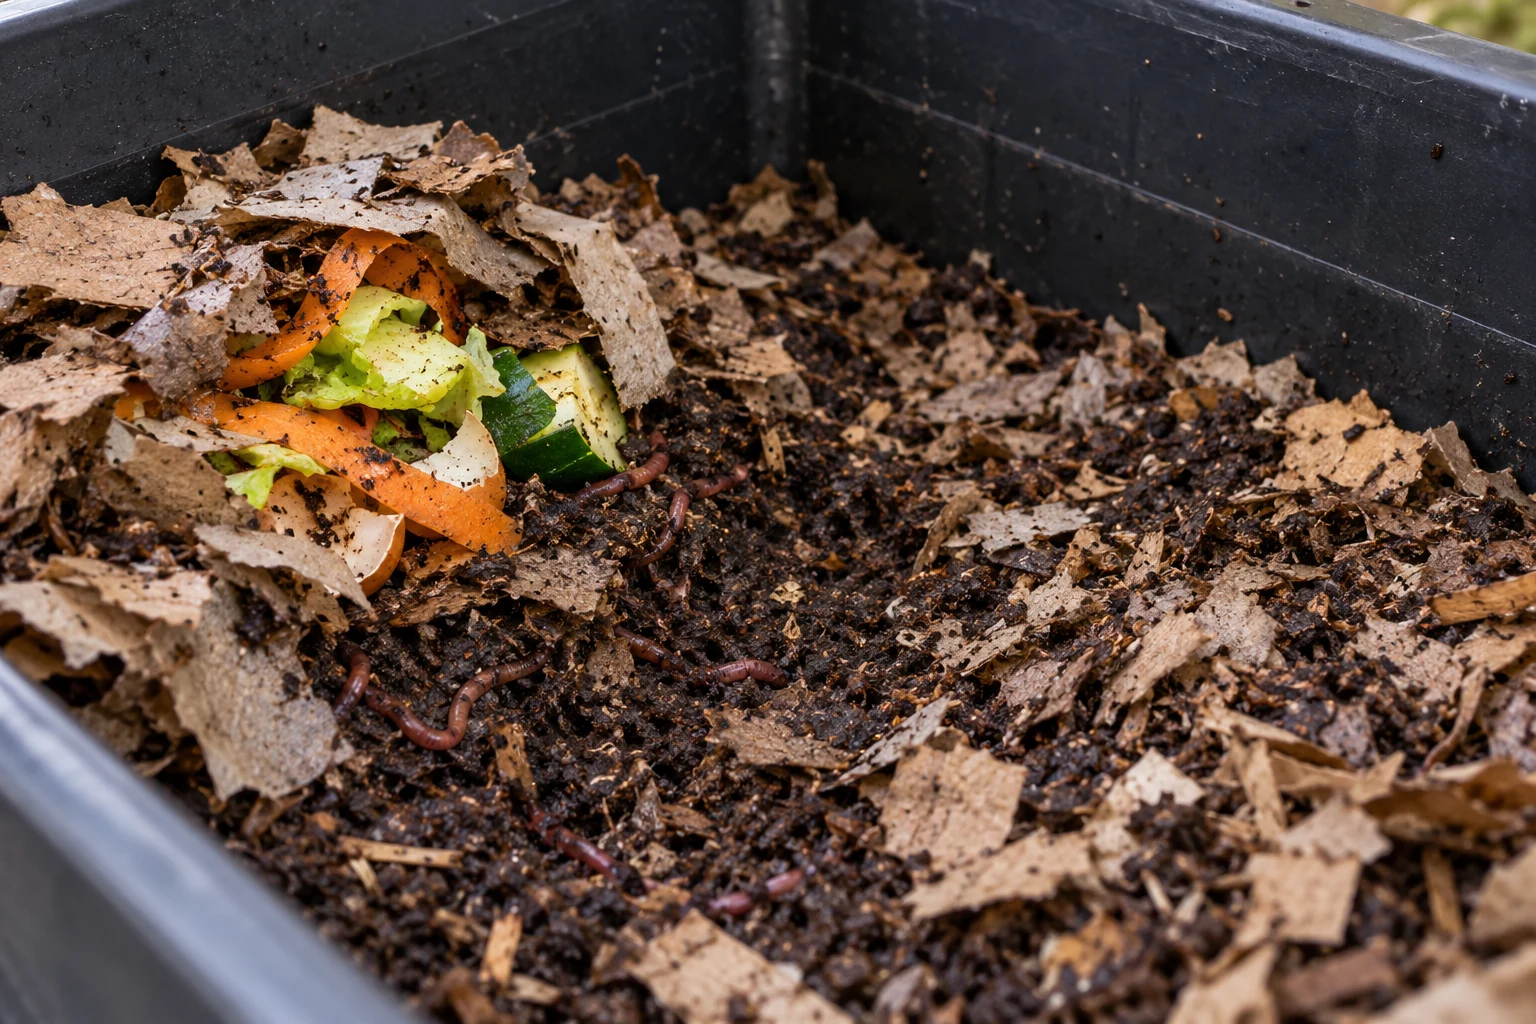
Begin conservatively with chopped suitable vegetable or fruit trimmings. Open a small pocket near the surface, place the food beneath the bedding, and cover it again. Use another area for the next feeding while checking what remains in the first.
Wait until most of the previous portion has been processed before increasing the amount. A headline daily-consumption rate is not a feeding target for a new population. Keep excess household scraps in another suitable collection or disposal route.
For a straightforward beginner setup, avoid meat, dairy, grease, salty or seasoned leftovers, pet waste, and large quantities of strongly acidic or pungent scraps. Remove produce stickers and unsuitable packaging. Add fresh bedding as the original material breaks down.
Use the first problems as feedback
Food is accumulating or smelling: pause feeding, remove an excessive spoiled portion where appropriate, and inspect the bedding. A small bin does not need more food because the kitchen pail is full.
Bedding is wet and dense: check ventilation, watery inputs, and standing liquid. Mix in suitable dry bedding gently rather than repeatedly flooding or churning the whole bin.
Bedding is drying: moisten gradually and inspect the inside, not just the surface. Avoid a fixed weekly watering dose.
NC State distinguishes raw drainage from finished vermicompost tea. Liquid that passes through unprocessed scraps is leachate; do not treat it as a ready plant feed. Reduce the conditions producing it and follow appropriate handling guidance.
Harvest without dismantling the living system
When a portion has become fine, processed material, separate it using the bin’s suitable harvesting method, leaving or returning worms and their bedding. In a simple bin, moving feeding toward one side can help create a separate harvest area over time.
A full bin is not automatically a finished bin. Remove unprocessed food and coarse bedding from the harvest, keep the worm habitat going, and use the resulting vermicompost as an amendment rather than assuming it is a complete potting medium.

Ethan Miller
Ethan Miller writes about home improvement, interior design, cleaning, and everyday living at Home & Living Daily. He shares practical tips and simple ideas to help readers create more comfortable and functional homes.