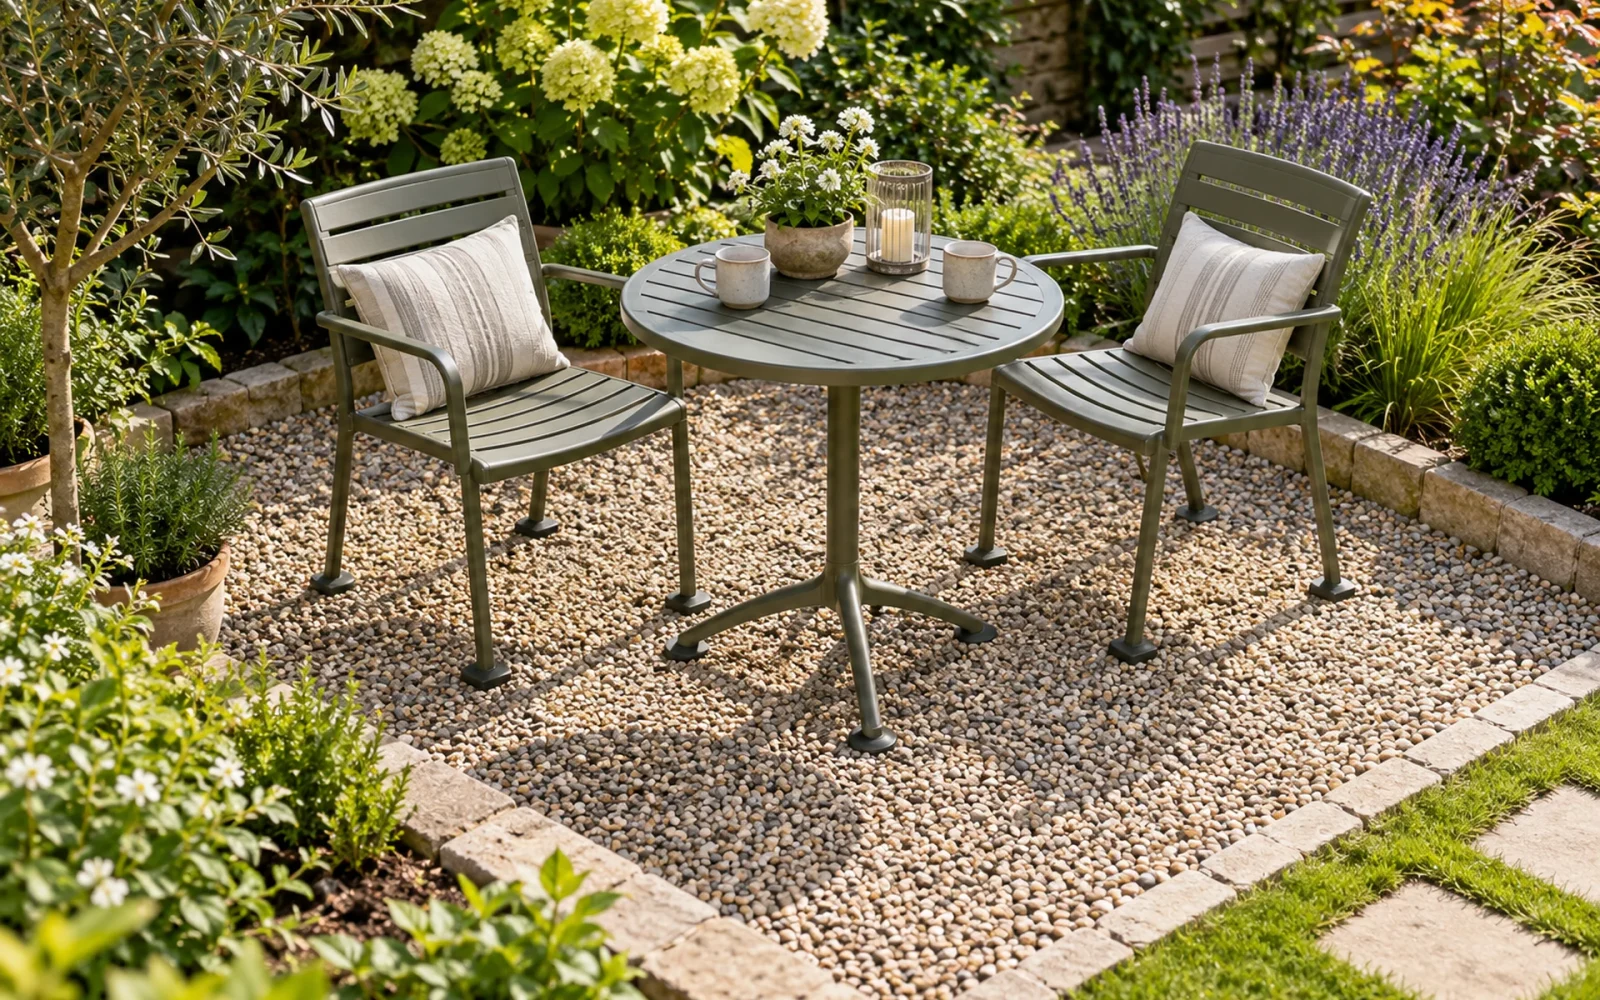
To make a gravel patio that works for seating, choose a site with suitable drainage, prepare a stable base for its ground conditions, install an edge that contains the stone, and add the specified surface gravel. Before digging, test whether your furniture and the people using the space are comfortable on loose stone.
A gravel patio is more than a deep layer of decorative pebbles. Too much loose material can make chairs harder to move, and gravel over a wet hollow does not create a drainage outlet.
Decide whether loose stone suits the activity
Small rounded pea gravel has a different feel from angular crushed stone. Rounded particles move against each other more readily, while angular particles can interlock more closely, depending on the grading. Ask the supplier for samples and information about the intended use.
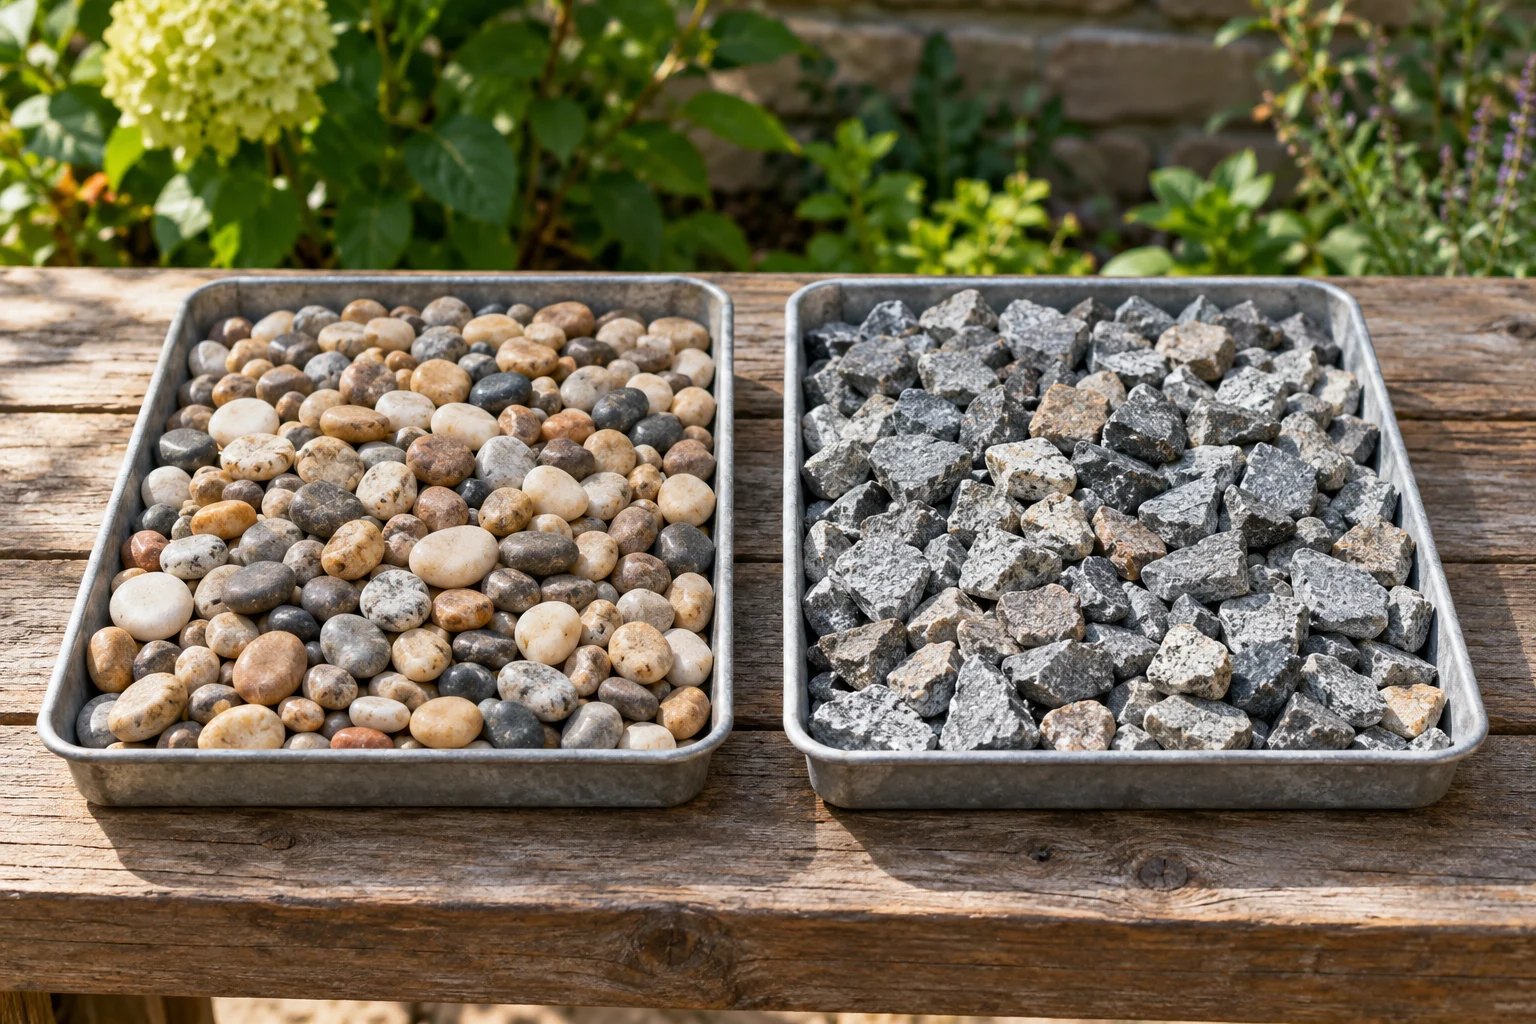
Try a chair on a representative sample area. Narrow legs can sink or tilt, and casters may not roll well. A broad-footed bench or furniture suited to the surface may help, but a dining set you pull in and out every day can still be more convenient on solid paving.
Also consider mobility aids, strollers, footwear, and the route back indoors. If someone needs a firm smooth route, plan it from the start. Gravel can serve a sitting zone beside a solid approach without becoming the surface for every part of the patio.
Choose the site and finished levels first
Observe where water goes during rain. Avoid treating a low, persistently wet spot as a convenient place to dump stone. Water can move through the surface and still collect below it if the ground and outlet are unsuitable.
Check how the finished surface will meet doors, walls, paths, and planting beds. Keep water directed appropriately away from the house, and do not bury drainage openings or raise material against building details that need clearance.
Mark the proposed perimeter and arrange the furniture inside it. Pull the seats out and walk around them before deciding the area is large enough. Check underground services through the appropriate locating process before ground disturbance, including edging stakes.
Specify the layers before calculating material
The surface stone, any compacted base, and a separation layer perform different jobs. The decorative layer provides the visible walking surface; a properly specified base can provide support; a suitable geotextile can separate materials where the design calls for it. A fabric sold as weed barrier does not eliminate weeds that later germinate in debris above it.
Lowe’s gravel-patio guide discusses site preparation, containment, and the limitations of loose stone under furniture. Its example layer depths describe a particular approach. Your excavation depth should follow the selected build-up and finished levels, rather than a universal number.
As a quantity example, a 10-by-12-foot surface area is 120 square feet. If the chosen design calls for a 2-inch surface layer, the geometric volume is 120 × (2 ÷ 12) = 20 cubic feet, or about 0.74 cubic yard. This is a measuring example, not a prescription for surface or base depth.
Calculate the base separately at its specified depth. Ask the supplier how compaction, grading, delivery units, and ordering allowances affect the amount to buy. Do not convert volume into tons using an assumed universal stone density.
Prepare the ground and contain the stone
- Remove unsuitable surface material. Take out turf, roots, and organic material as required by the design, arranging disposal before a pile blocks your access.
- Excavate to the planned levels. Allow for the complete build-up and necessary drainage. Stop if you find unexpected services, unstable ground, or significant roots.
- Prepare the subgrade. Resolve soft areas and establish the intended profile. A level-looking surface is not necessarily a drainage plan.
- Install specified separation and base layers. Follow the material and equipment instructions, compacting in suitable lifts where required.
- Fit the edging. Use an edge suited to the layout, substrate, and stone, secured according to its instructions.
The border should contain the gravel without creating an awkward trip edge at the entrance. Plan a defined transition to adjoining paths and lawn. Timber, metal, masonry, and proprietary edging have different support and maintenance needs.
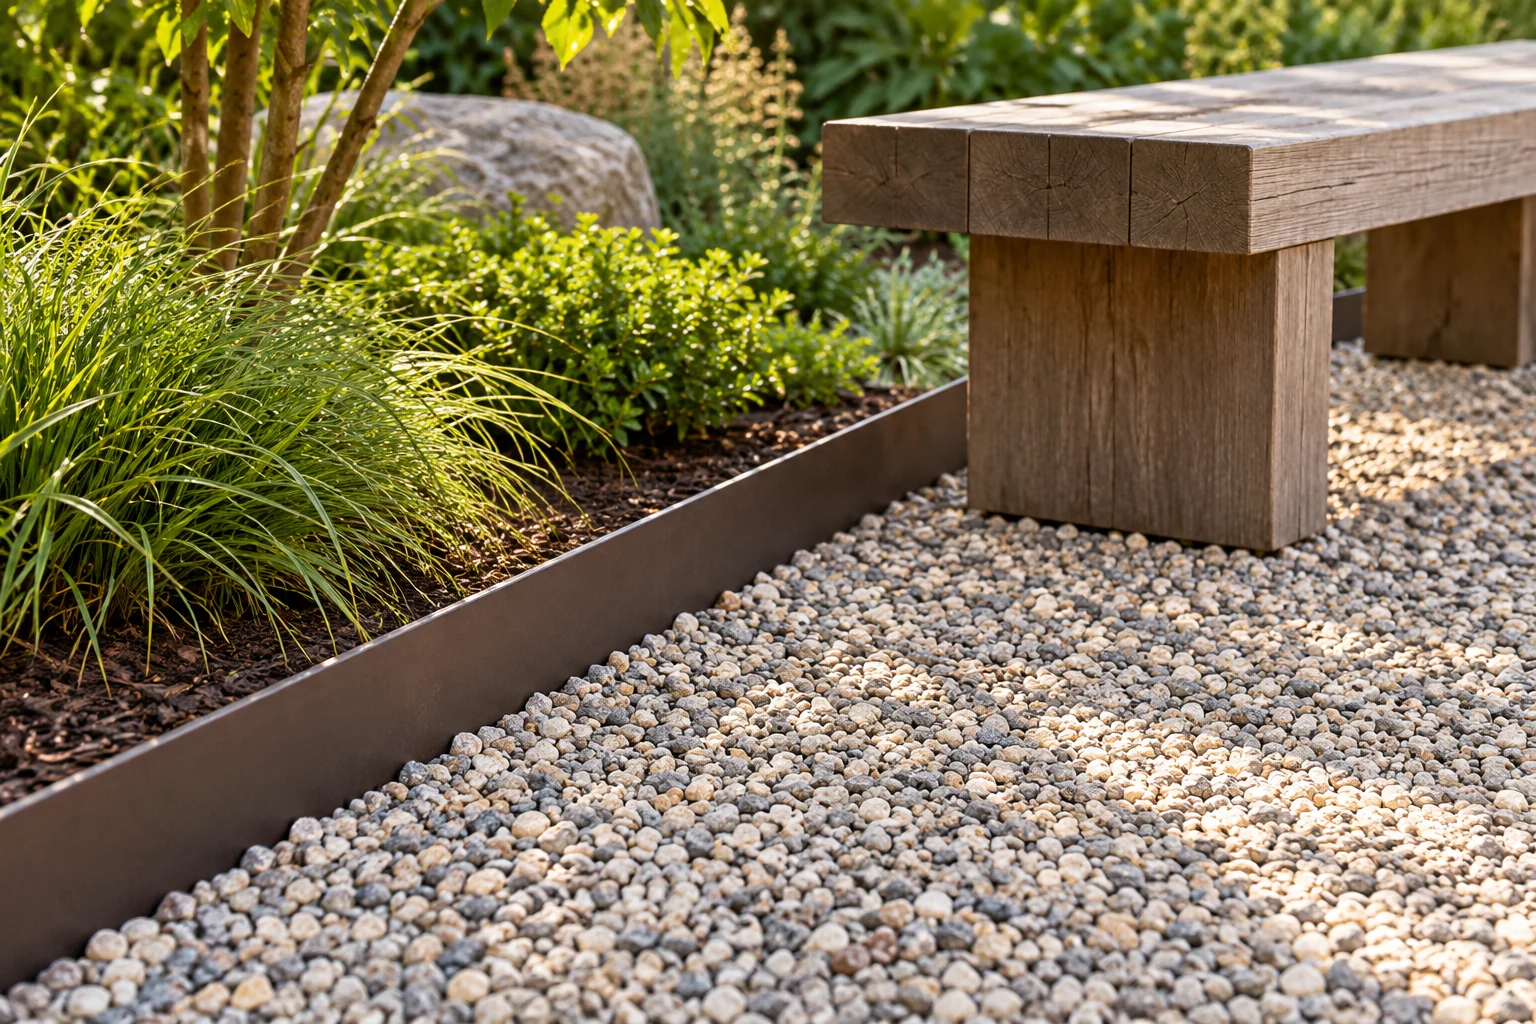
Spread the surface and test it in use
Add the specified gravel evenly and rake it to the intended depth. Do not keep adding a thicker loose layer to hide hollows in an inadequate base. Follow the supplier’s guidance on settling or compaction for that material.
Place the furniture and sit in it. Check table wobble, chair-leg sinking, and the movement needed to get up. If you choose a solid seating pad within the gravel, its construction still needs suitable support; loose pavers balanced on top of shifting pebbles are not a stable solution.
Water-test or observe the completed area through normal rain, keeping an eye on transitions and nearby building edges. Correct a drainage or containment problem before it becomes a repeated topping-up task.
Keep the surface usable
Remove leaves before they break down among the stones, redistribute migrated gravel, and inspect the border. Weed seedlings can arrive from above even when a separation fabric is present.
Be cautious about adding a binder or stone adhesive after installation. It changes the surface system and may affect appearance, maintenance, and drainage; it is not a universal cure for movement. If loose gravel remains difficult for your furniture or users, a defined solid seating area may be the more useful improvement.

Ethan Miller
Ethan Miller writes about home improvement, interior design, cleaning, and everyday living at Home & Living Daily. He shares practical tips and simple ideas to help readers create more comfortable and functional homes.