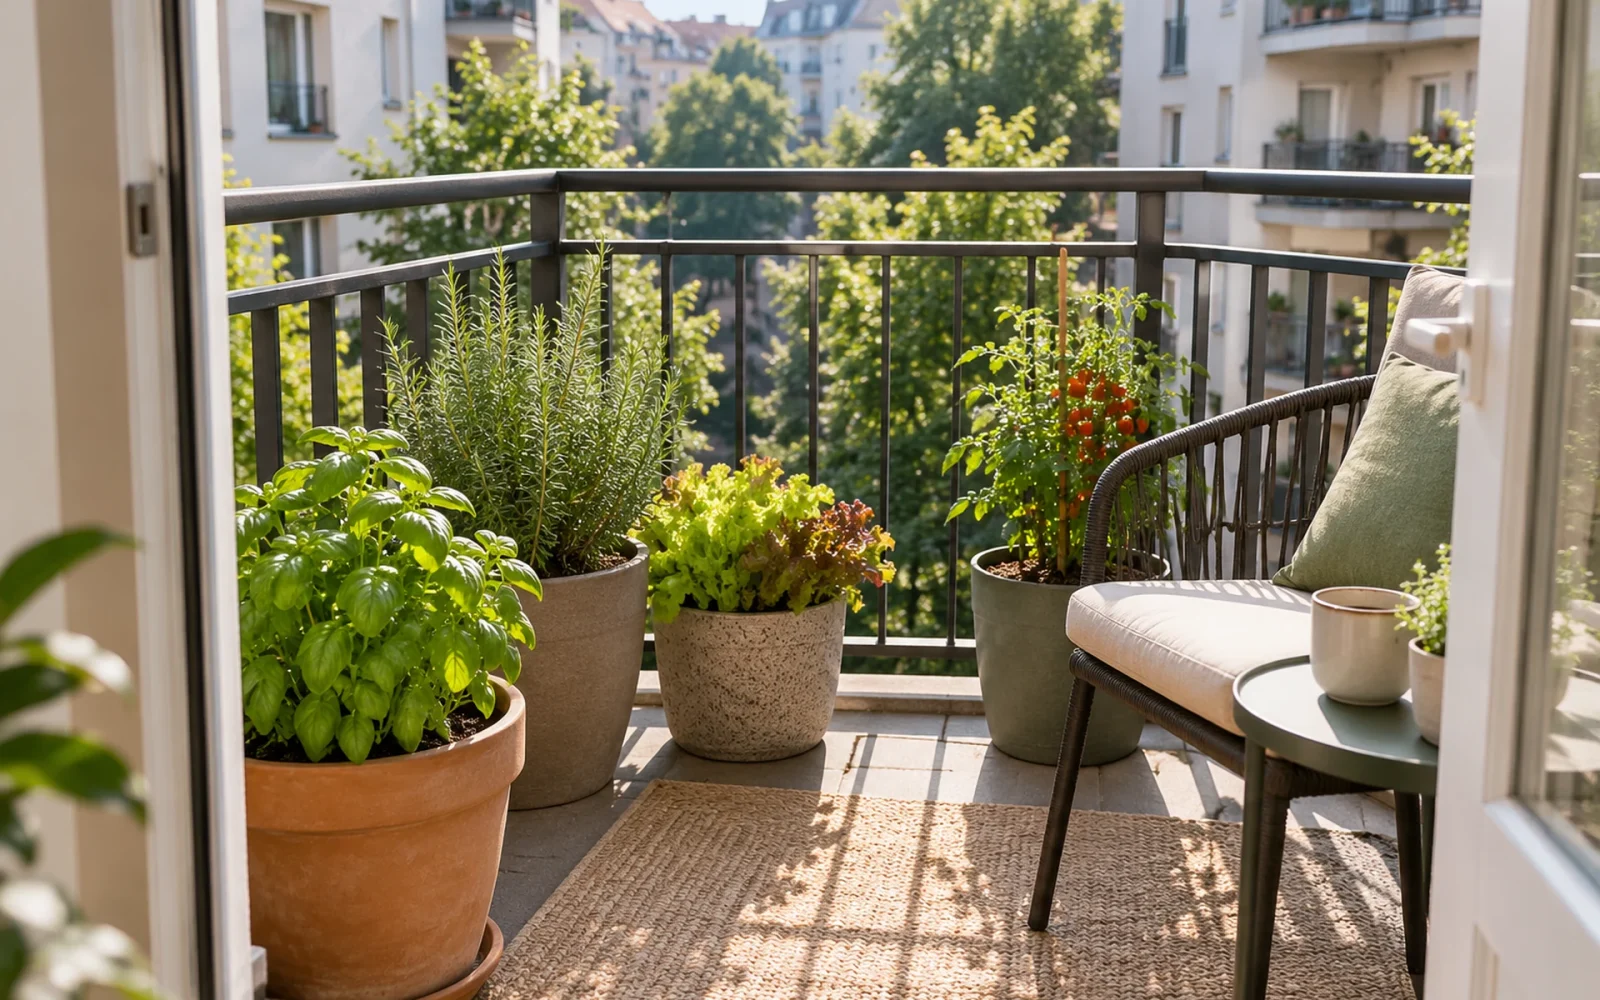
Start a balcony garden with a few containers matched to the light you actually receive, a suitable potting mix, and a watering routine you can maintain. Before buying plants, confirm that the balcony and building rules allow the proposed pots, water handling, and any supports. Wet growing mix, containers, stored water, and people all contribute to the load.
You do not need to turn the whole balcony green in one weekend. Three well-chosen pots will teach you more about the space than a crowded collection that blocks the doorway or dries out while you are at work.
Find out what your balcony can accommodate
Ask the building manager or owner about planting restrictions, permitted attachments, drainage, and load information. If capacity or the structure’s condition is uncertain, get appropriate professional advice. There is no useful universal “safe number of pots”: their filled weights and positions differ, as do balconies.
Keep the doorway, normal walking route, drainage outlets, and required access clear. Position containers inside the railing and away from edges where they could fall. Do not assume a railing can support hanging planters, a tall screen, or a heavy climber. Those additions also catch wind and need an approved fixing method.
Plan the route for water as carefully as the route for people. You should be able to water without soaking a neighbor’s balcony, staining the building, or leaving a slippery walking surface. Check how you will carry water and empty trays before choosing large pots.
Observe the light at plant height
Spend a clear day checking the space in the morning, around midday, and later in the afternoon. Record when direct sun reaches the places where pots would stand. A south-facing balcony can still be shaded by the balcony above it; a bright view beyond the railing does not mean the pot beside the wall gets direct sun.
Then notice exposure. Hot reflected light from glass or masonry, persistent wind, and driving rain can make one corner quite different from another. Choose plants for these conditions rather than selecting everything from a photograph of a different climate.
Garden Design notes that reflected heat and wind can change balcony growing conditions. Use the plant’s requirements to decide what belongs there, and leave room to adjust after the first few weeks.
Choose containers for roots, drainage, and handling
A container needs enough usable growing volume for the plant’s mature size. A compact lettuce crop and a large fruiting tomato should not be treated as equivalent. Check the named variety’s container recommendation, and remember that a larger pot is heavier to position, fill, and move.
Material changes the maintenance burden. Unglazed clay can dry more quickly than some plastic or glazed containers, while a lightweight pot may need particular attention in wind. Compare the actual product, not just the appearance. Ensure water can escape through the base.
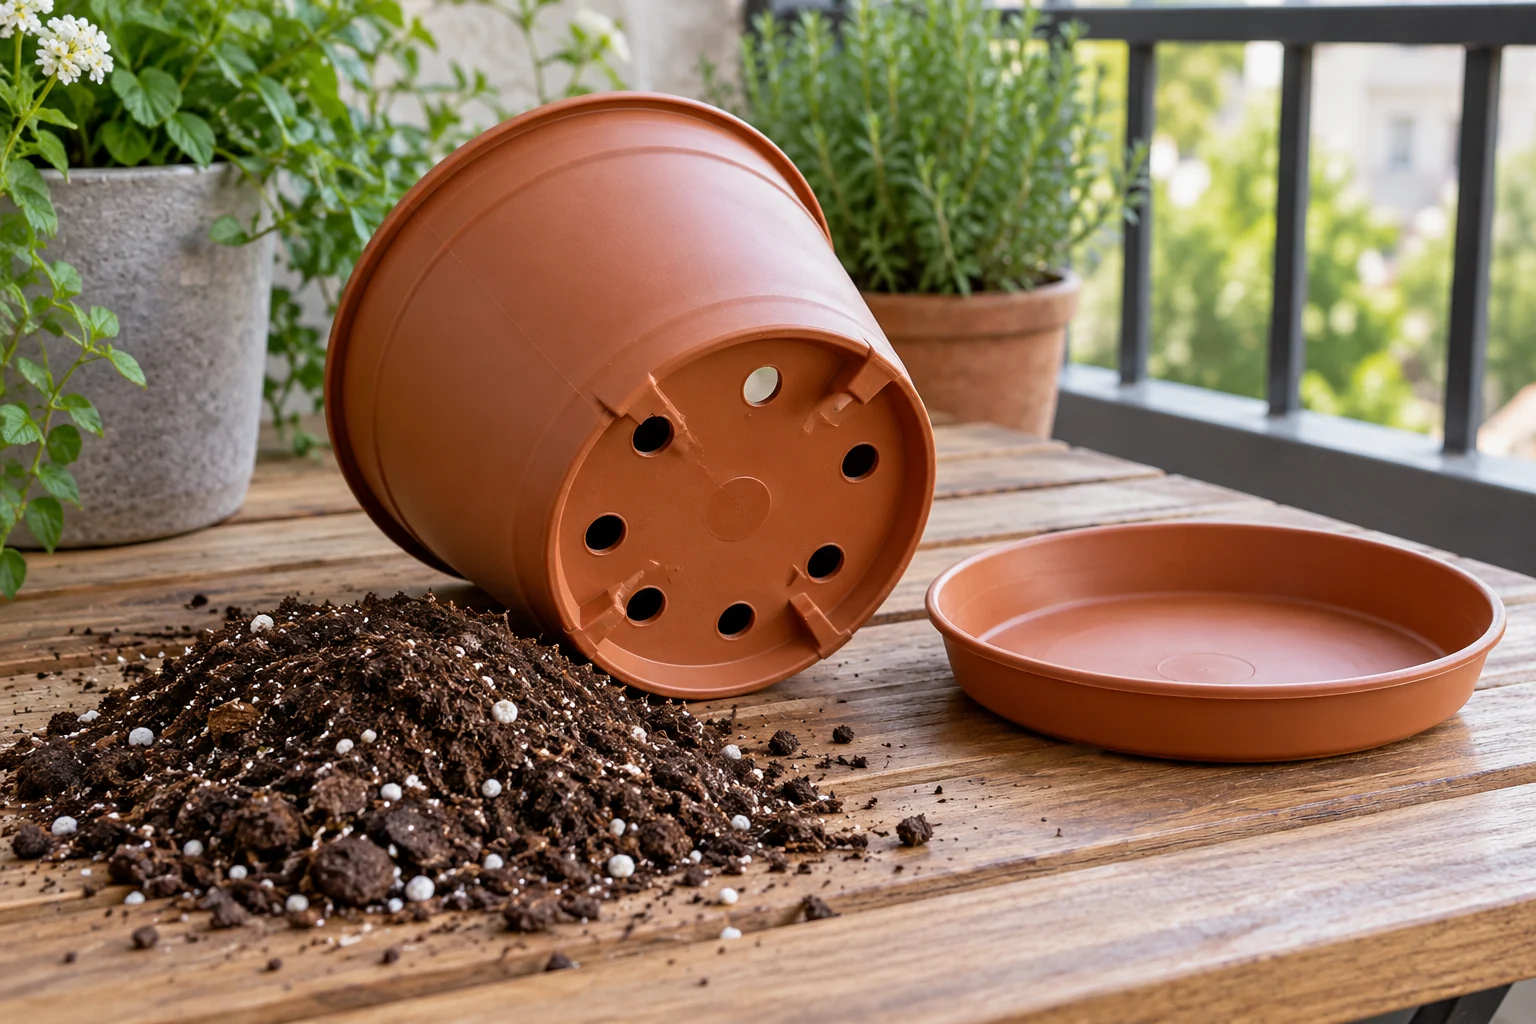
Do not add a gravel layer inside the pot as a substitute for drainage holes. Illinois Extension explains that gravel beneath the growing mix does not improve drainage and can leave water collecting in the mix above it. If a decorative outer pot has no outlet, use it as a removable cover pot and empty accumulated water rather than allowing roots to sit in it.
A catch tray can protect the surface below, but it needs checking and emptying. A self-watering container is a different arrangement: use its designed reservoir, overflow, and instructions rather than creating an improvised permanently flooded tray.
Build a small planting plan around what you will use
Choose one main purpose first. If you want herbs for cooking, start with herbs you regularly buy. If you want a few fresh leaves, a compact salad planting may be more satisfying than several large fruiting plants. Flowers are equally valid if your goal is color and a place to sit.
| Observed conditions | A possible starting direction | Check before buying |
|---|---|---|
| Reliable direct sun through much of the day | Suitable herbs or a compact fruiting vegetable variety | Required container volume, summer watering, support, and mature spread |
| Some direct sun with longer shaded periods | Leafy crops or herbs whose labels tolerate that exposure | Expected growth in the available light and the local growing season |
| Little direct sun | Shade-tolerant ornamental foliage | Whether it is genuinely suitable for outdoor shade in your climate |
| Very windy or strongly reflected heat | A smaller trial planting in a more sheltered position | Drying rate, stability, exposure tolerance, and permitted shelter |
Compact or dwarf varieties can help, but the label should identify the mature plant rather than merely show a small seedling. Avoid combining plants with very different watering needs in one pot simply because they look attractive together. Separate containers make early adjustments much easier.
In PBS Wisconsin’s balcony-garden diary, the grower installed tomato cages while the plants were small because adding them later would be harder. That is a useful planning detail to adapt when your chosen crop needs support, rather than a reason to grow the same varieties.
Fill and plant without blocking the drainage
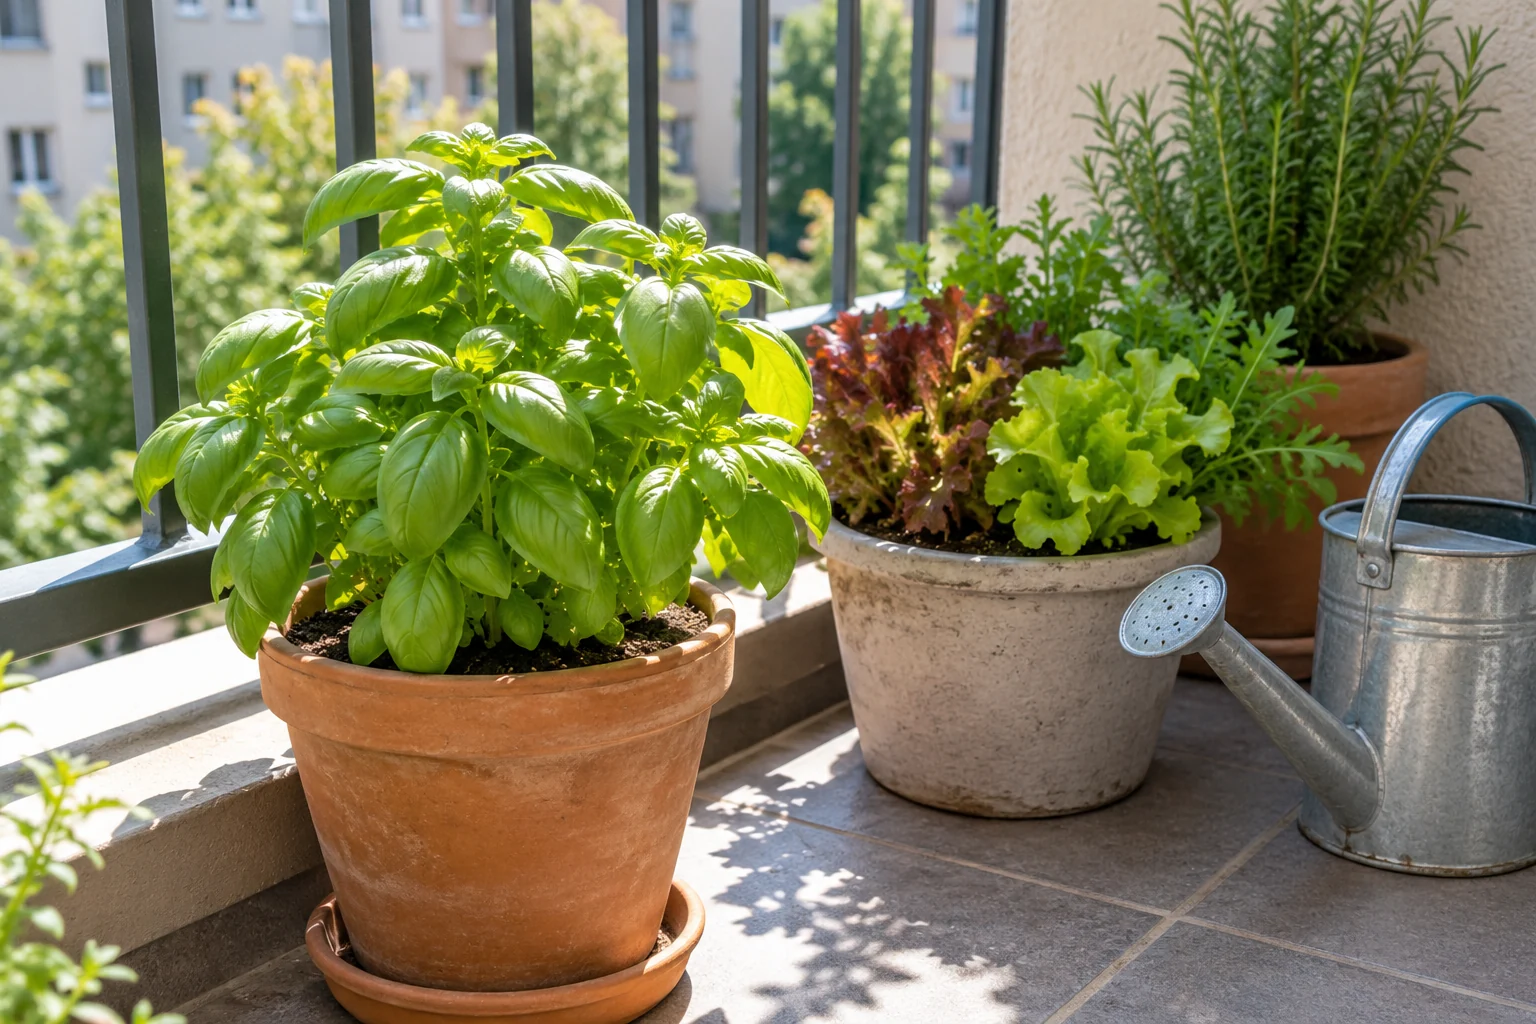
Use a potting mix intended for the plants and containers you have selected. Ordinary yard soil can become too dense in a pot. Moisten a very dry mix as directed before planting so water does not simply run through isolated channels.
- Place the empty pot in its intended location and confirm access before making it heavier.
- Check that drainage openings are clear and the tray or outer pot can be removed.
- Add mix, allowing room for the plant’s existing root ball and a watering space below the rim.
- Remove the nursery container and inspect the roots. Handle root-bound plants according to the species and supplier’s guidance.
- Plant at the appropriate depth, fill around the roots, and water gently to settle the mix.
Install an approved support while the planting is small if the chosen crop needs one. Do not plan on attaching it to the building or railing later without checking permission and suitability.
Make watering a check, not a fixed promise
Check moisture regularly, especially during the first warm or windy spell. Assess within the growing mix rather than watering because the surface looks pale. Small pots, porous materials, large plants, and heat can all shorten the interval between waterings.
University of Minnesota Extension notes that containers may need watering more than once a day under demanding conditions. That is a reason to inspect, not a rule to keep every pot constantly wet. Water thoroughly when needed, allow excess to drain, and remove collected water as appropriate.
Read whether the mix already contains fertilizer, then follow the plant and fertilizer labels. More fertilizer cannot compensate for insufficient light or waterlogged roots. Plan for absences before planting crops that need daily attention, and test any automatic watering arrangement while you are still at home.
After a few weeks, expand only if the first pots fit your routine. If the garden is drying too quickly, blocking the chair, or creating runoff problems, solve that before adding another container. The right balcony garden leaves you space to use the balcony as well as grow on it.

Ethan Miller
Ethan Miller writes about home improvement, interior design, cleaning, and everyday living at Home & Living Daily. He shares practical tips and simple ideas to help readers create more comfortable and functional homes.