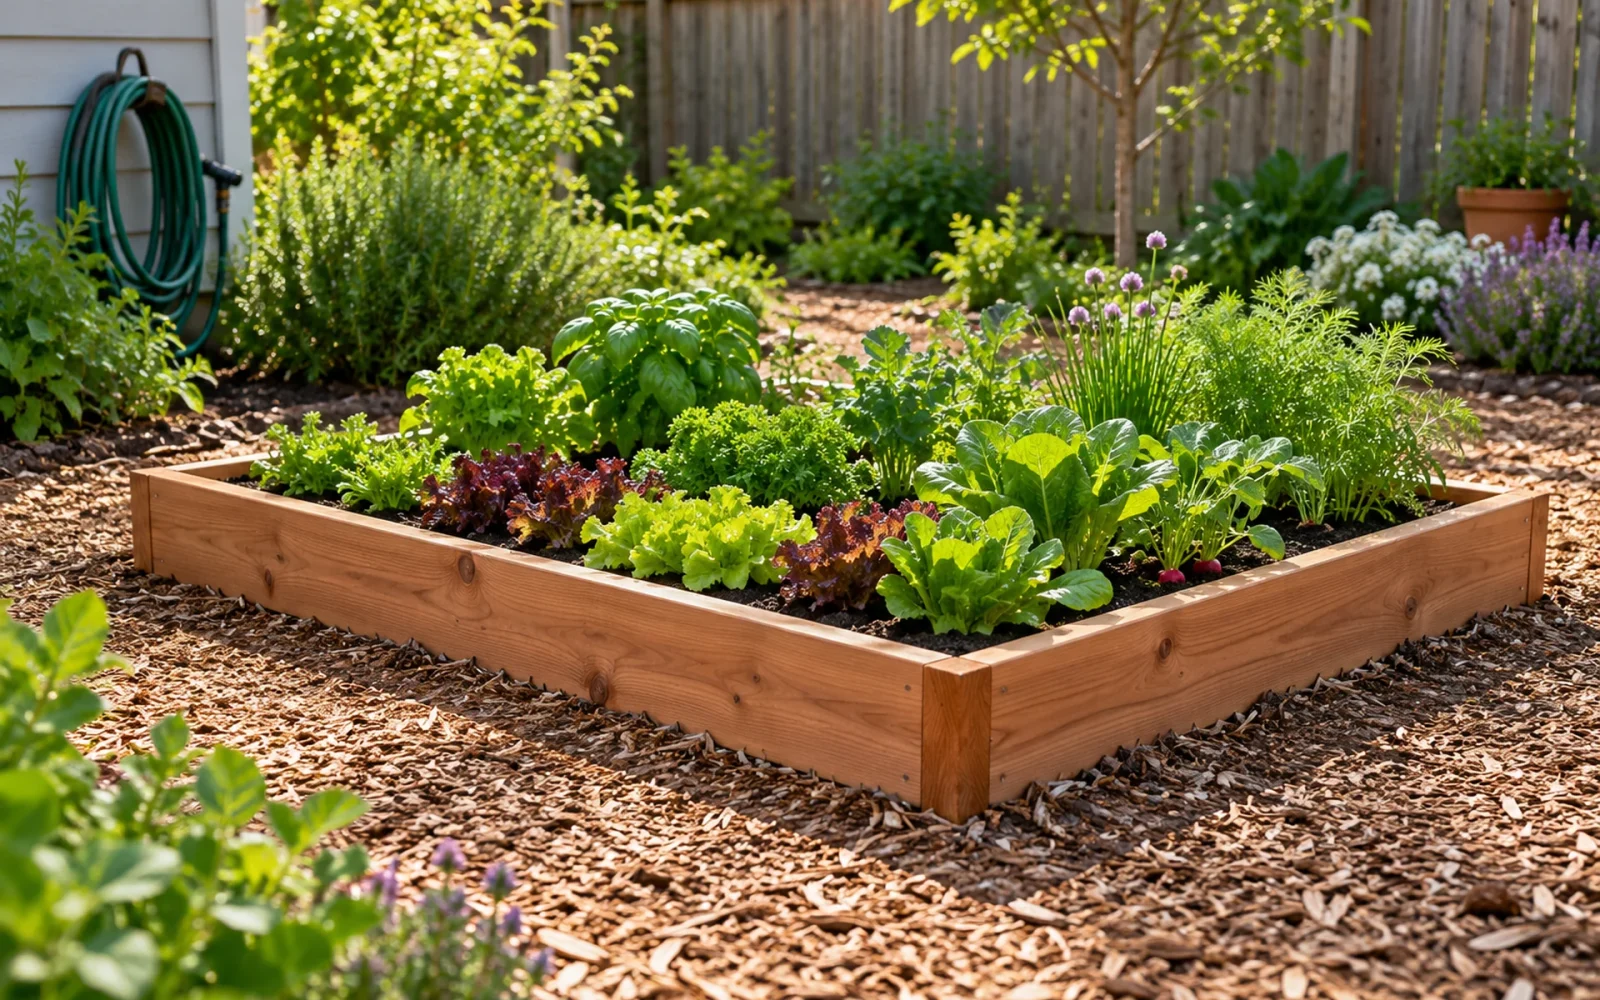
For a first raised garden bed, build a low, open-bottom wooden frame, place it on prepared ground, and fill it with a suitable soil mix. Keep it narrow enough to reach the middle from a path. A manageable bed in the right location is more useful than a large box that is difficult to water, fill, or weed.
The example below is a simple 3-by-6-foot bed resting directly on soil. It is not a planter on legs, a retaining wall, or a box intended for a balcony or roof. Those projects have different load and drainage requirements.
Choose the growing spot and working space
Start with what you want to grow. Tomatoes and other sun-loving vegetables need a sunnier site than leafy crops that tolerate some shade. University of Minnesota Extension recommends at least 6–8 hours of sunlight for crops such as tomatoes, peppers, and eggplants.
Mark the proposed bed with string or a hose. Stand on each side and check whether you can reach the center without stepping into it. Three feet is a convenient example width, not a requirement. Make it narrower if you can reach it from only one side or if a shorter gardener will be tending it.
Leave a path that works with your actual equipment. Roll your wheelbarrow along it and crouch beside the proposed edge. Keep access to taps, gates, drains, and utility equipment clear. A bed directly beneath a downspout or in a persistent puddle needs a better site, not simply taller walls.
Before disturbing the ground or driving anything into it, arrange the required utility-location checks through 811 before you dig. Private irrigation and other owner-installed lines may need separate locating. If the soil’s history suggests contamination, investigate that before growing food; a new wooden border does not resolve it.
Prepare a small cut list before buying lumber
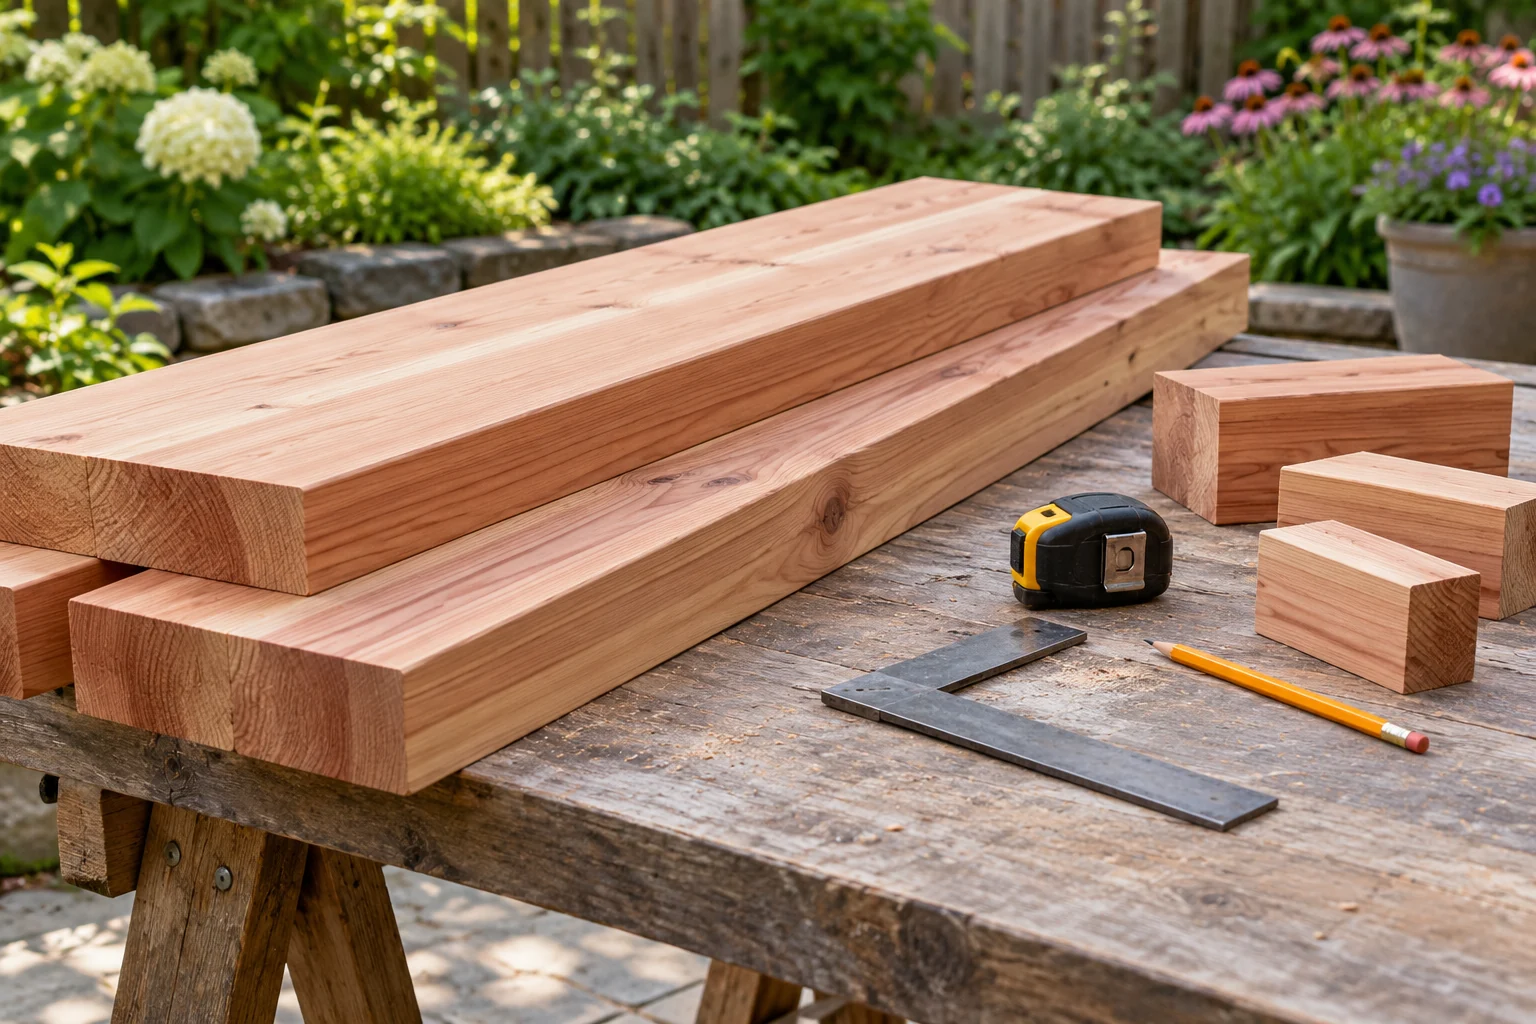
Untreated cedar or another suitable rot-resistant wood is a straightforward choice for this example. Cheaper untreated lumber may work for a shorter-lived bed, but allow for eventual replacement. Avoid unidentified reclaimed wood, old railroad ties, and timber with unknown coatings. If choosing treated wood, check the exact product’s intended use rather than treating all preservative systems as interchangeable.
For the dimensions below, the long boards run the full length and the short boards fit between them. The example assumes the nominal 2-by-10 boards actually measure 1½ inches thick and 9¼ inches wide. Measure your stock first: nominal dimensions are a purchasing label, not a cut measurement.
| Part | Quantity | Example cut size |
|---|---|---|
| Long sides | 2 | 72 inches long |
| Short ends | 2 | 33 inches long, fitting between the long sides |
| Inside corner blocks | 4 | Stout wood blocks cut to the actual wall height, with enough face for secure fastening |
| Exterior wood screws | As required for the selected connections | Compatible with the lumber and corrosion exposure; sized for secure embedment without protruding |
With 1½-inch-thick sides, the outside width is 33 + 1½ + 1½ = 36 inches. The outside length is 72 inches, and the inside planting area is approximately 33 by 69 inches, slightly reduced at the corner blocks. If the boards differ in thickness, recalculate the short ends before cutting.
You will also need a tape measure, square, clamps, drill and suitable bits, a level, and a shovel or garden fork. Have the lumber cut at the store if that suits your tools and experience. Support boards properly and use the appropriate eye and hearing protection when cutting or drilling.
Assemble the rectangle on a flat surface
- Lay out the four sides. Put the short ends between the long boards and check that the arrangement matches your cut list.
- Position the corner blocks inside. Keep them flush with the top and bottom of this low frame so they do not become unplanned stakes or protrusions.
- Clamp and drill pilot holes. Follow the screw manufacturer’s guidance for pilot size, spacing, and edge distances. Avoid placing opposing screws where their paths will collide.
- Fasten each side to its corner support. Keep the joints snug without crushing the wood or driving the screw heads deeply into it.
- Check for square. Measure both diagonals across the frame. Adjust until they match, then check the joints again.
This is a low frame holding a shallow lift of soil. Do not scale it up by simply stacking boards and using the same connections. Oregon State University Extension’s raised-bed guidance calls for reinforcement on beds longer than 6 feet or taller than about 18 inches to resist outward soil pressure. The appropriate bracing still depends on the actual construction.
Move the assembled frame with a helper if needed. Carrying a large rectangle alone can twist joints before the bed is even in place.
Prepare the ground beneath the open bottom
Use the frame to mark its footprint, then move it aside. Remove existing turf and persistent weeds from the growing area. Work the ground when it is moist enough to loosen but not so wet that it smears into dense clods. Loosen compacted native soil where practical so roots can move below the new mix.
Level the narrow perimeter on which the boards will rest. The frame should sit continuously on firm ground instead of balancing on a few high spots. Check the top edges with a level, then confirm that the surrounding paths still drain appropriately.
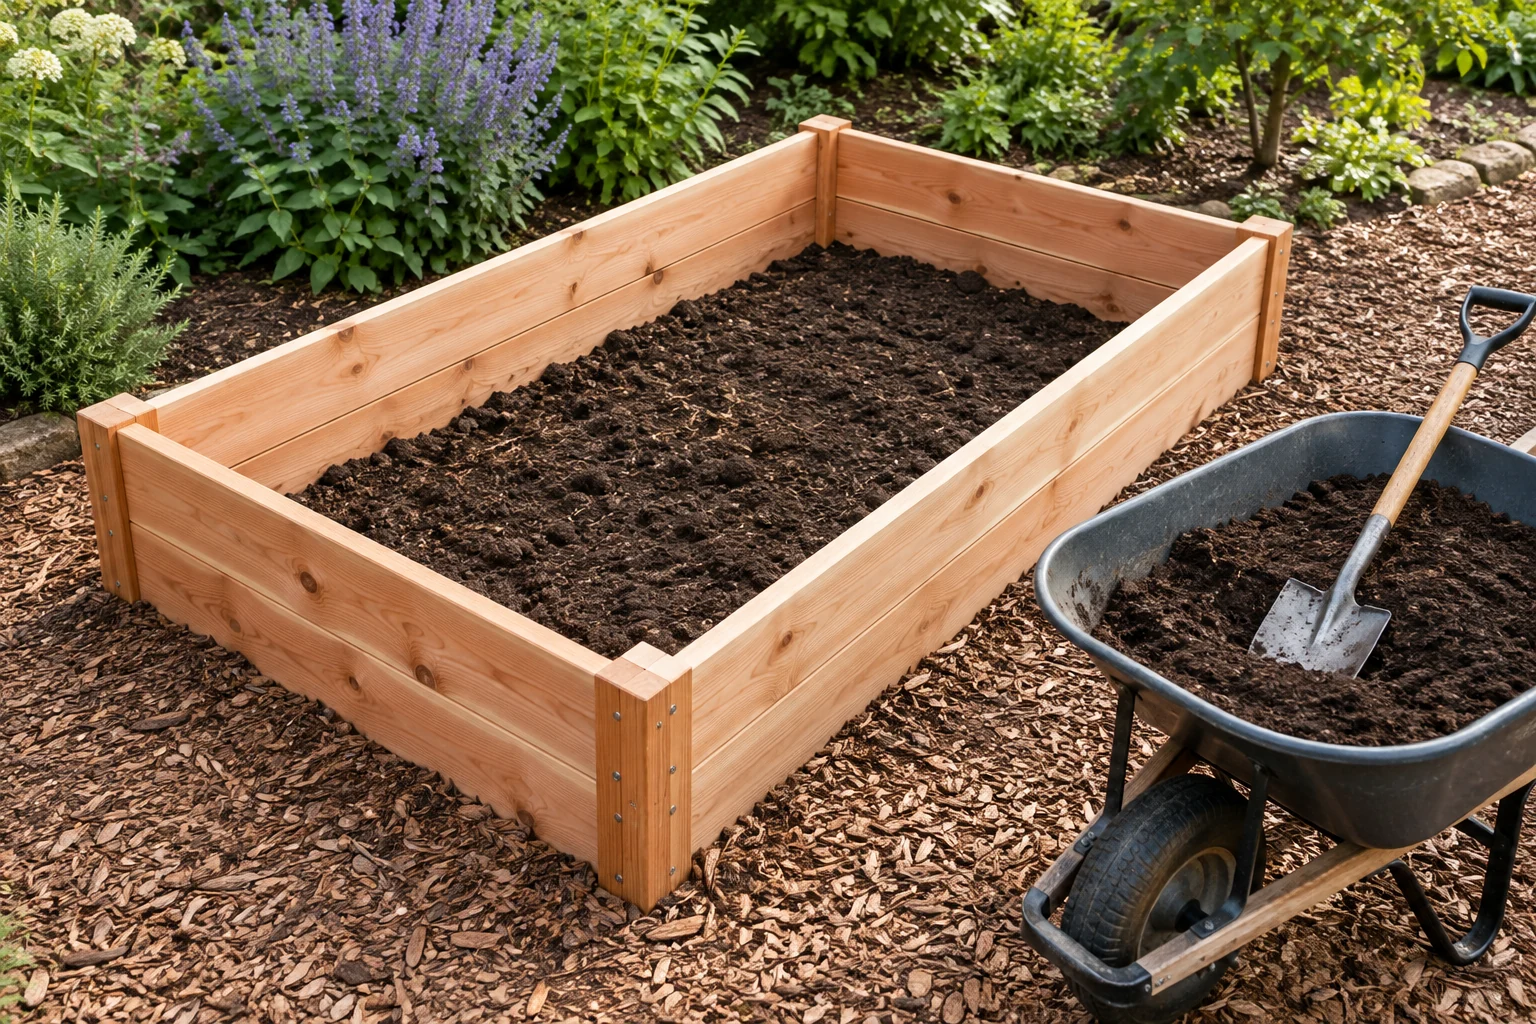
An open-bottom bed does not normally need a sheet of impermeable plastic beneath the roots. Do not turn the frame into a sealed basin. Where burrowing animals are an established problem, an appropriate secured wire barrier may be useful, but it is a site-specific addition rather than an automatic layer.
Nor does this low ground-level bed need a thick layer of rocks simply because it is “raised.” Choose the soil preparation for the site. A bed on concrete, a contaminated site, or a much deeper container needs a different plan. The RHS raised-bed guide distinguishes construction and drainage choices for different locations; they are not interchangeable.
Calculate the soil from the inside dimensions
Use a mix intended for the kind of bed you have, with suitable soil structure and mature organic matter. Do not fill the entire frame with fresh compost, uncomposted kitchen scraps, or a dense mass of grass clippings. A supplier should be able to explain what is in a bulk “raised-bed mix,” rather than offering only a product name.
For the example frame, an 8-inch fill depth leaves roughly 1¼ inches below the rim. Ignoring the small volume of the corner blocks, the calculation is:
2.75 feet × 5.75 feet × 0.667 feet ≈ 10.5 cubic feet, or 0.39 cubic yard.
Measure the finished frame and use your chosen fill depth for the final order. Bag sizes differ, and bulk mix can settle, so this is a planning quantity rather than a guarantee that a particular number of bags will finish the job.
The added soil depth is not necessarily the plants’ entire root zone. In this open-bottom design, roots can also enter suitable soil below. If the underlying ground is inaccessible to roots, reassess the depth and crop choice instead of assuming one board is enough.
Water the mix and check the bed before planting
Add the mix without walking on it. Water gently to check how it absorbs moisture and whether the frame stays stable. Recheck fill height after settling, and arrange a hose or irrigation line so watering does not require dragging it across young plants.
Raised beds can dry faster than surrounding ground. Start with a small planting area you can monitor, and check moisture within the root zone rather than judging only the top surface. Leave enough access to inspect corners and replace a board later.
Before buying plants, make one final pass around the bed: can you reach every part, bring water to it easily, and maintain the paths? Those practical details determine whether a simple wooden box becomes a garden you enjoy using.

Ethan Miller
Ethan Miller writes about home improvement, interior design, cleaning, and everyday living at Home & Living Daily. He shares practical tips and simple ideas to help readers create more comfortable and functional homes.