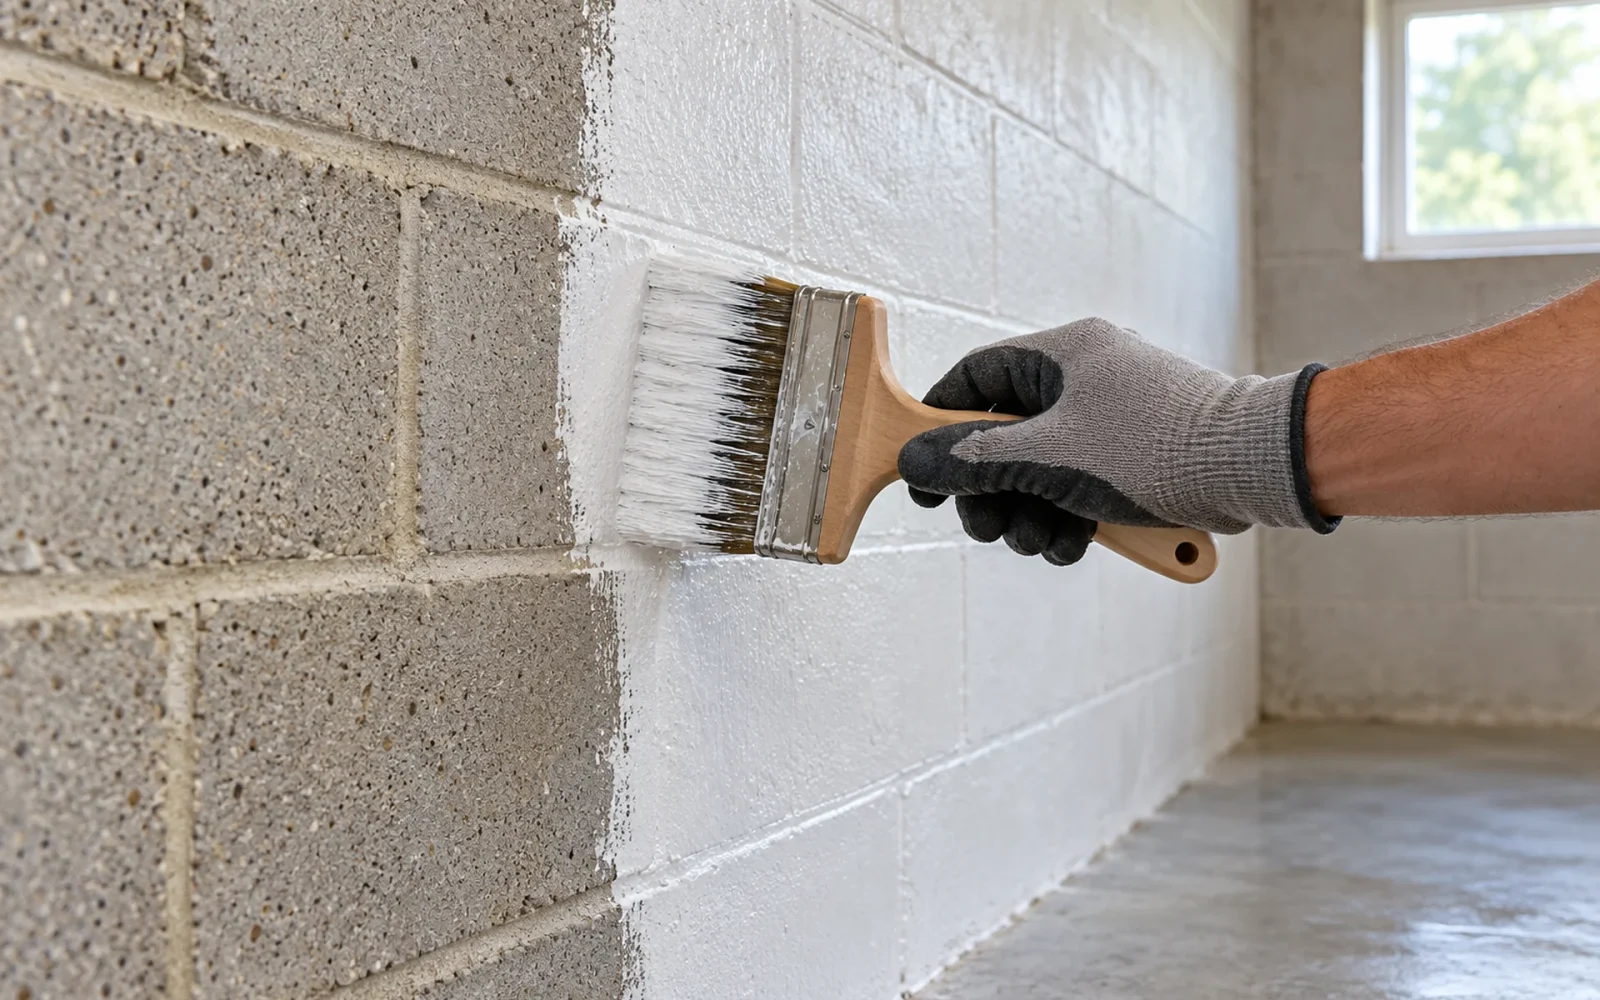
You can treat basement walls from the inside, but the method needs to match the problem. A masonry coating treats the wall surface, a suitable crack repair addresses a particular entry path, and a drained liner directs collected water toward an outlet. Those are different jobs, even when all three are sold as interior waterproofing.
Start by identifying the wall material, its condition, and where moisture appears. If you have not established whether the source is seepage, condensation, plumbing, or runoff, use our basement waterproofing planning guide first. This article concentrates on what an inside-wall treatment can reasonably accomplish.
Read the wall before covering it
A poured-concrete wall, hollow concrete block, stone, and a previously painted surface do not present the same installation conditions. Record the material, old coatings, mineral deposits, cracks, and any visible displacement. Photograph the wet area before it dries, along with the surrounding wall and nearby openings.
Ask what evidence connects the proposed treatment to the entry route. Water along a wall-to-floor joint may need a different response from one isolated crack or droplets over a cold surface. Repairing the nearest visible mark does not necessarily explain where water first entered.
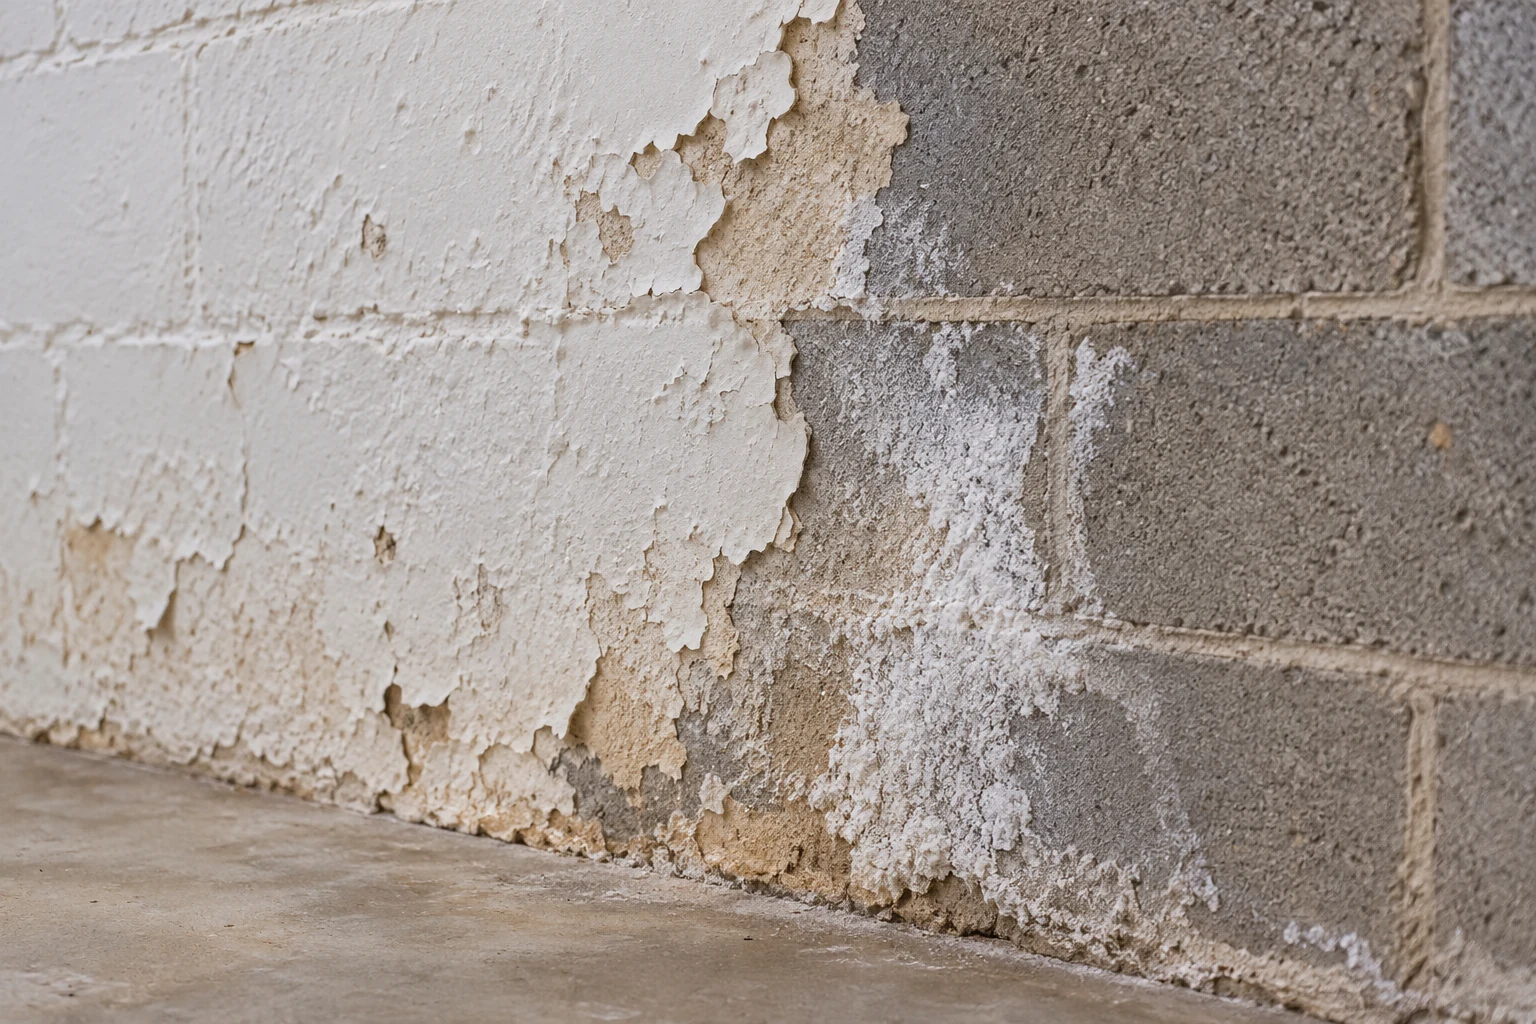
Have suspect movement, bowing, or deteriorating masonry assessed before choosing a decorative finish or coating. Sealing a surface does not establish that the supporting wall is sound.
Choose between a coating, a repair, and a drained lining
| Approach | What it is intended to do | What to clarify |
|---|---|---|
| Masonry waterproofer | Form a compatible treatment on the masonry surface | Suitable substrate, preparation, moisture conditions, coverage, and limitations |
| Crack or penetration repair | Address an identified local path | Wall material, movement, repair system, and whether structural work is separate |
| Wall liner with collection | Keep collected water behind a lining and route it to drainage | Continuous path to an outlet, access, pump needs, and maintenance |
A low coating price is not a discounted version of a complete drainage system. Likewise, paying for a liner does not mean the outside wall will stop getting wet. Ask the installer to describe the result without relying on the single word “waterproof.”
When a coating is being considered
Read the exact product instructions against the actual wall. For example, DRYLOK Extreme’s manufacturer directions identify masonry substrates, call for suitable cleaning and removal of interfering deposits, and specify a minimum of two coats. Those are instructions for that product, not a rule for every coating.
The coverage rate matters as much as the number of coats. Stretching a gallon across too much wall can leave a different film from the one specified. Measure treated wall area, account for its texture and preparation, and retain the product data with your notes.
Do not coat over loose paint, unresolved contamination, or an incompatible existing finish simply because the surface looks dry that day. Ask how old coatings will be assessed and safely prepared. Avoid turning a general preparation checklist into permission to grind or chemically strip an unknown wall yourself.
When water needs a collection route
If the proposal includes a liner or interior drain, trace the water path from the wall to its destination. A sheet placed in front of masonry is not a complete collection system by itself. Details at the base, corners, obstructions, and outlet need to work together.
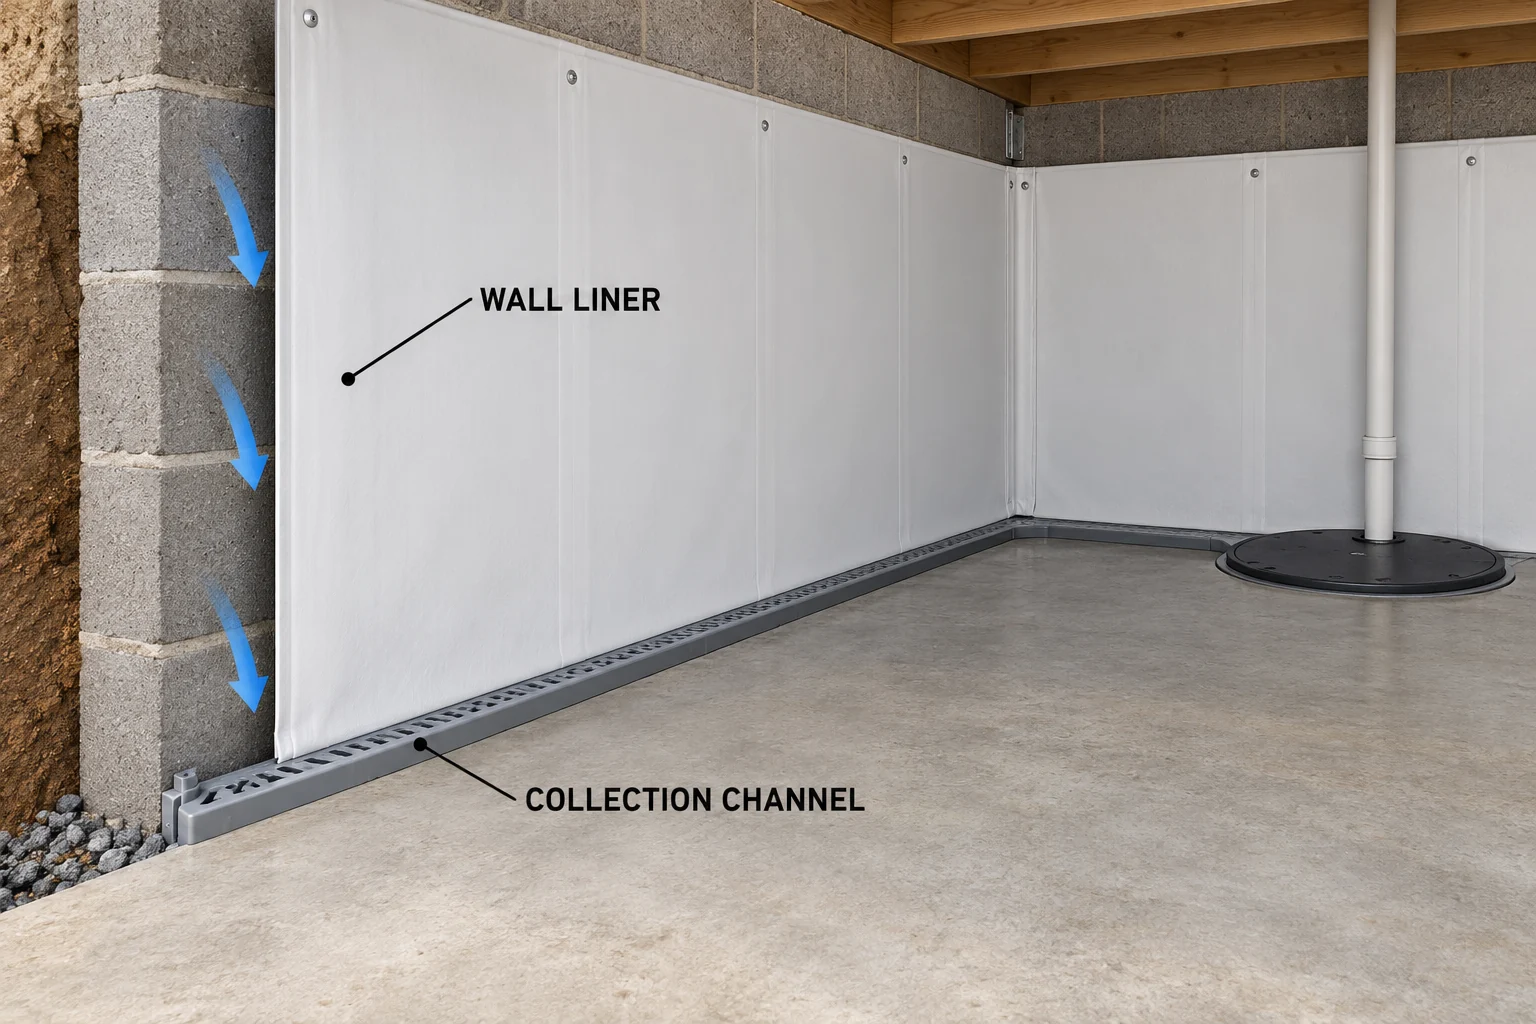
Ask whether a pump is required, where discharge goes, and how the system can be inspected and serviced. Polyguard’s description of reinforced liners specifically pairs them with drainage to channel water away. Treat the liner and drainage responsibilities as one coordinated scope.
Finished walls change access, not the underlying problem
Drywall, insulation, cabinetry, and storage can conceal the masonry and the first signs of water. Ask what must be opened for diagnosis and installation, what can remain, and who replaces damaged or removed finishes. “Minimal disruption” should describe actual access, not a promise to solve unseen conditions without examining them.
If a finished wall is wet, distinguish repairing the water route from restoring affected materials. A water-management contractor may not include wall rebuilding, insulation, trim, or flooring. Record those responsibilities before comparing bids.
Verify the treatment before making the wall inaccessible
Keep photographs of preparation and completed work, product information, repair locations, and any maintenance instructions. Check the original wet areas under the conditions that used to trigger the problem. A freshly white wall is evidence of a new finish; it is not yet evidence of performance through wet weather.
Before insulating or closing the room, agree on the moisture conditions required by the selected wall and finish systems. Preserve access to drains, pumps, and inspection points. The useful result is a treatment you can explain and maintain, with a clear answer for what happens to water that still reaches the foundation.

Ethan Miller
Ethan Miller writes about home improvement, interior design, cleaning, and everyday living at Home & Living Daily. He shares practical tips and simple ideas to help readers create more comfortable and functional homes.