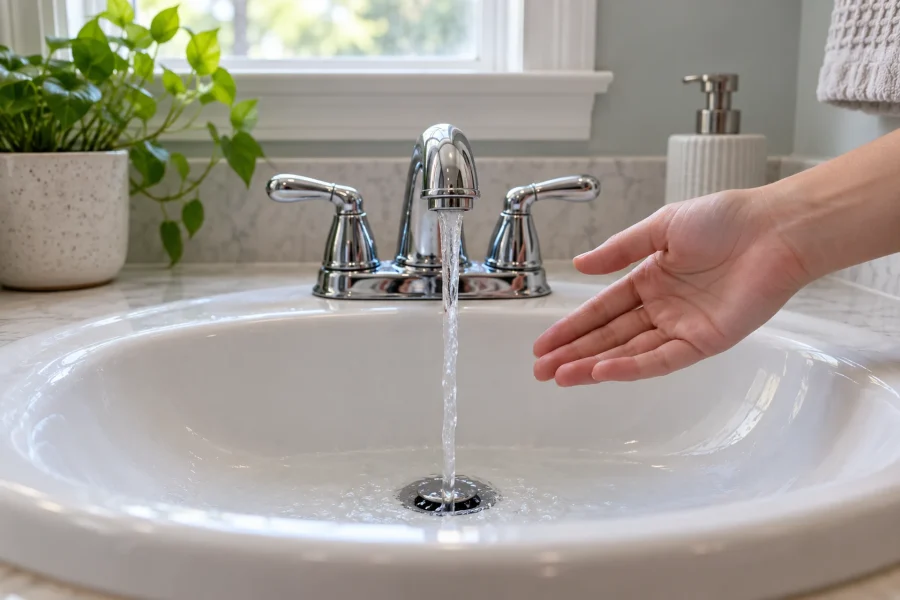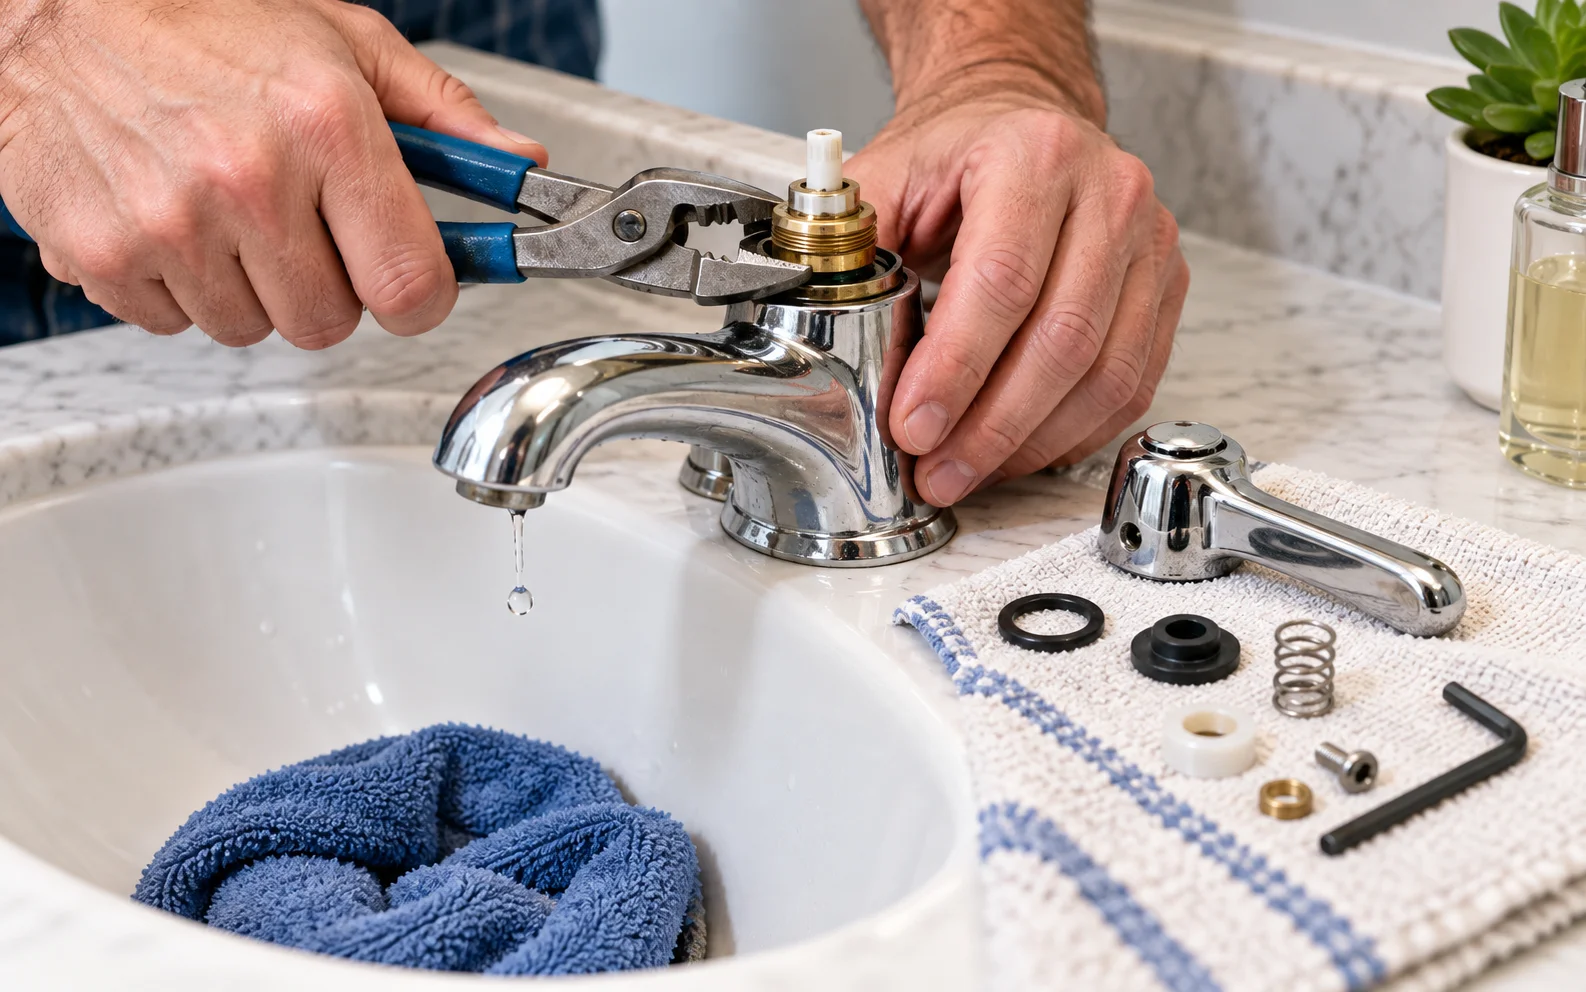
If water keeps dripping from the faucet spout, or if there is leaking around the base of the handle, it usually means that a small part inside the valve needs to be replaced. This article explains a simple repair method. The whole process takes about 5 to 10 minutes, depending on how quickly you can remove and reinstall the parts.
First, you need to determine which side is leaking. Before taking the faucet apart, always turn off both the hot and cold water supplies.
Determine Whether the Hot or Cold Side Is Leaking
There are usually separate hot and cold shut-off valves under the sink. To determine which side has the problem, turn off one water supply at a time and check whether the faucet spout is still dripping.
We can start by turning off the cold water valve. If the dripping stops, this means the problem is on the cold water side.
Once you know which side is leaking, turn off both the hot and cold water supply valves under the sink before removing the faucet handle.
Prepare the Tools and Protect the Sink
You will need a 1/16-inch or 3/32-inch Allen wrench to loosen the set screw on the handle.
You will also need a regular wrench or water pump pliers to remove the retaining nut, as well as needle-nose pliers or a small screwdriver to remove the washer and spring.
We can use a cloth to protect the finish of the faucet, and prepare a repair kit that includes a washer, spring, O-ring, and cartridge.
Before you start taking anything apart, plug the sink drain and place a towel inside the sink. This way, if a small screw, washer, or spring falls, it will not go straight down the drain.
Remove the Handle and Cartridge
Loosen the Set Screw
Find the small cap on the faucet handle and remove it.
Behind the cap is a set screw. Use an Allen wrench to loosen the screw a few turns, then lift the handle off.
Remove the Retaining Nut
The cartridge is located under a retaining nut.
I originally planned to use an adjustable wrench, but it did not fit, so I used water pump pliers instead. Before gripping the nut with the pliers, I wrapped a cloth around it to avoid scratching the surface.
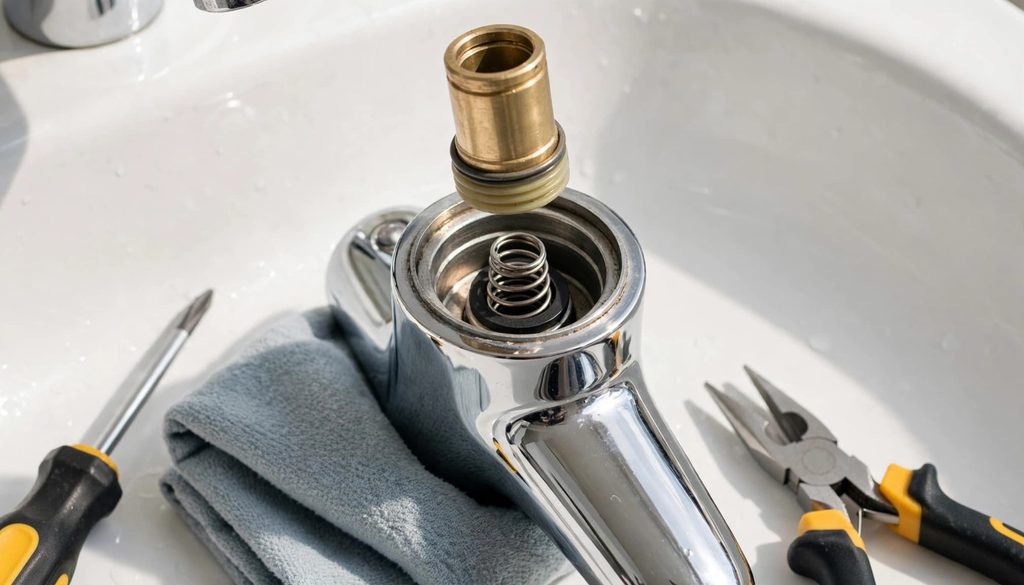
After removing the retaining nut, pull out the cartridge.
This gives you access to the washer and spring inside the faucet, as well as the O-ring around the outside of the cartridge.
If the Spout Is Dripping, Replace the Washer and Spring
When water keeps dripping from the spout, Mike replaces the washer inside the valve.
After removing the cartridge, he first clears out the water inside the opening so he can clearly see the washer and spring underneath.
We first use a screwdriver to lift out the washer, then use needle-nose pliers to remove the spring. You can also use a small hooked tool to help remove these parts.
It is important to note that the bottom of the spring is wider and the top is narrower. Remember this orientation when installing the new spring.
The repair kit I used cost about $15 and also included a new cartridge. However, the original cartridge looked like it was still in good condition, so I continued using the old one.
Install the new washer and spring as follows:
- Slide the washer onto the screwdriver with the small-hole side going on first. This means that after installation, the side of the washer with the smaller hole will face upward.
- Then slide the spring onto the screwdriver with the narrower end going on first. The washer will sit over the narrower end of the spring.
- Place the washer and spring together into the hole where the original spring was located, then slide them off the screwdriver. The wider end of the spring should be at the bottom.
- Gently press down on the washer. If the washer springs back up, the parts are basically installed in the correct position shown by Mike.
If Water Leaks Around the Handle, Check the O-Ring
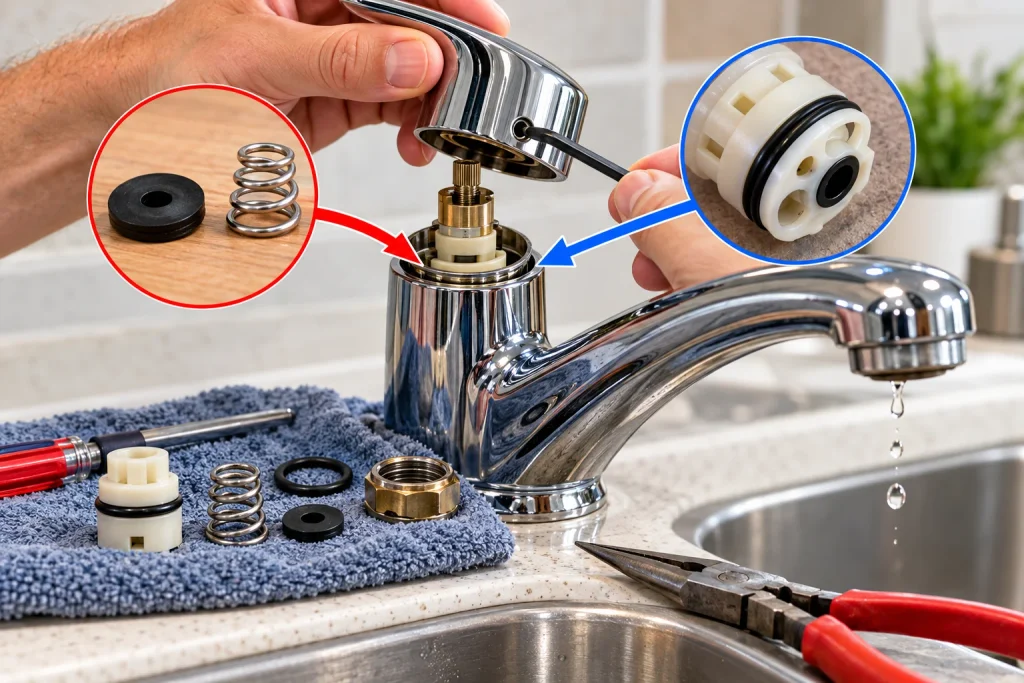
If water is leaking around the base of the handle, the problem is usually not the washer inside the valve, but the O-ring.
The O-ring is the black rubber ring around the outside of the cartridge. Mike says it is very easy to remove and replace.
His faucet was dripping from the spout, so he replaced the washer and spring.
However, no matter where the leak is coming from, you still need to remove the cartridge first.
For this type of faucet, the specific part that needs to be replaced mainly depends on where the leak is occurring.
Reinstall the Cartridge in the Correct Direction
Before putting the cartridge back in, look down into the faucet opening from above.
In the faucet I used, the washer was not located directly in the center, but was positioned slightly to one side.
Therefore, when reinstalling the cartridge, make sure the solid side of the cartridge is positioned over the washer, while the side with two holes faces the other direction.
The installation direction is very important when reinstalling the faucet cartridge.
There are several small square tabs on the cartridge, and there are corresponding slots inside the faucet body.
Align these tabs with the slots, make sure the solid side of the cartridge is positioned over the washer, and then slide the cartridge back into place.
Next, tighten the retaining nut by hand first.
I threaded the nut most of the way by hand, then used the water pump pliers wrapped with a cloth to finish tightening it.
Tighten the nut until it is secure, but do not overtighten it.
Turn the Water Back On and Check the Repair
Before turning the water supply back on, wipe away any water that spilled during the repair.
Otherwise, leftover water may make you think the faucet is still leaking.
Turn both the hot and cold water supply valves back on.
Check for any water leaking around the base of the handle, and also watch the spout to see whether it is still dripping.
After checking, I found that there was no leaking in either location.
Although the base of the handle had not been leaking before, he still checked it carefully because removing and reinstalling the faucet can sometimes create a new leak that was not there before.
Once everything is working properly, reinstall the handle, tighten the set screw with the Allen wrench, and finally replace the small cap.
The Key to the Repair Is Identifying Where the Leak Is Coming From
If water is dripping from the spout, my approach is to replace the washer and spring.
If water is leaking around the base of the handle, the O-ring should be replaced.
In either case, the basic repair process is the same: turn off the water supply, remove the handle and cartridge, replace the necessary parts, and then check for leaks before reinstalling the handle.

Ethan Miller
Ethan Miller writes about home improvement, interior design, cleaning, and everyday living at Home & Living Daily. He shares practical tips and simple ideas to help readers create more comfortable and functional homes.